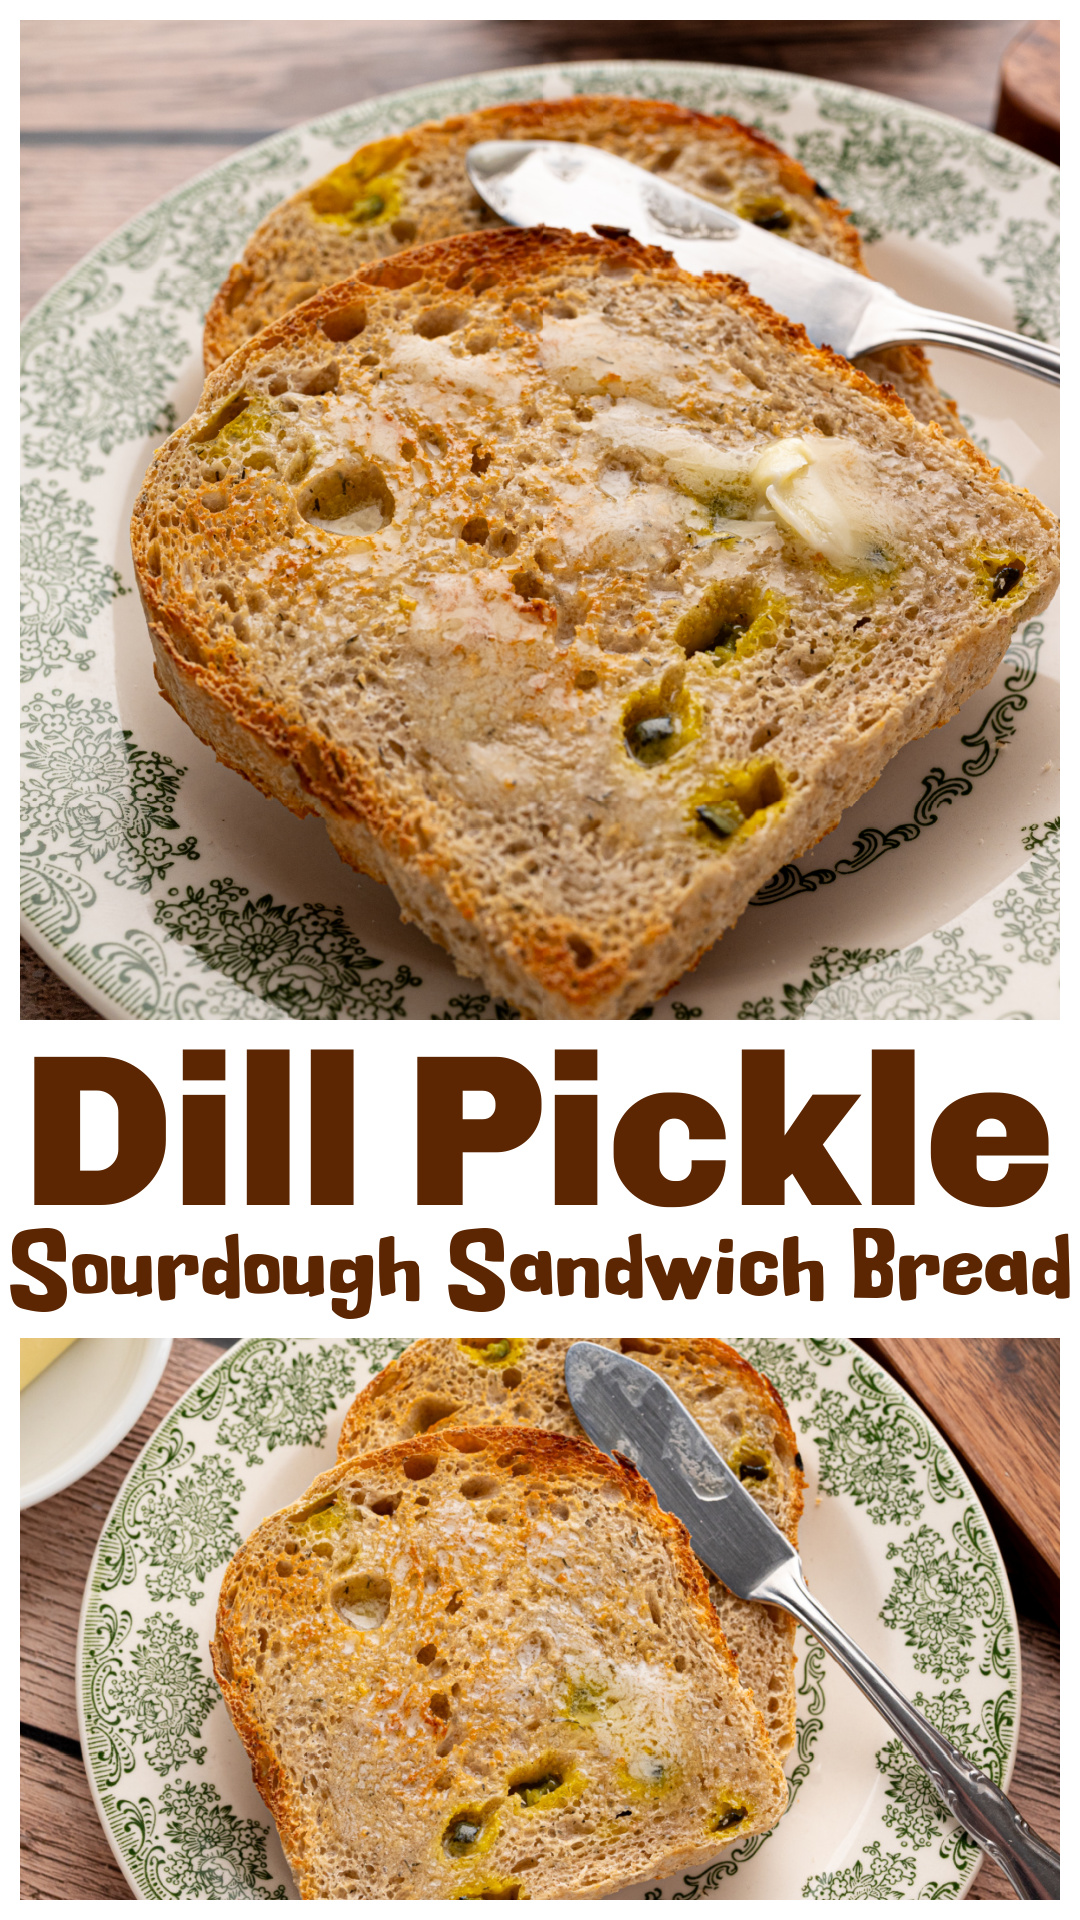
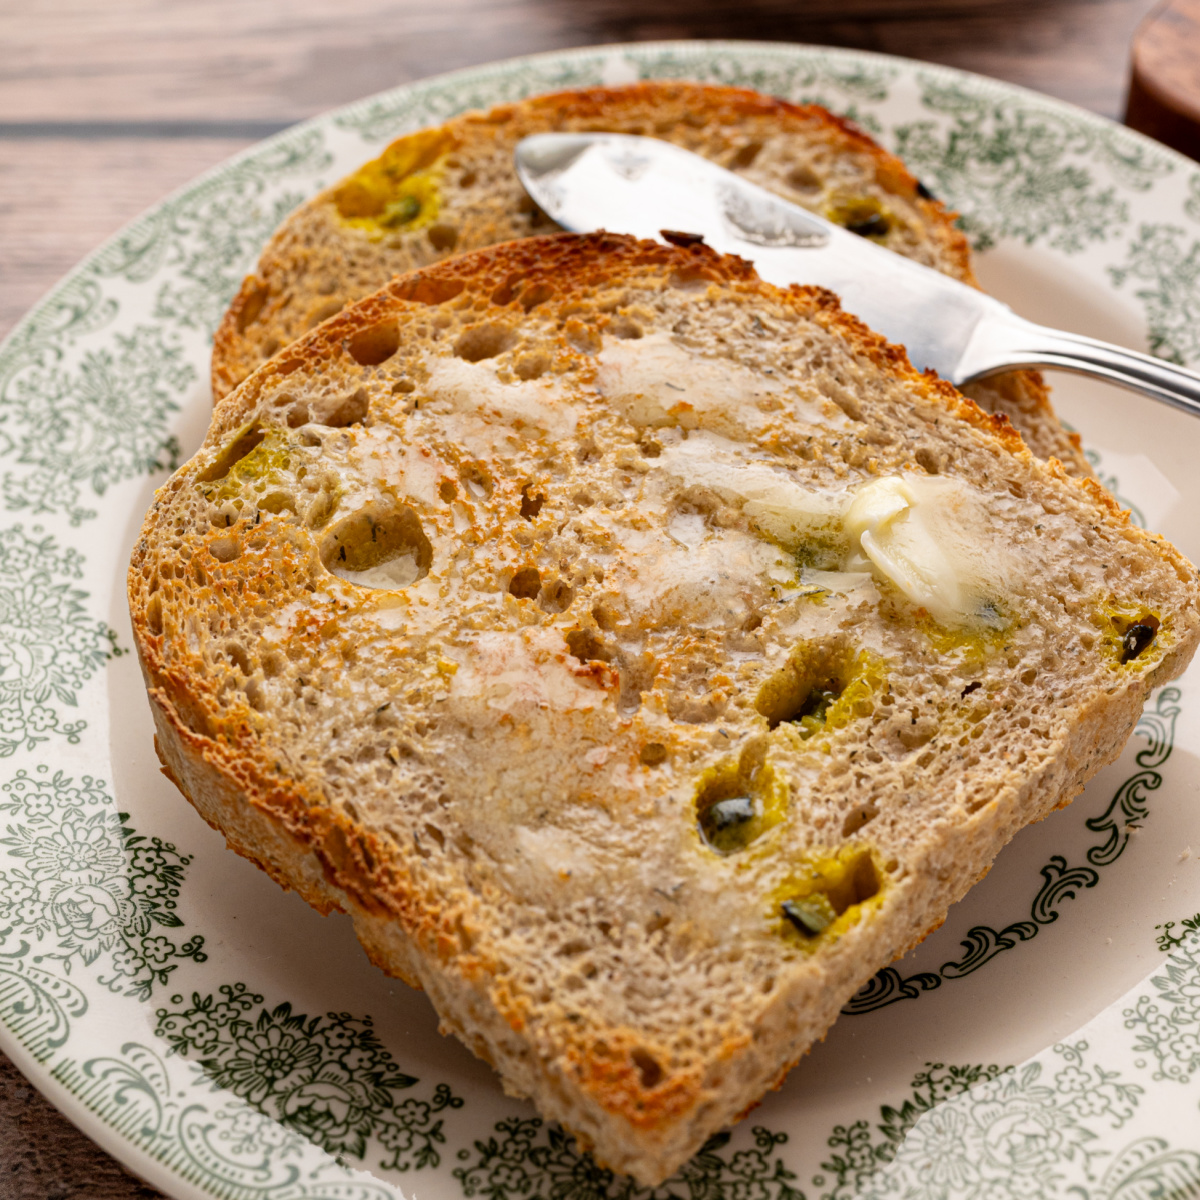
This dill pickle sourdough sandwich bread is begging for a wad of pastrami, Swiss cheese, and mustard. Sure, you could toast a slice and butter it, but when the pickles are already in the bread, making an outrageous sandwich is the most reasonable decision.
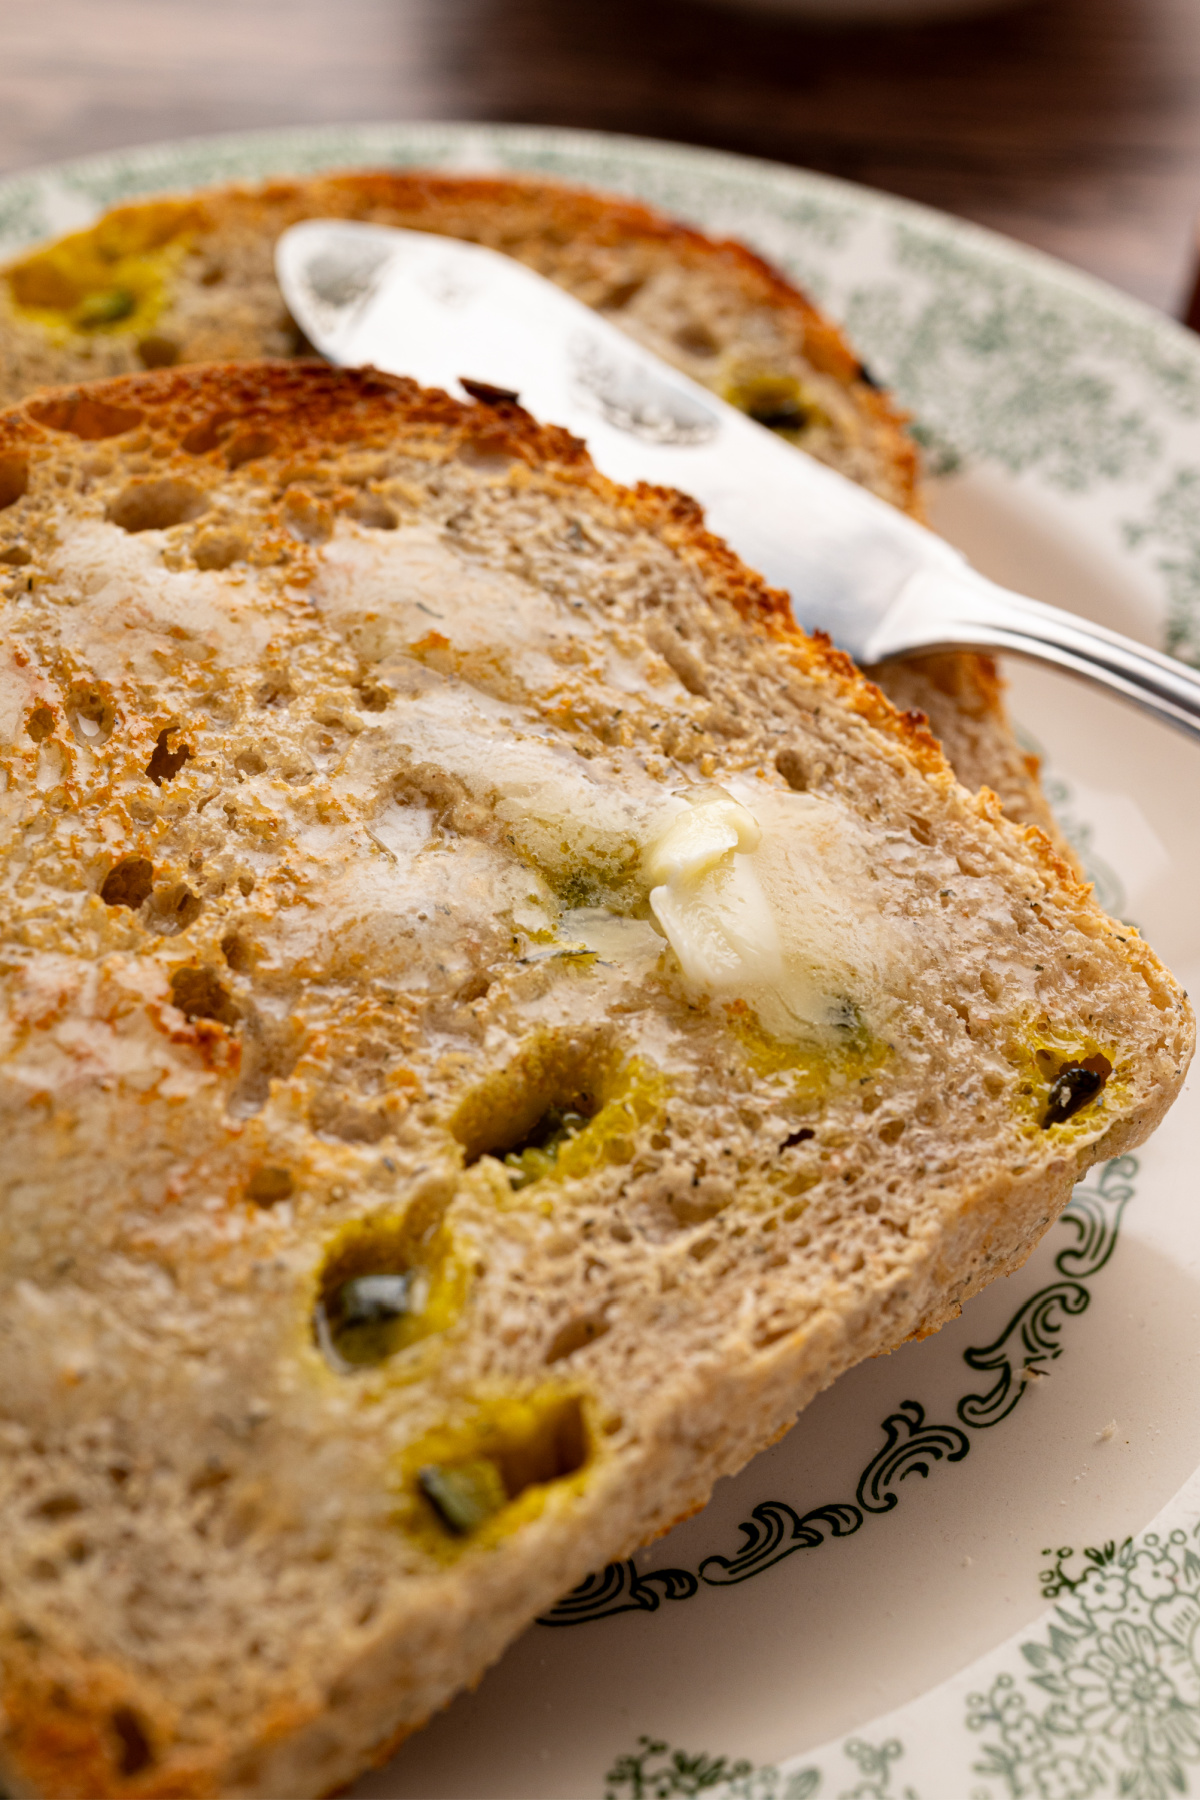
Dill Pickle Sourdough Sandwich Bread Made with Real Pickles and Pickle Brine
If you’ve been around here for any amount of time, then this dill pickle sourdough sandwich bread probably seems more inevitable than strange. Dill pickle anything has been an obsession of mine for a very long time, and I’ve never really cared whether pickles belong in something. I’ve always been more interested in finding out how good they are once I add them. That probably goes back to the dill pickle sandwich my dad used to make me after we worked in the yard together. Pickles, tomatoes, mayonnaise, and an English muffin. I still think about that sandwich, and about him making it for me.
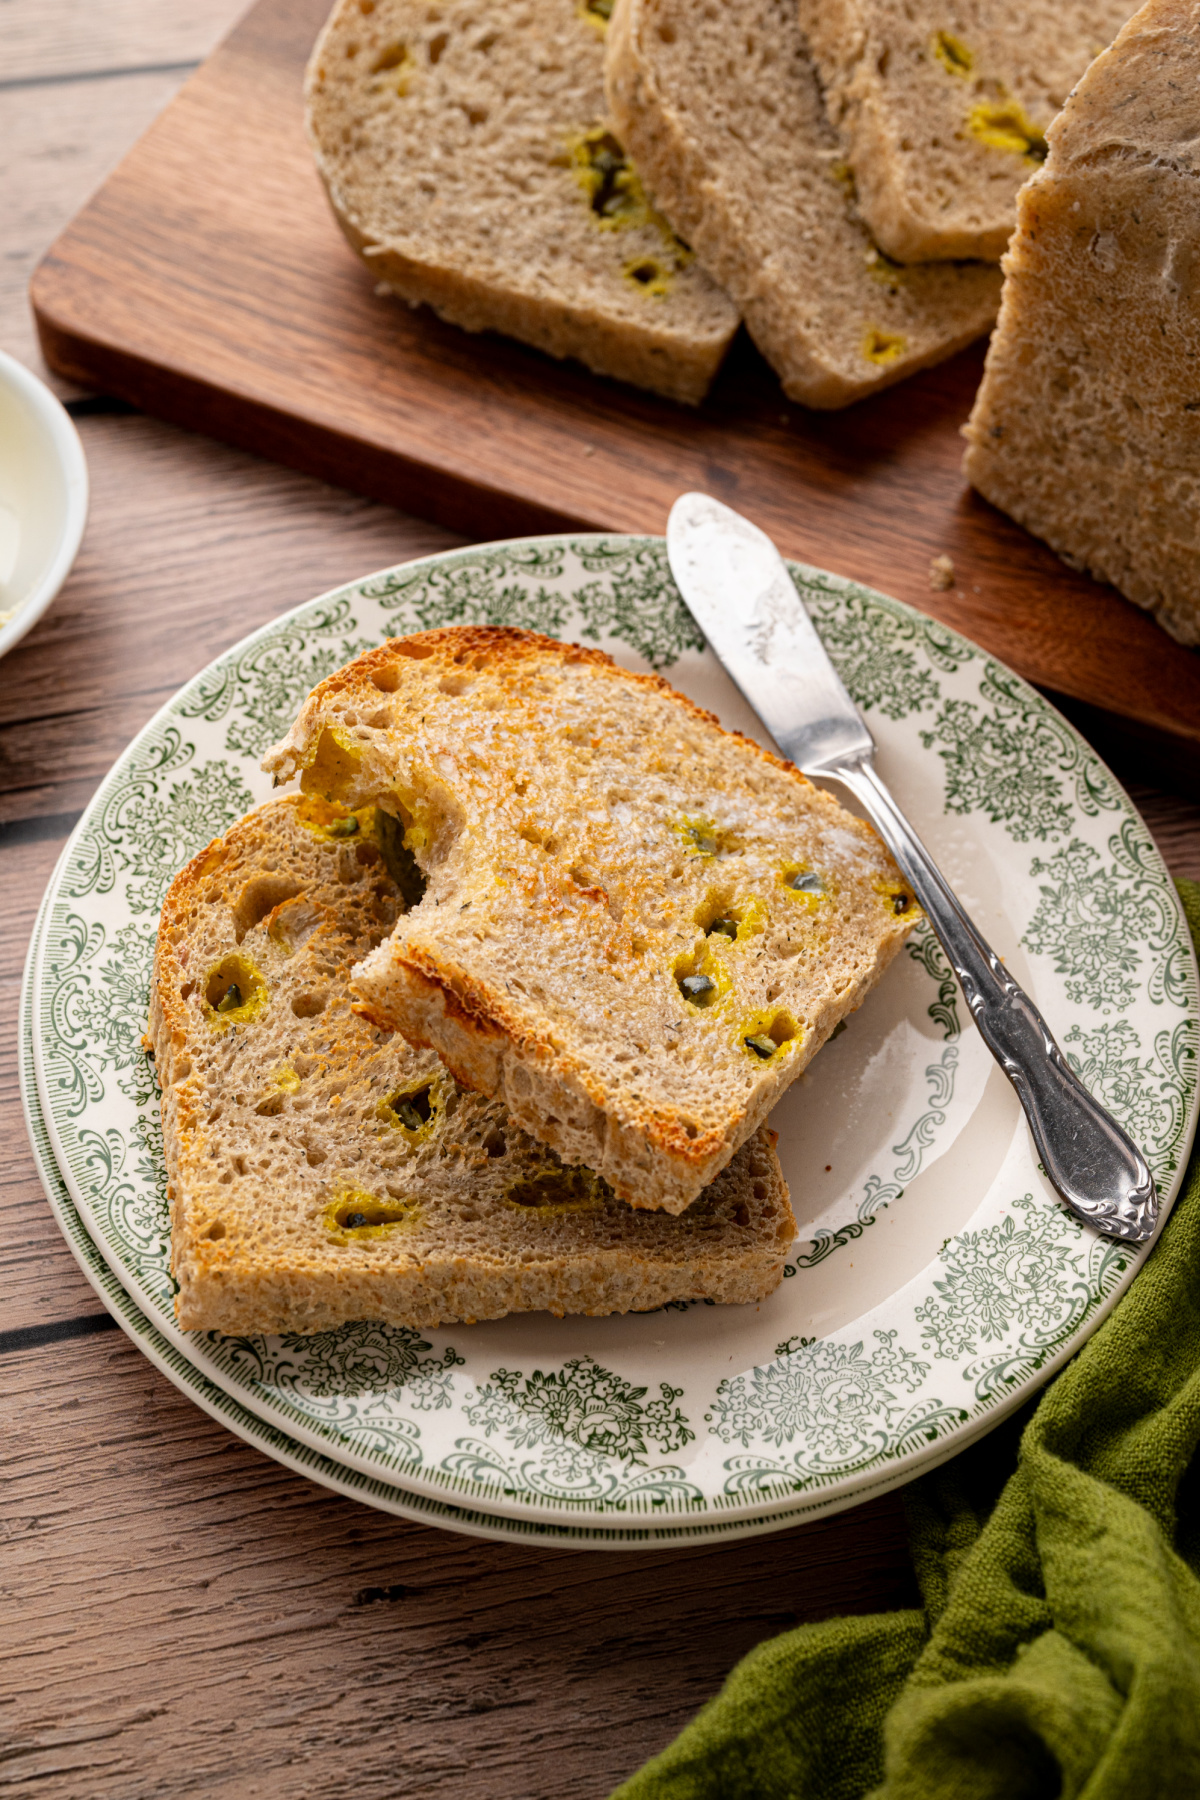
When I first started imagining this bread, I thought about making grilled cheese with it. With the pickles, brine, and dill, I had a pretty convincing argument for adding cheese, and my first choices were sharp cheddar, Gouda, or Havarti. And yeah, that’s what I made with it first. But it didn’t take long for me to realize it was also really good with lunch meat. It’s even perfect with my dill pickle butter, which has surprised no one.
I’ve eaten enough sandwiches where the bread might as well have been a paper towel. This isn’t that bread. You can put whatever you want between two slices, but you’re still going to taste the pickle bread, and that’s the reason I wanted to make it.
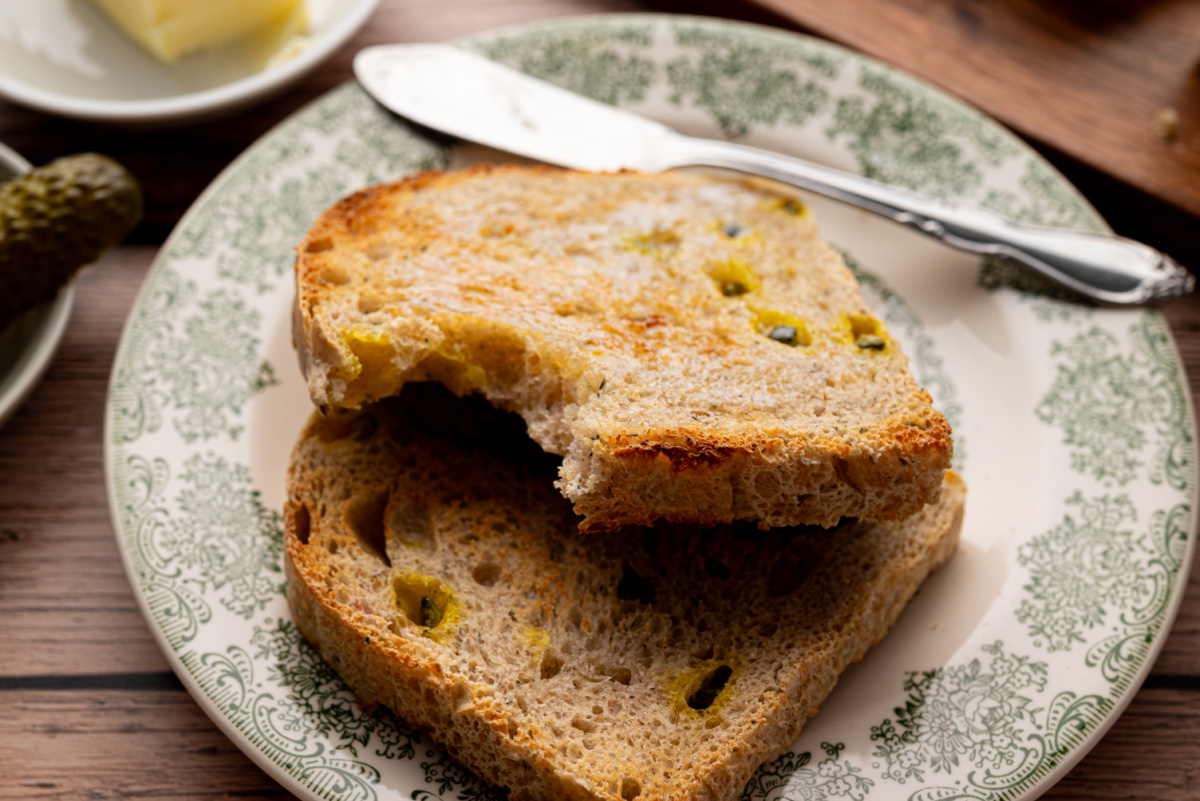
The Decisions Behind This Recipe
- I’ve made my honey oatmeal bread for sandwiches, but this dill pickle sourdough was always going to be its own kind of loaf. It’s not that you can’t make a boule, but giant holes are less enticing when your mustard and pastrami are falling straight through them. I used a Pullman pan without the lid because I wanted tall slices for sandwiches. You can use a regular 9 x 5-inch loaf pan, but the bread won’t have that characteristic sandwich shape, and the baking time may change. It’ll still make good toast, though. And either way, this bread isn’t giving up halfway through lunch.
- This isn’t a sourdough discard recipe. The starter needs to be active, bubbly, and ready to do the work because there’s no commercial yeast coming to its rescue. I wanted sourdough flavor, but it needed to rise well with the pickles and pickle brine in there. If your starter hasn’t been fed or isn’t bubbly and active, give it some time before you start.
- I use pickle brine, but I don’t replace every bit of the water with it. Forty grams adds pickle flavor, acidity, and salt without replacing so much water that the extra salt and acid could interfere with fermentation. Pickle brines vary, so I didn’t want to take it too far and have somebody’s bread needing CPR to rise.
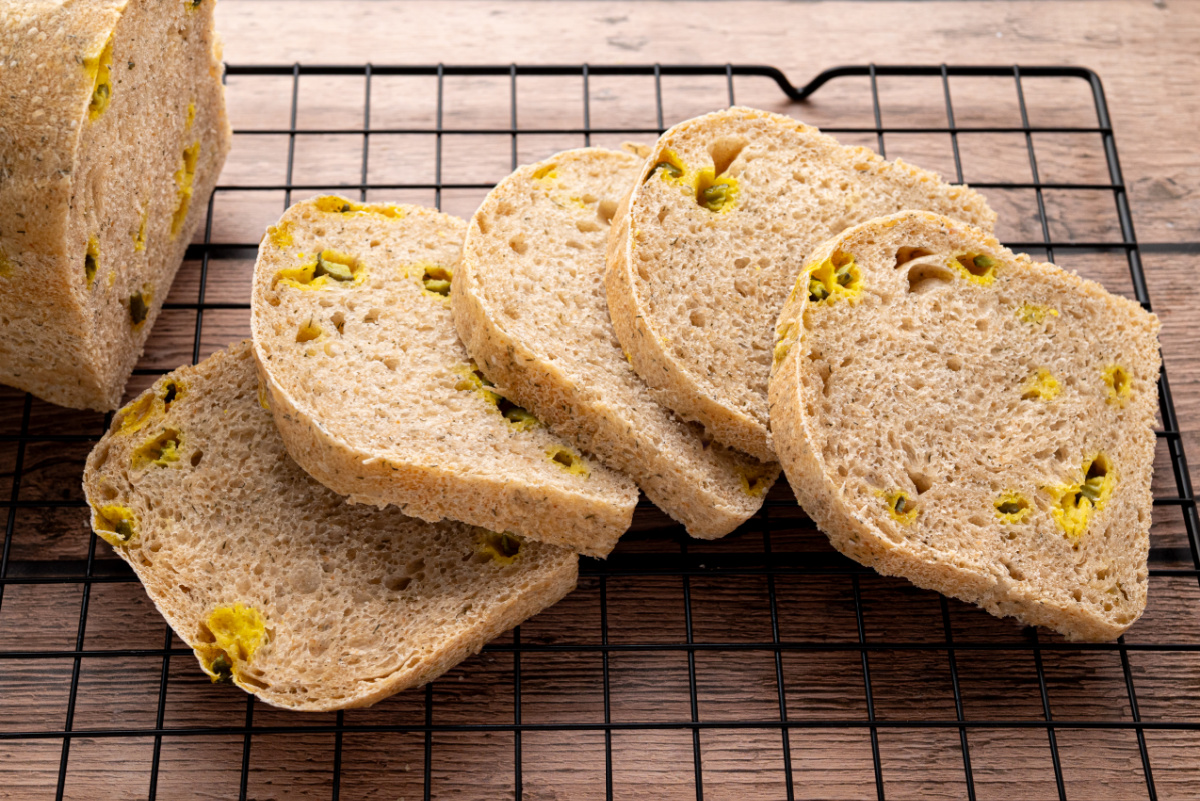
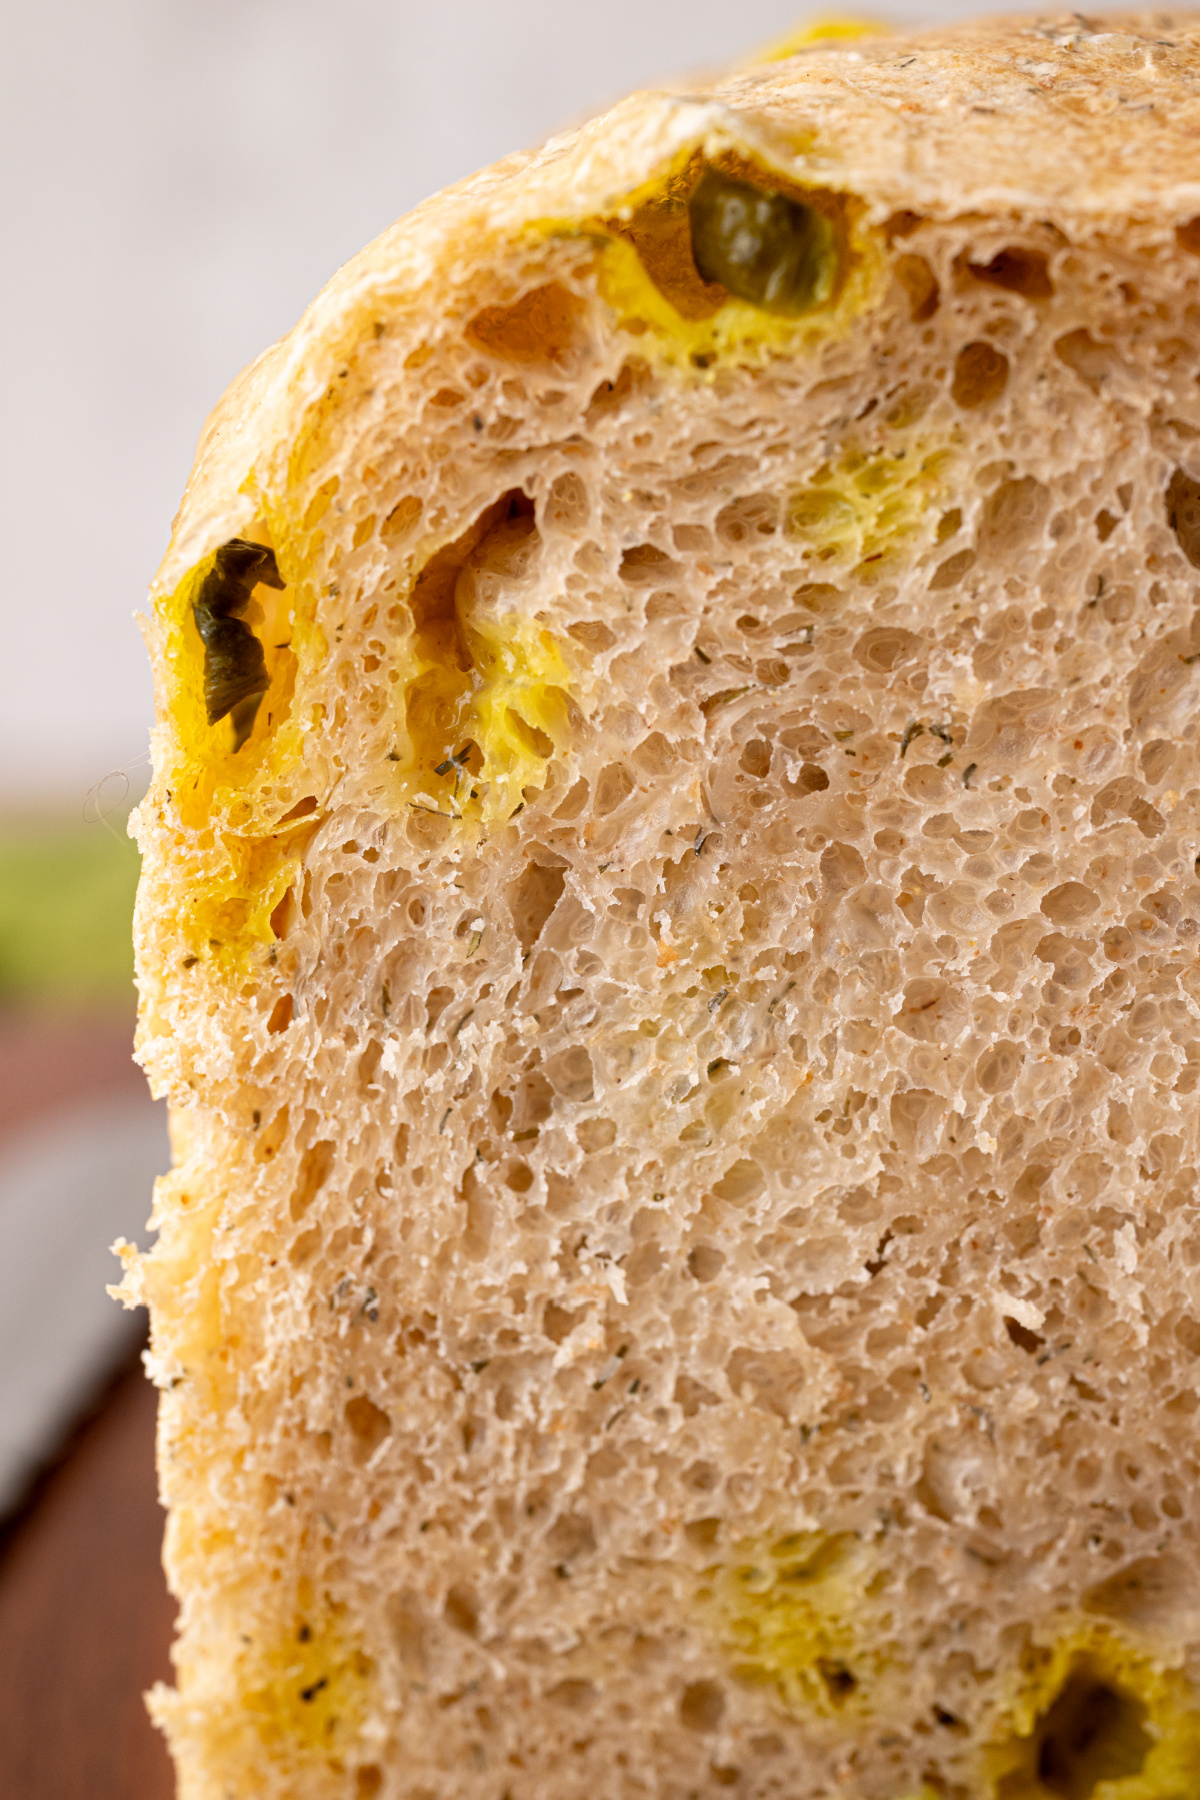
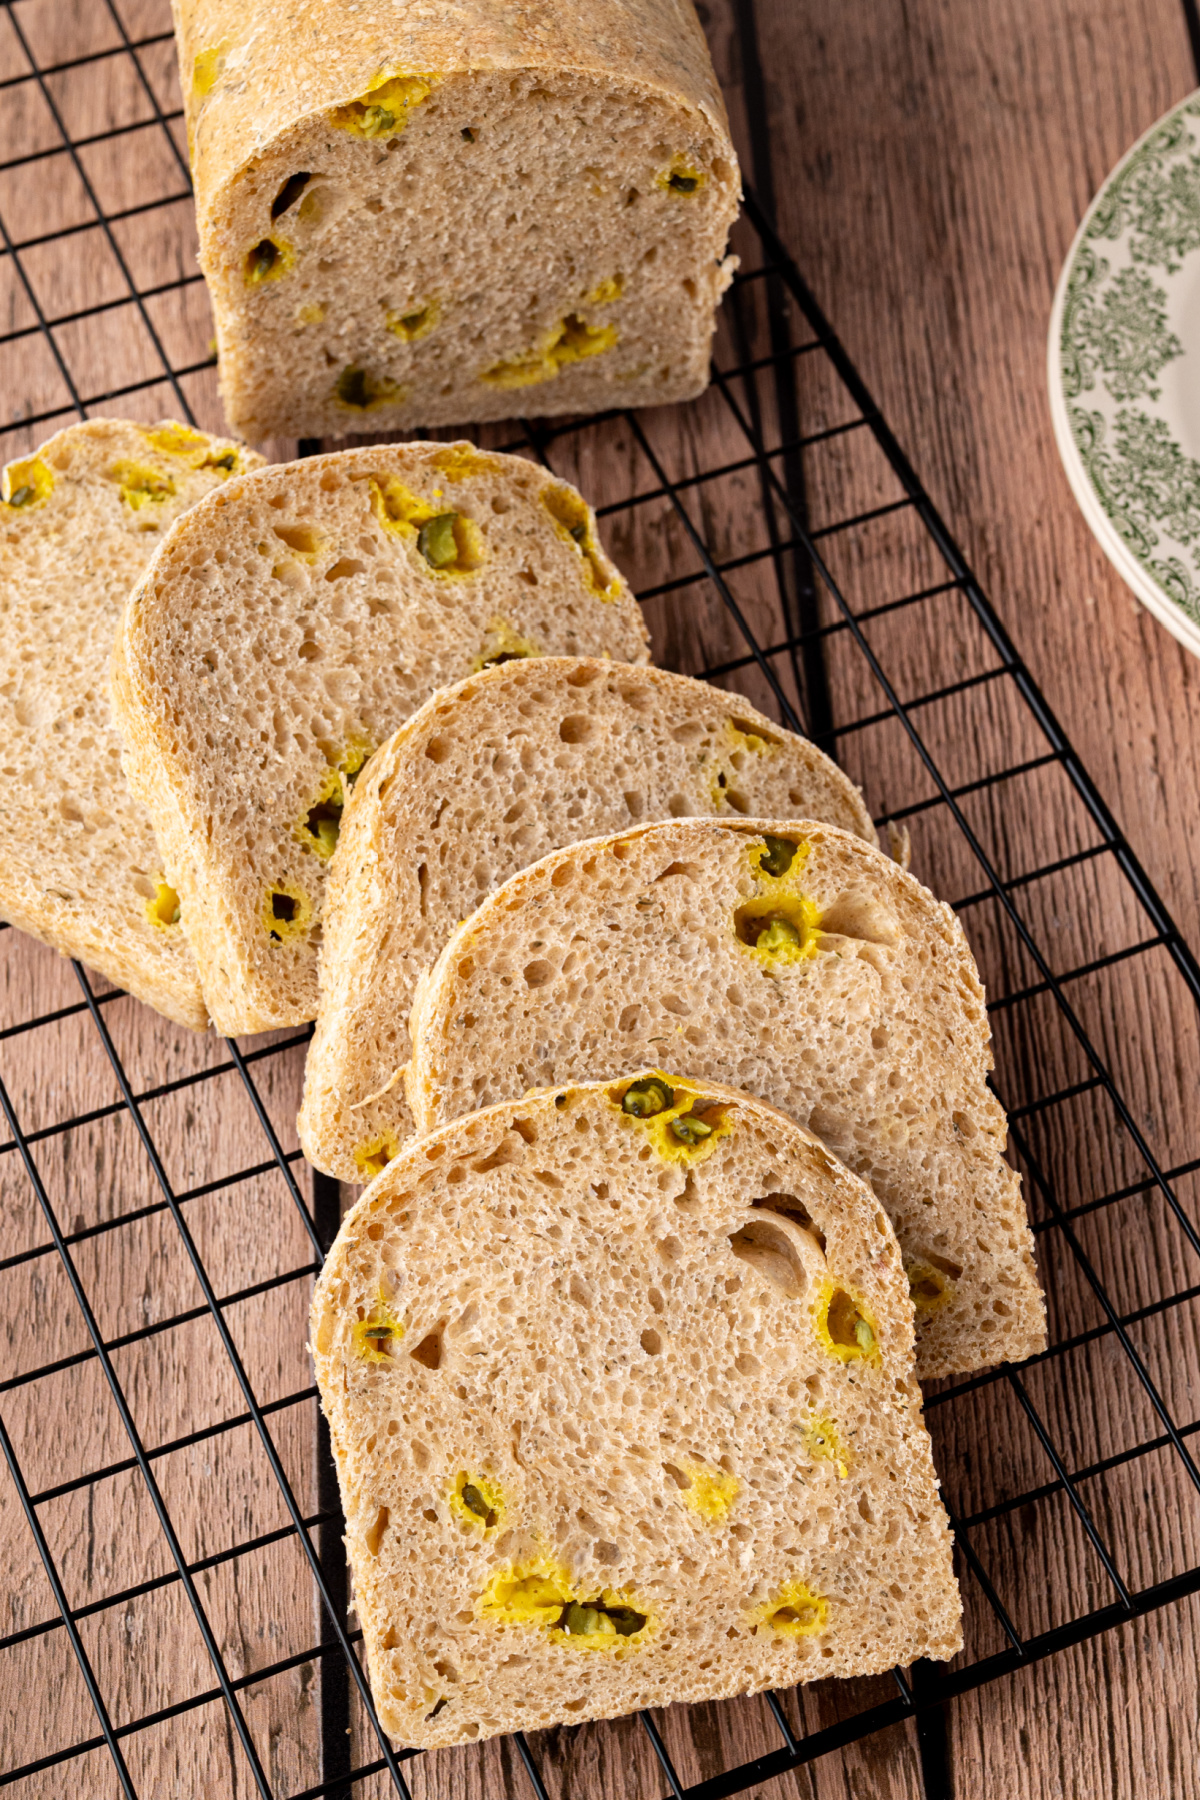
- The chopped dill pickles are not optional. Dried dill and pickle brine have their place, but I wanted pieces of pickle in the bread, not something that tasted vaguely like a dill pickle potato chip. You get tangy bites of dill pickle flavor, and you can see what kind of bread this is before you even take a bite. Flecks of dried dill in the bread are not unique.
- Bread flour makes up most of the dough because I wanted enough gluten strength to handle the chopped pickles and still make a decent sandwich loaf. The small amount of whole wheat flour adds more wheat flavor without turning it into my honey whole wheat sandwich bread. Olive oil adds tenderness. You don’t want sandwich bread that requires a jaw workout. We’ve all experienced that kind of whole wheat bread before.
- I don’t treat the bulk-fermentation timing like it’s a binding contract. Your kitchen, your starter, and the temperature of the dough aren’t going to follow my schedule. The pickles and brine bring additional salt and acidity into the dough, which can influence how quickly it ferments. I let the dough rise by about 50%, then look for it to feel lighter and airier before I shape it. The times I’ve mentioned can help, but the dough gets the final vote.
Ingredients
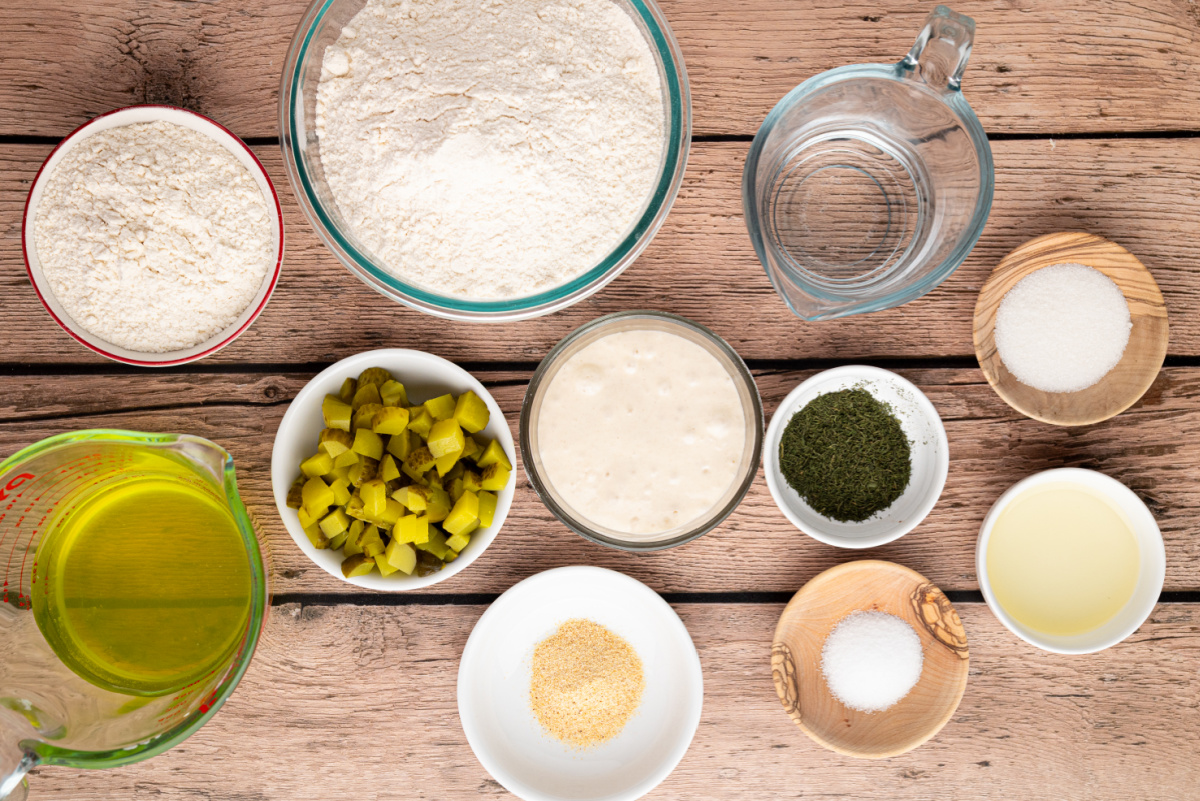
- Water and dill pickle brine – Water makes up most of the liquid, but the pickle brine is why this bread tastes like dill pickles before you even get to the chopped pieces. Use brine from dill pickles, not bread-and-butter pickles or anything sweet.
- Active sourdough starter or levain – Use a recently fed, bubbly starter that’s ready to raise the dough. This isn’t the place to use sourdough discard.
- Olive oil – This keeps the loaf softer and more sandwich-friendly once it’s baked.
- Bread flour and whole wheat flour – Bread flour has the gluten strength and the small amount of whole wheat flour adds more wheat flavor without turning it into a loaf of whole wheat bread.
- Fine sea salt – The pickle brine already has salt, so weigh this one instead of guessing with a spoon.
- Dried dill weed and garlic powder – The dried dill makes sure you taste it in every slice, and the garlic powder adds flavor without putting any more moisture into the dough.
- Dill pickles – Drain and pat the chopped dill pickles dry before adding them to the dough. Don’t use sweet pickles, and my easy homemade dill pickles are good here too.
How to Make Dill Pickle Sourdough Sandwich Bread
Find the complete printable recipe with measurements in the recipe card at the BOTTOM OF THE POST.
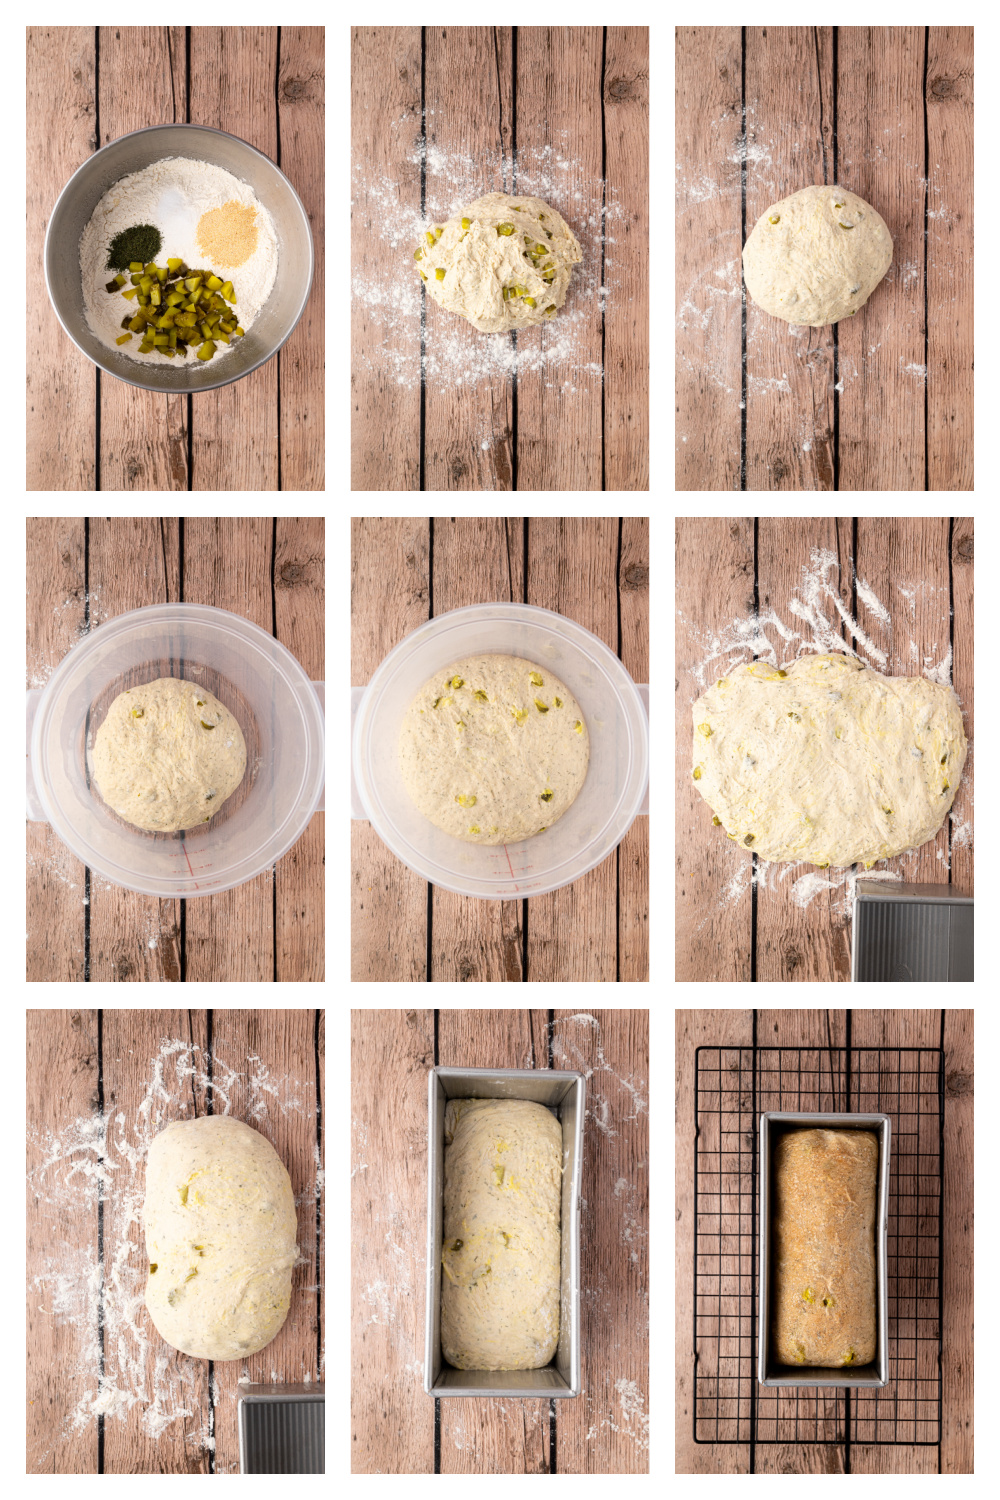
- Step One (mix the dough)
Stir the water, pickle brine, active sourdough starter, and olive oil together in a large bowl. Add the bread flour, whole wheat flour, salt, dried dill, garlic powder, and chopped pickles. The pickles should be well drained and patted dry before you add them. Mix until you don’t see dry flour anymore and you have a shaggy, sticky dough. Cover the bowl and leave it alone for 30 minutes so the flour can soak up the liquid. - Step Two (stretch and fold the dough)
Lightly oil your hands, grab one side of the dough, pull it up, and fold it over itself. Turn the bowl and keep going until you’ve made your way around the dough. Do this three times, with 30 minutes between each round. The dough will start looking smoother and less like something you need to worry about. Don’t get carried away with the folding. You’re trying to strengthen the dough, and giving it time to rest between rounds is part of that. - Step Three (let the dough rise)
Cover the bowl and let the dough sit at room temperature, ideally around 70–75°F, until it has risen by about 50%. Plan on about 6–8 hours total, including the stretch-and-fold time, but don’t schedule your afternoon around it. Look for dough that feels lighter, looks puffier, and jiggles when you move the bowl. Don’t wait for it to double. - Step Four (preshape and rest the dough)
Turn the dough onto a lightly floured counter and gently bring it into a loose rectangle. Try not to press out every bit of air you spent the day building. Let it sit uncovered for 20 minutes. If the dough starts pulling back when you try to shape it, this gives it time to relax and stop being difficult. - Step Five (shape and proof the loaf)
Gently flatten the dough into a rectangle, fold the sides inward, and roll it into a log about the length of your 9 x 4 x 4-inch Pullman pan. Put it seam-side down in a lightly greased or parchment-lined pan, then cover it loosely. Let it rise for about 1½–2½ hours, until the dough looks noticeably puffy and has risen well in the pan. If you’d rather bake tomorrow, cover the pan and refrigerate it for 8–12 hours. Check it the next day before baking. If it hasn’t risen enough yet, leave it on the counter until it has. - Step Six (bake and cool the bread)
Preheat the oven to 375°F. Bake the loaf on the center rack for 40–45 minutes with the Pullman lid off. If the top is getting too brown after about 20 minutes, lay a loose piece of foil over it. The bread is ready when the center reaches about 200°F. Turn the loaf out onto a wire rack and let it cool for at least 2 hours before slicing. I know you want to cut into it and see the pickles, but slicing sourdough while it’s still warm can leave you with gummy bread. You’ve waited this long. Don’t ruin it now.
Recipe Tips
- Dry the chopped pickles really well before they go into the dough. Drain them, pat them dry with paper towels, then let them sit for a few minutes while you put the rest of the ingredients together. The pickles are already adding moisture into the dough, so there’s no reason to add all the liquid stuck to the outside of them too.
- A kitchen around 70–75°F is ideal for the fermentation times in this recipe. If your kitchen is cooler, the dough may need several more hours. If it’s warmer, fermentation can go faster. That’s normal with sourdough, and it’s why I pay more attention to how the dough looks and feels than how long it’s been sitting there.
- Don’t start throwing flour at the dough if it feels sticky. Sourdough is supposed to be tacky, and there are pickles in there. Use lightly oiled hands for the folds, let the dough rest when it needs to, and give it time before deciding something is wrong.
- If you want a stronger pickle flavor, replace another 10–15 grams of water with pickle brine. Don’t add the brine on top of the existing liquid, or you’ll change the dough’s hydration. I wouldn’t go much farther because pickle brine also adds more salt and acidity.
- If you’re planning to make sandwiches, wait until the bread has cooled completely before slicing. Warm bread is harder to cut evenly, especially when you’re trying to get slices thin enough for grilled cheese.
Storage and Freezing
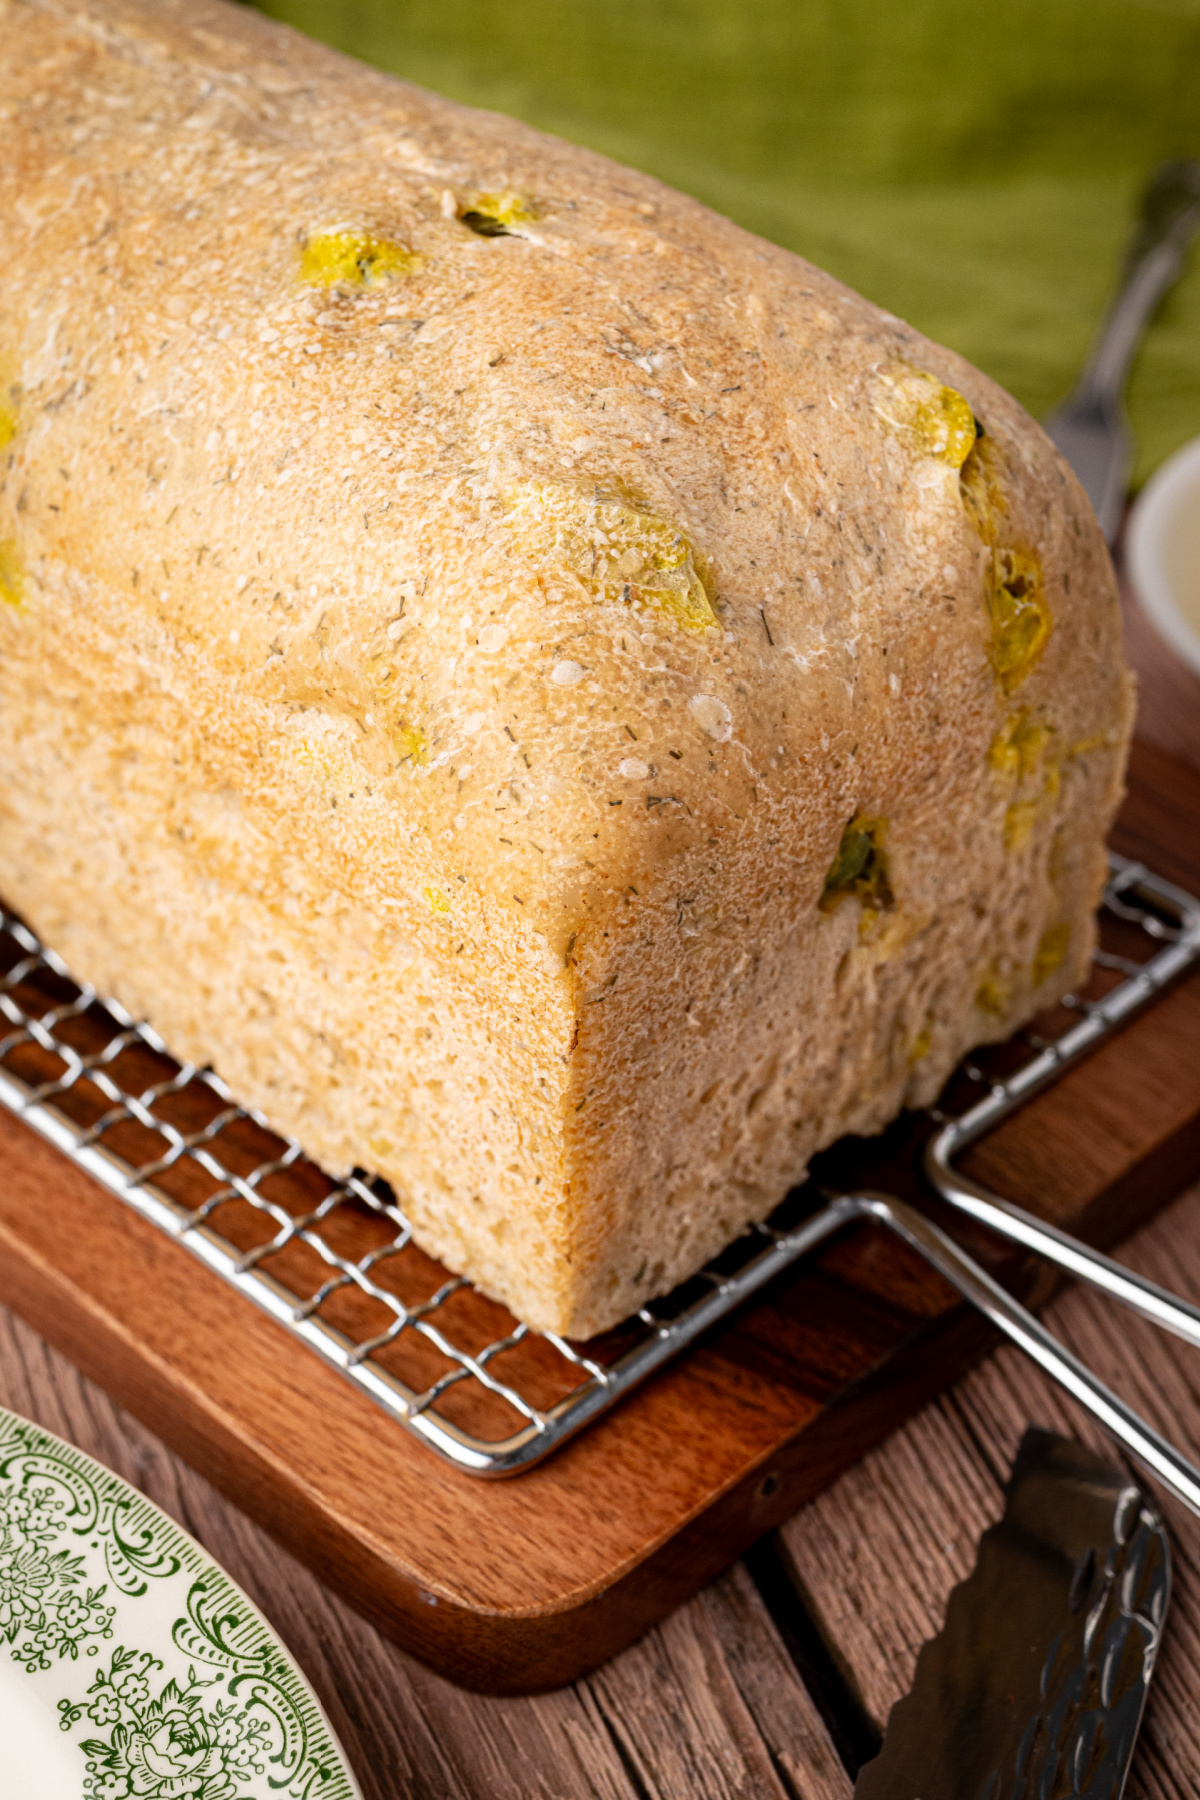
- Once the bread has cooled completely, keep it in a bread bag or airtight container at room temperature for 2–3 days. Homemade bread doesn’t have the preservatives packaged sandwich bread does, so it’s best while it’s fresh.
- I don’t keep bread in the refrigerator because it goes stale faster at refrigerator temperatures. If you aren’t going to finish the loaf within a couple of days, slice it and freeze it instead.
- Slice the loaf before freezing so you can pull out what you need later. Put the slices in a freezer bag or airtight container, press out as much air as you can, and freeze for up to 3 months.
- Frozen slices can go straight into the toaster. For grilled cheese, I thaw them first so the bread doesn’t brown before the cheese melts. And if you spot mold anywhere on the loaf, throw the whole loaf away. Cutting off the moldy part isn’t enough.
FAQs
- Can I use sourdough discard instead of active starter?
Not if it’s inactive discard straight from the refrigerator. This bread needs an active sourdough starter or levain to rise because there’s no commercial yeast in the dough. If you feed your discard and it becomes bubbly and active again, then it’s ready to use. - Can I make this with all-purpose flour?
I developed this loaf with bread flour because it gives the dough more strength, especially with chopped pickles mixed through it. All-purpose flour generally has less protein than bread flour, so the dough may feel softer and be harder to shape. I haven’t tested this recipe with all-purpose flour, so I’d use bread flour for the first loaf. - Can I leave out the whole wheat flour?
Yes. Replace it with the same weight of bread flour. The bread will have a slightly milder wheat flavor, but it will still work fine. - Can I use sweet pickles?
You can, but you’ll end up with a very different loaf. Sweet pickles add sugar and their own seasoning into the dough, and this bread was made for dill pickles. I’d save the sweet pickles for something else. - Can I make it without pickle brine?
Yes. Replace the pickle brine with the same amount of water. The loaf will lose some of its tangy, salty pickle flavor, so keep an eye on the dough during bulk fermentation instead of relying on the original timing. - Can I refrigerate the dough overnight before baking?
Yes. Shape the dough, put it in the loaf pan, cover it, and refrigerate it for 8–12 hours. Check it before baking the next day. If it hasn’t risen enough in the pan, let it sit at room temperature until it looks puffy and ready. - Can I bake this in a Dutch oven?
You could shape the dough into a round loaf and bake it in a Dutch oven, but I haven’t tested that method with this recipe. You’ll need to adjust the baking temperature and timing, and you’ll end up with a different crust and loaf shape. I made this bread for sandwiches, so I’m sticking with the Pullman pan. - Why didn’t my dill pickle sourdough bread rise?
Your starter may not have been active enough, your kitchen may have been too cool, or the dough needed more time. Pickle brine adds salt and acidity into the mix too, so this isn’t the dough to rush. Give it time to rise about 50%, then shape it once it feels lighter and airier.
From My Kitchen Notes
Small observations from the margins.
- I have learned the difference between being preserved and being kept.
- I’ve never needed to be sweet to be worth coming back for.
- A little extra salt has never stopped me from rising.
- I will never be a garnish on somebody else’s plate.
- I don’t confuse a pretty crust with having substance underneath.
- I’ve stopped making room for things that never go further.
- A long cold night doesn’t mean I won’t rise in the morning.
- Pieces that stay visible are enough of a reason.
Pickles Aren’t Just for Sandwiches
- Dill Pickle Soup – Dill pickles, potatoes, pickle brine.
- Oven Fried Dill Pickle Chips – Crispy, golden dill pickle chips baked without oil.
- Dill Pickle Dip – Cream cheese, Old Bay, pickle brine.
- Fried Dill Pickle Dip – Cool, creamy dip, hot buttery topping, chips for scooping.
- Dill Pickle Margarita – Silver tequila, pickle juice, lime, Tajín rim.
This post may contain affiliate links. Please read my disclosure policy.
Dill Pickle Sourdough Sandwich Bread
Equipment
- kitchen scale Measures ingredients accurately for consistent dough hydration.
- mixing bowls (large). Provides room for mixing, folding, and fermenting the dough.
- dough whisk or sturdy spoon. Combines the ingredients without overworking the dough.
- bench scraper Helps transfer and shape the dough.
- 9x4x4-inch Pullman loaf pan (23x10x10 cm). Creates tall, even sandwich slices. Bake without the lid.
- parchment paper or baking spray. Prevents the bread from sticking to the pan.
- instant-read thermometer Checks the internal temperature for doneness.
- cooling rack Allows air to circulate around the loaf as it cools.
Ingredients
- 250 g (8.8 oz) water
- 40 g (1.4 oz) dill pickle brine
- 75 g (2.6 oz) active sourdough starter or levain at 100% hydration
- 15 g (0.5 oz) olive oil
- 400 g (14.1 oz) bread flour
- 35 g (1.2 oz) whole wheat flour
- 8 g (0.28 oz) fine sea salt
- 2 tsps (~2 g) dried dill weed
- 1 tsp (~3 g) garlic powder
- 75 g (2.6 oz) dill pickles chopped, thoroughly drained and patted dry
Instructions
- In a large mixing bowl, combine the water, pickle brine, active sourdough starter or levain, and olive oil. Stir until the starter is evenly dispersed. Add the bread flour, whole wheat flour, salt, dried dill weed, garlic powder, and thoroughly drained and dried chopped dill pickles. Mix by hand, with a dough whisk, or in a stand mixer until no dry flour remains and a shaggy dough forms. Cover the bowl and let the dough rest for 30 minutes to allow the flour to hydrate.250 g (8.8 oz) water, 40 g (1.4 oz) dill pickle brine, 75 g (2.6 oz) active sourdough starter or levain, 15 g (0.5 oz) olive oil, 400 g (14.1 oz) bread flour, 35 g (1.2 oz) whole wheat flour, 8 g (0.28 oz) fine sea salt, 2 tsps (~2 g) dried dill weed, 1 tsp (~3 g) garlic powder, 75 g (2.6 oz) dill pickles
- Perform three sets of stretch-and-folds or coil folds, spacing each set 30 minutes apart. Use lightly oiled hands to prevent sticking, and handle the dough gently to avoid tearing the developing gluten. After the final set, cover the bowl and continue bulk fermentation at room temperature (70–75°F / 21–24°C) until the dough has increased in volume by approximately 50%, feels airy, and shows visible signs of fermentation. Allow approximately 6–8 hours for bulk fermentation, adjusting as needed based on starter activity and room temperature rather than relying solely on the clock.
- Transfer the dough to a lightly floured work surface. Gently preshape it into a loose rectangle, taking care not to press out all the accumulated gas. Let the dough rest uncovered for 20 minutes to relax the gluten before final shaping.
- Shape the dough into a snug sandwich loaf by gently flattening it into a rectangle, folding the sides inward, and rolling it into a log approximately the length of the Pullman pan. Place seam-side down in a lightly greased or parchment-lined 9 x 4 x 4-inch (23 x 10 x 10 cm) Pullman loaf pan. Cover loosely and proof at room temperature for approximately 1½–2½ hours, until the dough is visibly puffy and has risen noticeably in the pan. Alternatively, refrigerate the covered dough for 8–12 hours for an overnight proof. If refrigerated, allow additional room-temperature proofing before baking if the dough has not risen sufficiently.
- Preheat the oven to 375°F (190°C). Bake the loaf uncovered, without the Pullman pan lid, on the center oven rack for 40–45 minutes, until the crust is golden brown and the center registers approximately 200°F (93°C) on an instant-read thermometer. If the top begins browning too quickly, loosely tent with aluminum foil after approximately 20 minutes. Baking time may vary depending on the oven and loaf pan.
- Remove the bread from the oven and carefully turn it out of the Pullman pan onto a wire rack. Allow the loaf to cool completely for at least 2 hours before slicing. Cooling allows the interior to finish setting and prevents a gummy texture when cutting the sourdough sandwich bread.
Notes
- Use an active, bubbly sourdough starter or levain. Inactive sourdough discard will not reliably raise this bread without additional leavening.
- Drain the chopped pickles thoroughly and pat dry with paper towels before adding them to the dough. Excess surface moisture can make the dough stickier and more difficult to handle.
- Fermentation times are estimates. Starter activity, room temperature, and the salt and acidity of the pickle brine can affect how quickly the dough rises.
- For additional pickle acidity, replace 10–15 grams of water with an equal weight of pickle brine. Increasing the brine also increases the salt content.
- The Pullman loaf pan is used without its lid. This allows the dough to rise above the pan and develop a rounded top rather than the square profile of a covered Pullman loaf.
- Store completely cooled bread in an airtight container or bread bag at room temperature for 2–3 days. For longer storage, freeze individual slices for up to 3 months.
- Nutritional information is provided as a courtesy only and should be construed as an estimate rather than a guarantee. Ingredients can vary, and Noble Pig makes no guarantees to the accuracy of this information.
Nutrition
Have you made this Dill Pickle Sourdough Sandwich Bread? I’d love to hear how it turned out – leave a comment below and let me know.
As an Amazon Associate and member of other affiliate programs, I earn from qualifying purchases.
Leave a Reply