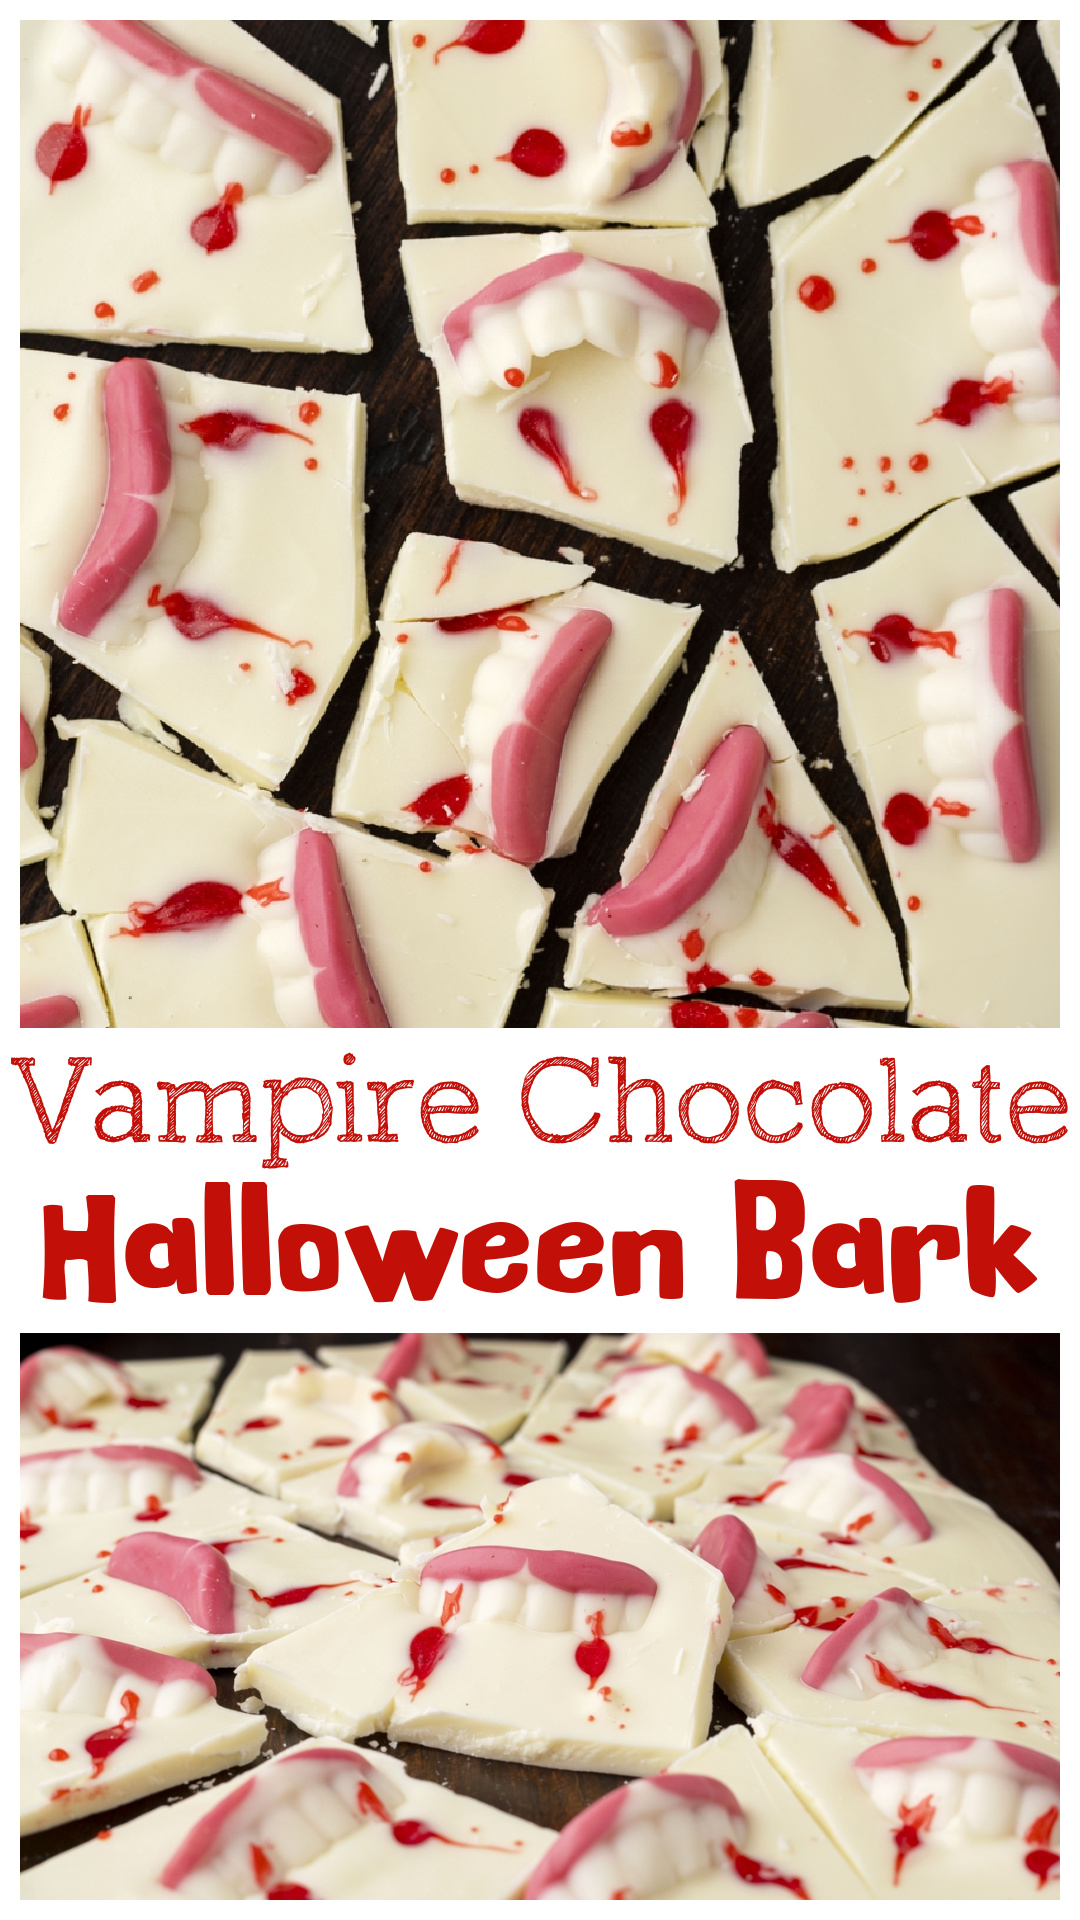
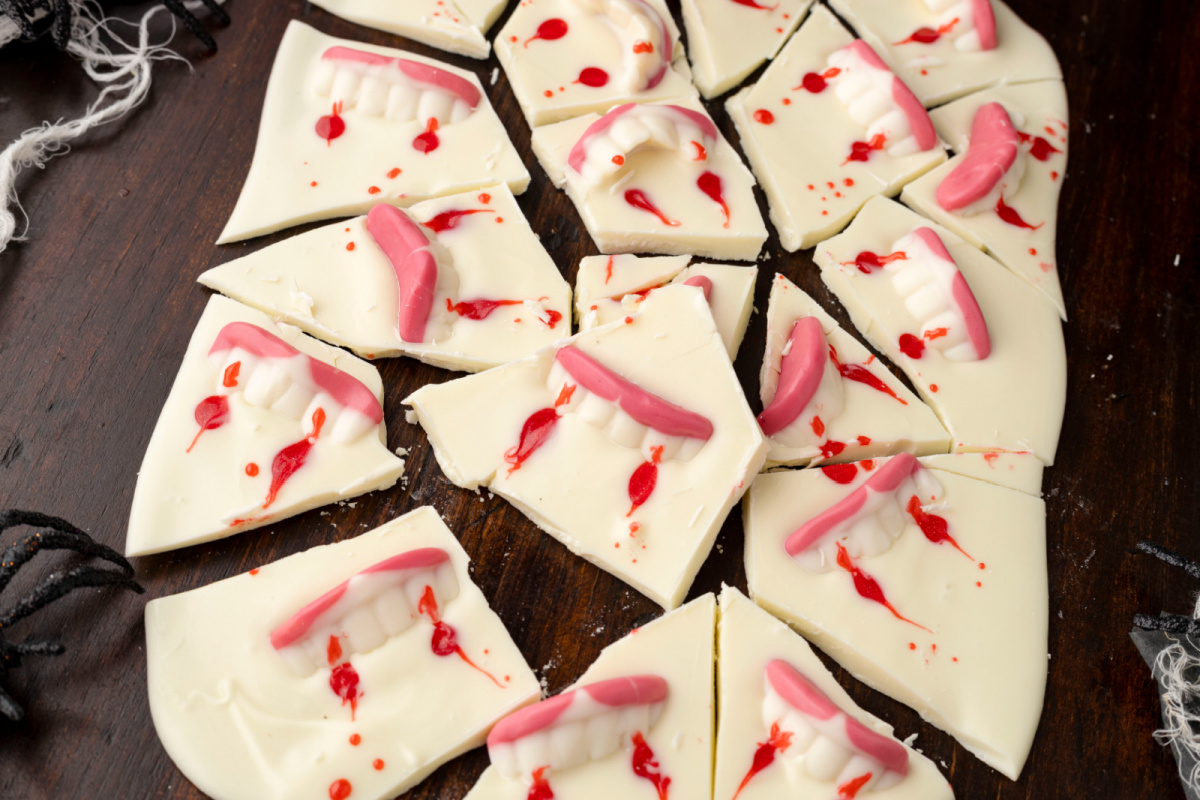
This vampire chocolate Halloween bark is white chocolate covered with gummy vampire teeth and edible red gel for a bloody Halloween treat. It takes three ingredients, about 20 minutes, and every piece gets its own set of fangs.

Vampire Chocolate Halloween Bark with Gummy Teeth and Edible Blood
I used to make this vampire chocolate bark for Halloween parties when my boys were at the age where scary and gross were basically the same thing as fun. I wanted vampire teeth, visible blood, and something they could grab without me having to bake another dessert. I’d serve these right next to my kitty litter cake, which truly is the ultimate gross Halloween dessert. With this bark, white chocolate was the perfect creepy background, and gummy fangs and red decorating gel took care of the rest.
The teeth are obviously the important part. I made sure every piece had its own set because try handing a kid chocolate bark without vampire teeth when everyone else got them. Not happening. I wasn’t going to spend the party explaining why somebody got the sad fangless piece.
It’s only three ingredients, but this bark has a lot of personality. The white chocolate is covered with gummy vampire teeth, with red gel dripping out from underneath them. It’s gross enough for Halloween without being so disgusting that nobody wants to eat it. There’s no baking or candy thermometer involved, either. You’re basically putting vampire teeth and edible blood on melted chocolate, which is about as complicated as this recipe gets.

The Decisions Behind This Recipe
- I use white melting chocolate because it’s easier to work with than regular white chocolate chips. It melts smoothly enough to spread across the pan, and the white color makes the gummy vampire teeth and red gel easy to see. White chocolate chips can be weird in the microwave and don’t always melt into something spreadable across a pan. Candy melts or melting wafers are made for this kind of thing and they harden quickly in the fridge.
- I spread the chocolate about ¼ inch thick. If it’s too thin, it breaks into tiny shards when you try to cut it. If it’s too thick, it gets awkward to bite into with a gummy mouth sitting on top.
- Every piece needs its own set of vampire teeth. Full stop. That means spacing the gummy fangs out while the chocolate is still melted, with enough room around each one to cut the bark later. The pieces don’t need to match in shape. They just need to have teeth.
- The red decorating gel goes under the fangs first, then I add a few more drips across the top. I don’t try to make every drip look the same because blood art is not supposed to be precise. The blood should look like it’s coming from the teeth, not like somebody dropped a tube of red gel onto the counter.
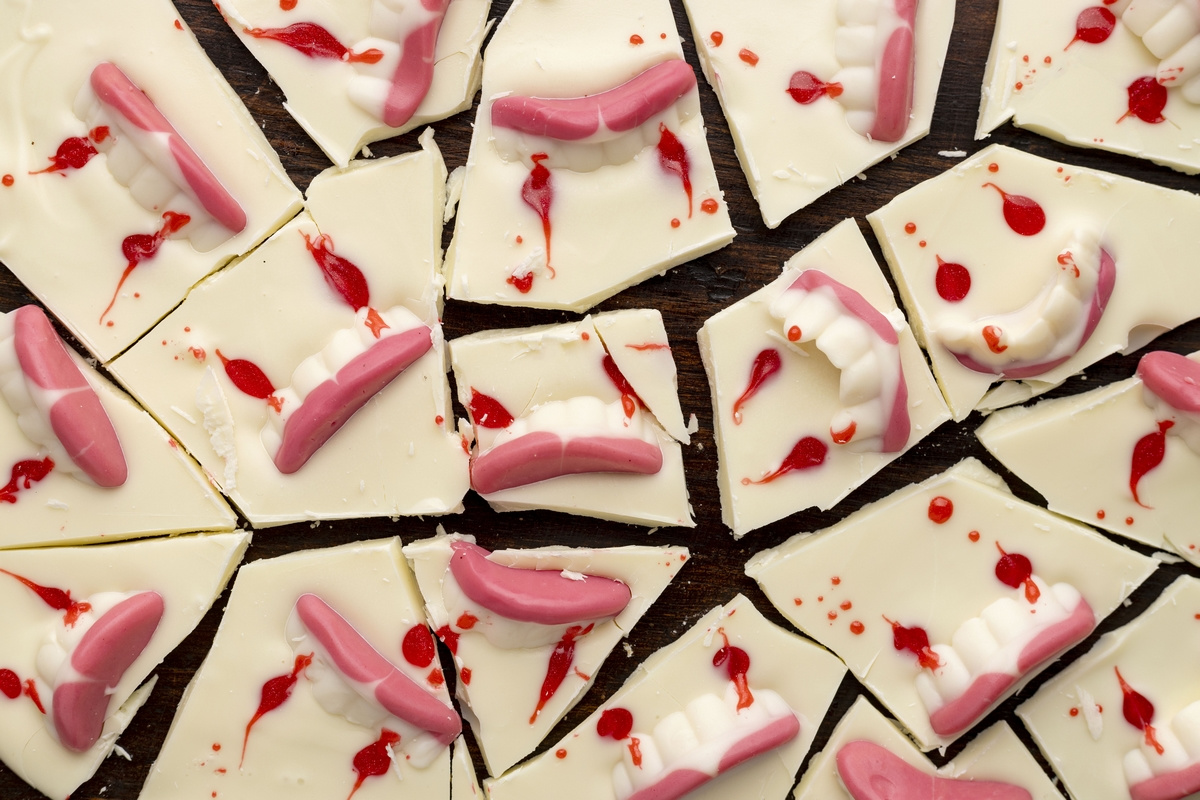
- Five minutes in the refrigerator is enough to harden the chocolate. Then I cut and break it around the gummy teeth instead of trying to slice directly through them. The portions won’t all be the same size, which doesn’t matter when everyone gets their own vampire teeth.
Ingredients
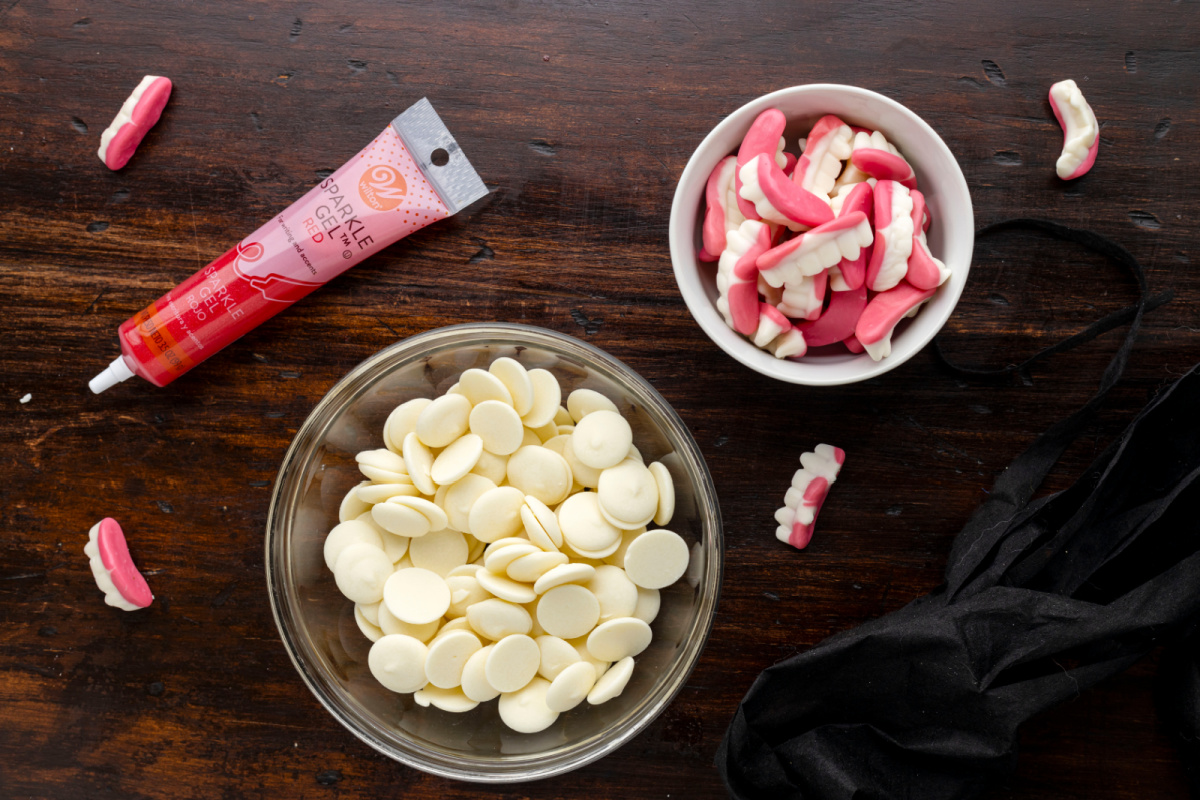
- White melting chocolate – Use white candy melts or melting wafers instead of white chocolate chips. They’re made for melting and will firm up quickly once refrigerated.
- Gummy vampire teeth – Look for the soft gummy fangs with white teeth and pink gums. You’ll want 18 sets if you’re making 18 servings. You can usually find them in stores during Halloween season, but ordering online is probably your best option the rest of the year.
- Edible red decorating gel – Use the red gel that comes in a squeezable decorating tube, sometimes called writing gel. It makes the blood drips under the fangs. Don’t use liquid food coloring because it won’t drip the same way, and it can make melted chocolate seize.
How to Make Vampire Chocolate Halloween Bark
Find the complete printable recipe with measurements in the recipe card at the BOTTOM OF THE POST.
- Step One (prepare the pan)
Line a sheet pan with parchment paper so the chocolate comes off easily once it hardens. There’s no reason to grease the parchment or cover the whole pan with chocolate. This is chocolate bark, not a full sheet cake. - Step Two (melt the chocolate)
Put the white melting chocolate in a microwave-safe bowl and microwave it in 30-second intervals, stirring well after each one. It’s not going to look completely melted at first, but stir it before sending it back in. White chocolate can go from fine to scorched in a hurry, and once it burns, it’s game over. - Step Three (add the vampire teeth)
Pour the melted chocolate onto the parchment and spread it into an even slab about ¼ inch thick. Work quickly because you want the gummy teeth in place before the chocolate starts setting. Arrange all 18 sets of fangs across the chocolate, leaving room around each one so you can cut individual pieces later. Remember, everyone needs a mouth. - Step Four (add the vampire blood)
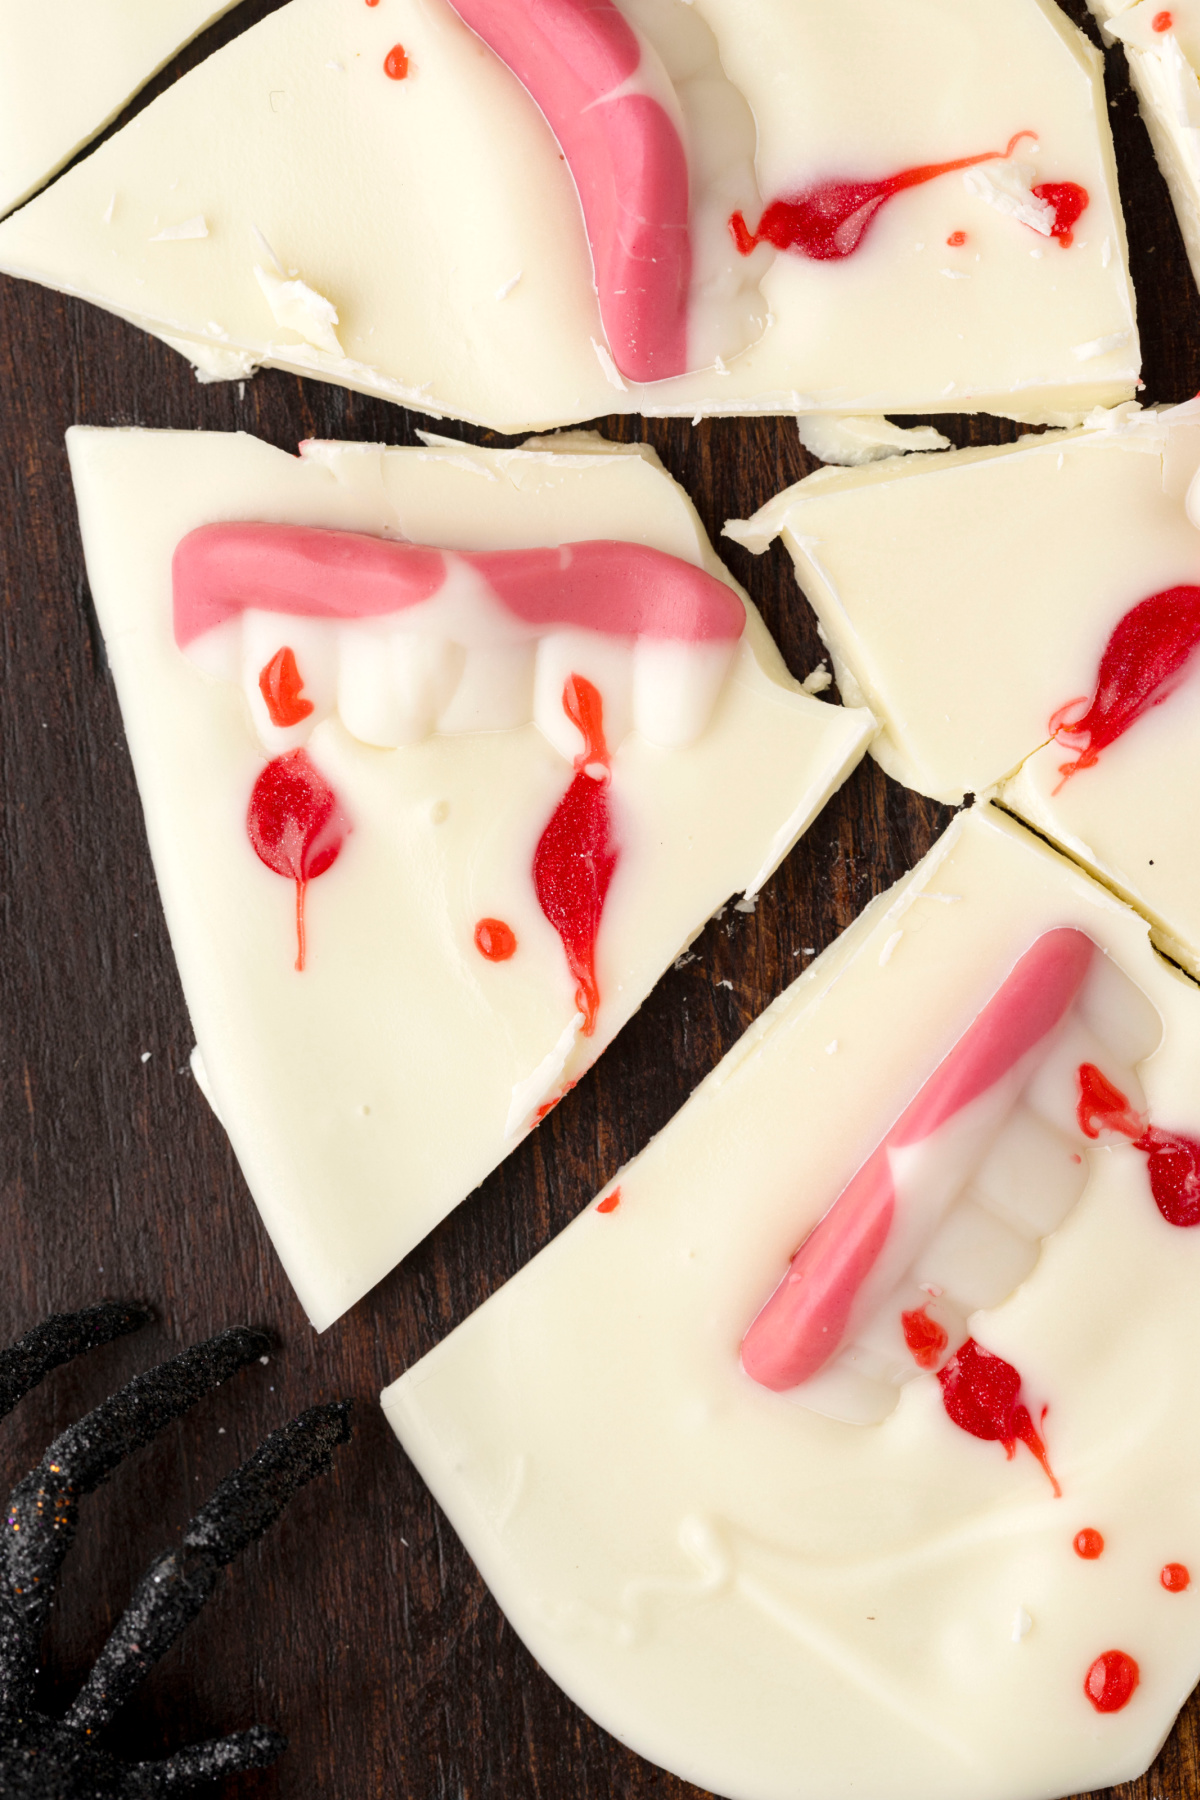
Place the tip of the red decorating gel tube under each set of gummy teeth, squeeze, and pull it away so the gel drips out from under the fangs. Add a few more drips directly on the teeth and across the white chocolate. Don’t make yourself crazy trying to get them identical. Messy is part of the look. - Step Five (chill and cut the bark)
Put the pan in the refrigerator for about 5 minutes, until the chocolate is firm. Use a sharp knife to cut and break the bark into irregular pieces, working around the gummy teeth instead of forcing the knife through them. The pieces won’t all be the same size, but make sure every one has its own vampire fangs.

Recipe Tips
- Have the gummy vampire teeth unwrapped and the red decorating gel ready before you melt the chocolate. Once the chocolate is spread out, you need to get the fangs on before it starts setting. This is not the moment to be messing with tiny candy wrappers.
- Make sure you buy edible red decorating gel in a squeezable tube, sometimes called writing gel. Liquid food coloring won’t give you blood drips, and mixing it into melted chocolate can make the chocolate seize. Red frosting could work in an emergency, but it won’t have the same creepy drip look.
- Don’t force a knife through the gummy teeth when you cut the bark. The candy is chewy, and cutting right through it can pull the fangs off the chocolate. Make another cut next to the teeth and let each mouth keep some dignity.

Storage and Make-Ahead
- Store the vampire bark in an airtight container in a cool, dry place for up to 1 week. Put parchment paper between the pieces so the red gel doesn’t end up decorating everything around it.
- I’d make this the day before a party or the morning you’re serving it. The chocolate holds up well, but the gummy teeth and decorating gel look best when they haven’t been sitting around for days.
- You don’t need to refrigerate the bark after it sets unless your kitchen is warm. If it is, keep it in an airtight container in the refrigerator, then let it sit out for a few minutes before serving. I wouldn’t freeze it because condensation during thawing can leave moisture on the chocolate and gummy teeth.

FAQs
- Can I use white chocolate chips instead of melting chocolate?
You can, but they’re more temperamental. White chocolate chips are made to hold together in cookies, so they don’t always melt smoothly enough for bark. White candy melts or melting wafers are the easiest to use. - Where can I find gummy vampire teeth?
Look in the seasonal Halloween candy section at grocery stores, party stores, or online. They may be labeled gummy vampire teeth or gummy fangs. Check the package size before buying so each piece of bark gets a set. - Can I make this without a microwave?
Yes. Melt the white melting chocolate in a heatproof bowl set over a saucepan of barely simmering water. Keep the bottom of the bowl above the water, stir until smooth, and don’t let steam or water get into the chocolate. - Can I double this recipe for a Halloween party?
Yes. Double every ingredient and use two parchment-lined sheet pans instead of making one thick slab of chocolate. Melt and spread the chocolate for one pan at a time so it doesn’t harden before you finish arranging the teeth and adding the blood drips. - Does the red decorating gel harden?
Usually, it stays a little soft or sticky instead of hardening like the chocolate. Different brands can act differently, so use parchment between the pieces and don’t stack them directly on top of each other.
From My Kitchen Notes
Small observations from the margins.
- I know when someone is showing teeth and when they’re trying to bite.
- I don’t think that everything red is an emergency.
- I’ve stopped mistaking a good-looking surface for proof nothing happened underneath.
- I know when someone has all their teeth and still can’t tell me the truth.
- Some things look sweet until you get close enough to see the blood.
- I’ve never been interested in being handed the piece without teeth.
- I can make room for a mess without making a home in it.
- Blood on the surface doesn’t always mean the wound is new.
- Some things need five minutes alone in the refrigerator before anyone gets their hands on them.
Keep Halloween Creepy
- Bloody Band-Aid Cookies – Graham crackers, frosting, red gel.
- Blood Red Punch – Cranberry-raspberry punch, spider ice cubes.
- Mason Jar Graveyard Spooky Cakes – Chocolate cake, cookies, gummy worms.
- Ghosts on a Stick – Pears, white chocolate, chocolate chips.
This post may contain affiliate links. Please read my disclosure policy.

Vampire Chocolate Halloween Bark
Equipment
- baking sheet Holds the chocolate while it sets.
- parchment paper Keeps the chocolate from sticking to the pan.
- offset spatula Spreads the chocolate to an even thickness.
- Knife Helps divide the bark around the vampire teeth.
- microwave safe bowls For melting the white chocolate.
Ingredients
- 10 oz (283 g) white melting chocolate
- 18 gummy vampire teeth
- 1 tube edible red gel
Instructions
- Line a sheet pan with parchment paper.
- Place the white melting chocolate in a microwave-safe bowl. Microwave in 30-second intervals, stirring thoroughly between each interval, until the chocolate is completely melted and smooth. Avoid overheating, as white chocolate can scorch.10 oz (283 g) white melting chocolate
- Pour the melted chocolate onto the prepared sheet pan and spread into an even layer about ¼ inch thick. Immediately arrange the gummy vampire teeth across the chocolate while it's still soft, leaving enough space between them for individual servings.18 gummy vampire teeth
- Before the chocolate sets, insert the tip of the red decorating gel tube slightly beneath each gummy tooth. Squeeze the tube while pulling the tip away to create a blood drip beneath the fangs. Repeat with the remaining teeth, then add additional drips across the white chocolate and directly onto the teeth for a bloody Halloween appearance.1 tube edible red gel
- Refrigerate the sheet pan for about 5 minutes, or until the chocolate is completely hardened.
- Use a sharp knife to cut and break the chocolate bark into irregular portions, working around the gummy teeth so each piece contains one set of vampire fangs.
Notes
- Have the gummy vampire teeth and decorating gel ready before melting the chocolate so you can decorate it before it hardens.
- Use white melting wafers or candy melts for the most reliable results. Regular white chocolate chips may not melt or set the same way.
- Store in an airtight container in a cool, dry place for up to one week, separating the portions with parchment paper to prevent the decorating gel from transferring. For the best appearance, prepare the bark the day before or the day of serving.
- Nutritional information is provided as a courtesy only and should be construed as an estimate rather than a guarantee. Ingredients can vary, and Noble Pig makes no guarantees to the accuracy of this information.
Nutrition
Have you made this Vampire Chocolate Halloween Bark? I’d love to hear how it turned out – leave a comment below and let me know.
As an Amazon Associate and member of other affiliate programs, I earn from qualifying purchases.
Ann H says
Absolutely loved this vampire chocolate bark! It was super easy to make and looked fantastic at our Halloween party. The gummy teeth and red gel gave it such a fun, spooky vibe. Everyone was raving about it, and I even wrapped some up as treats for the neighbors. This recipe is definitely a keeper!
wendy says
This was so fun to make. Tasted delish too.
Toni says
I had so much fun making this vampire chocolate bark! It came together quickly, and the kids went crazy for the spooky design. I even added some edible googly eyes for extra fun. It’s perfect for school treats or sharing with neighbors, and I loved wrapping them up in cute bags. This recipe will definitely be a Halloween tradition for us!