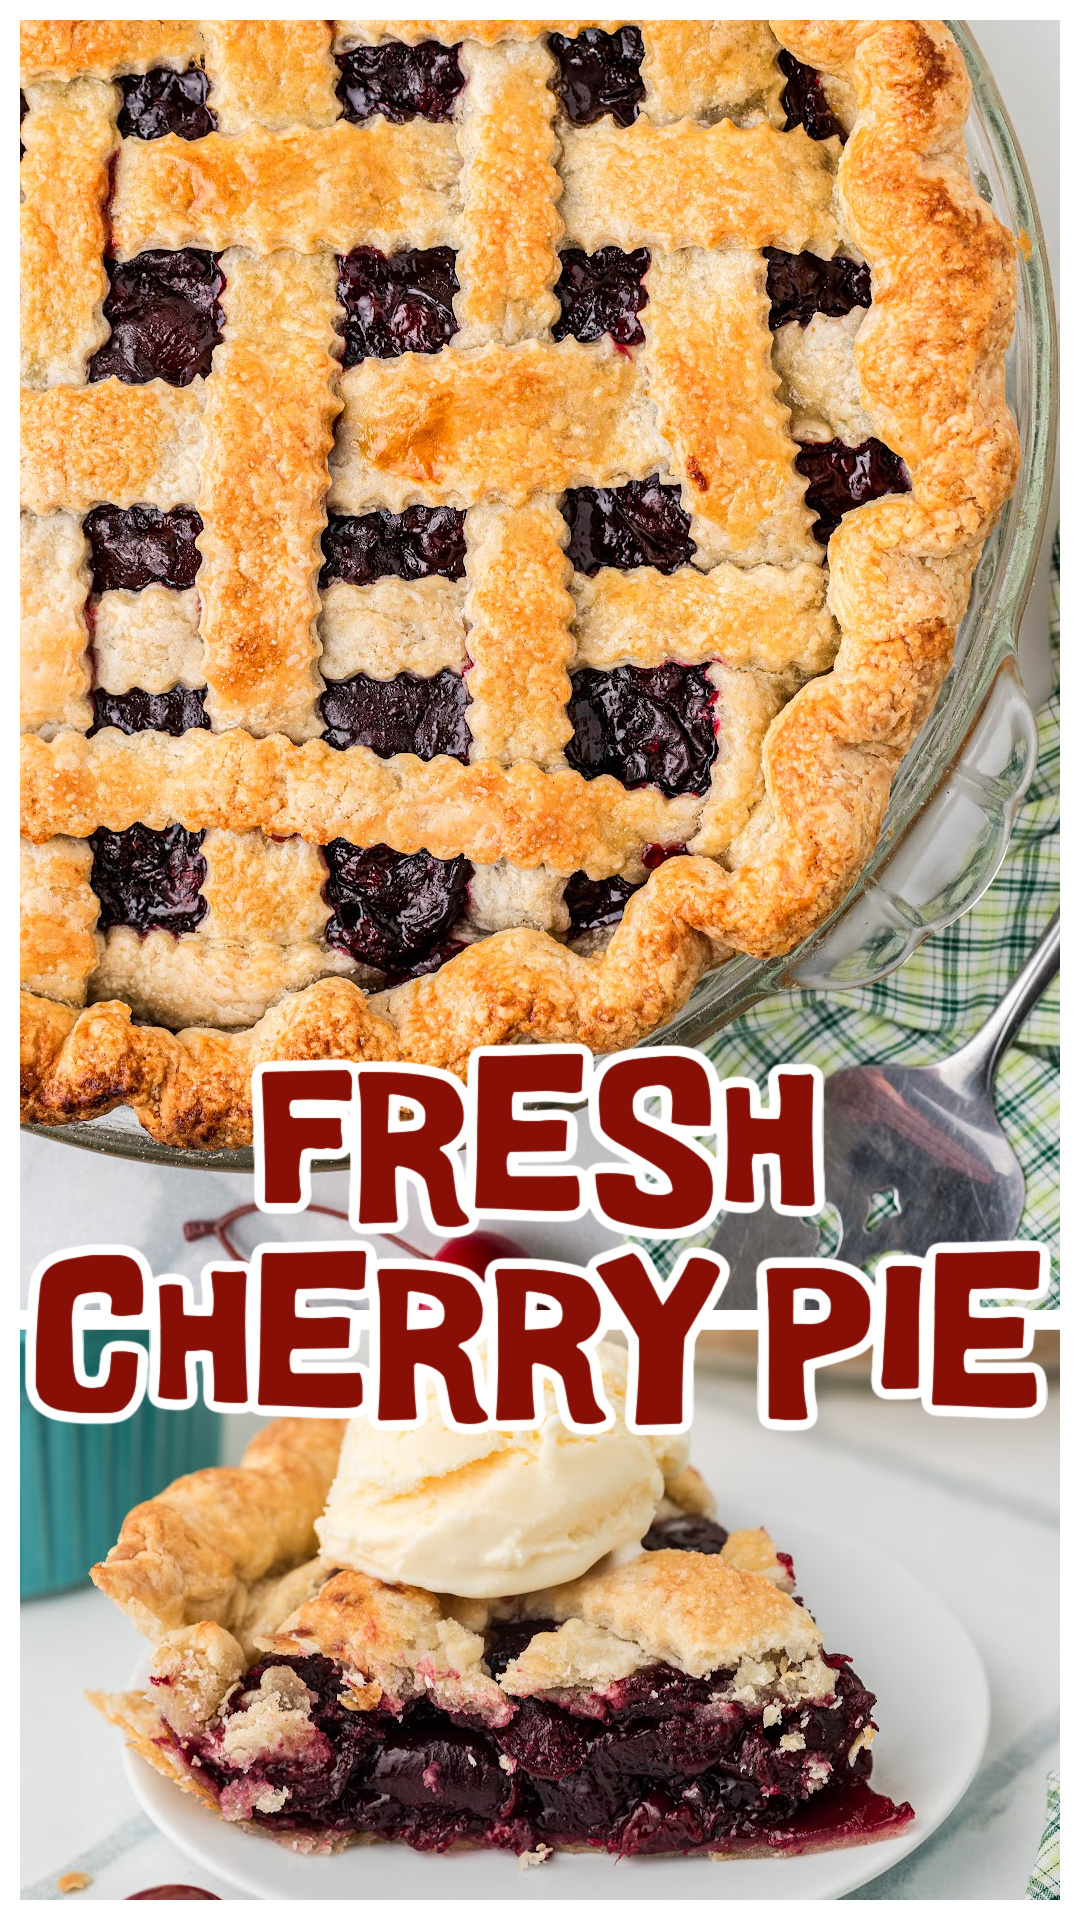
Fresh cherry pie is made with sweet summer cherries, a flaky homemade crust, and a classic lattice top. A quick extra step helps each slice stay together after the pie has cooled, instead of oozing juice.
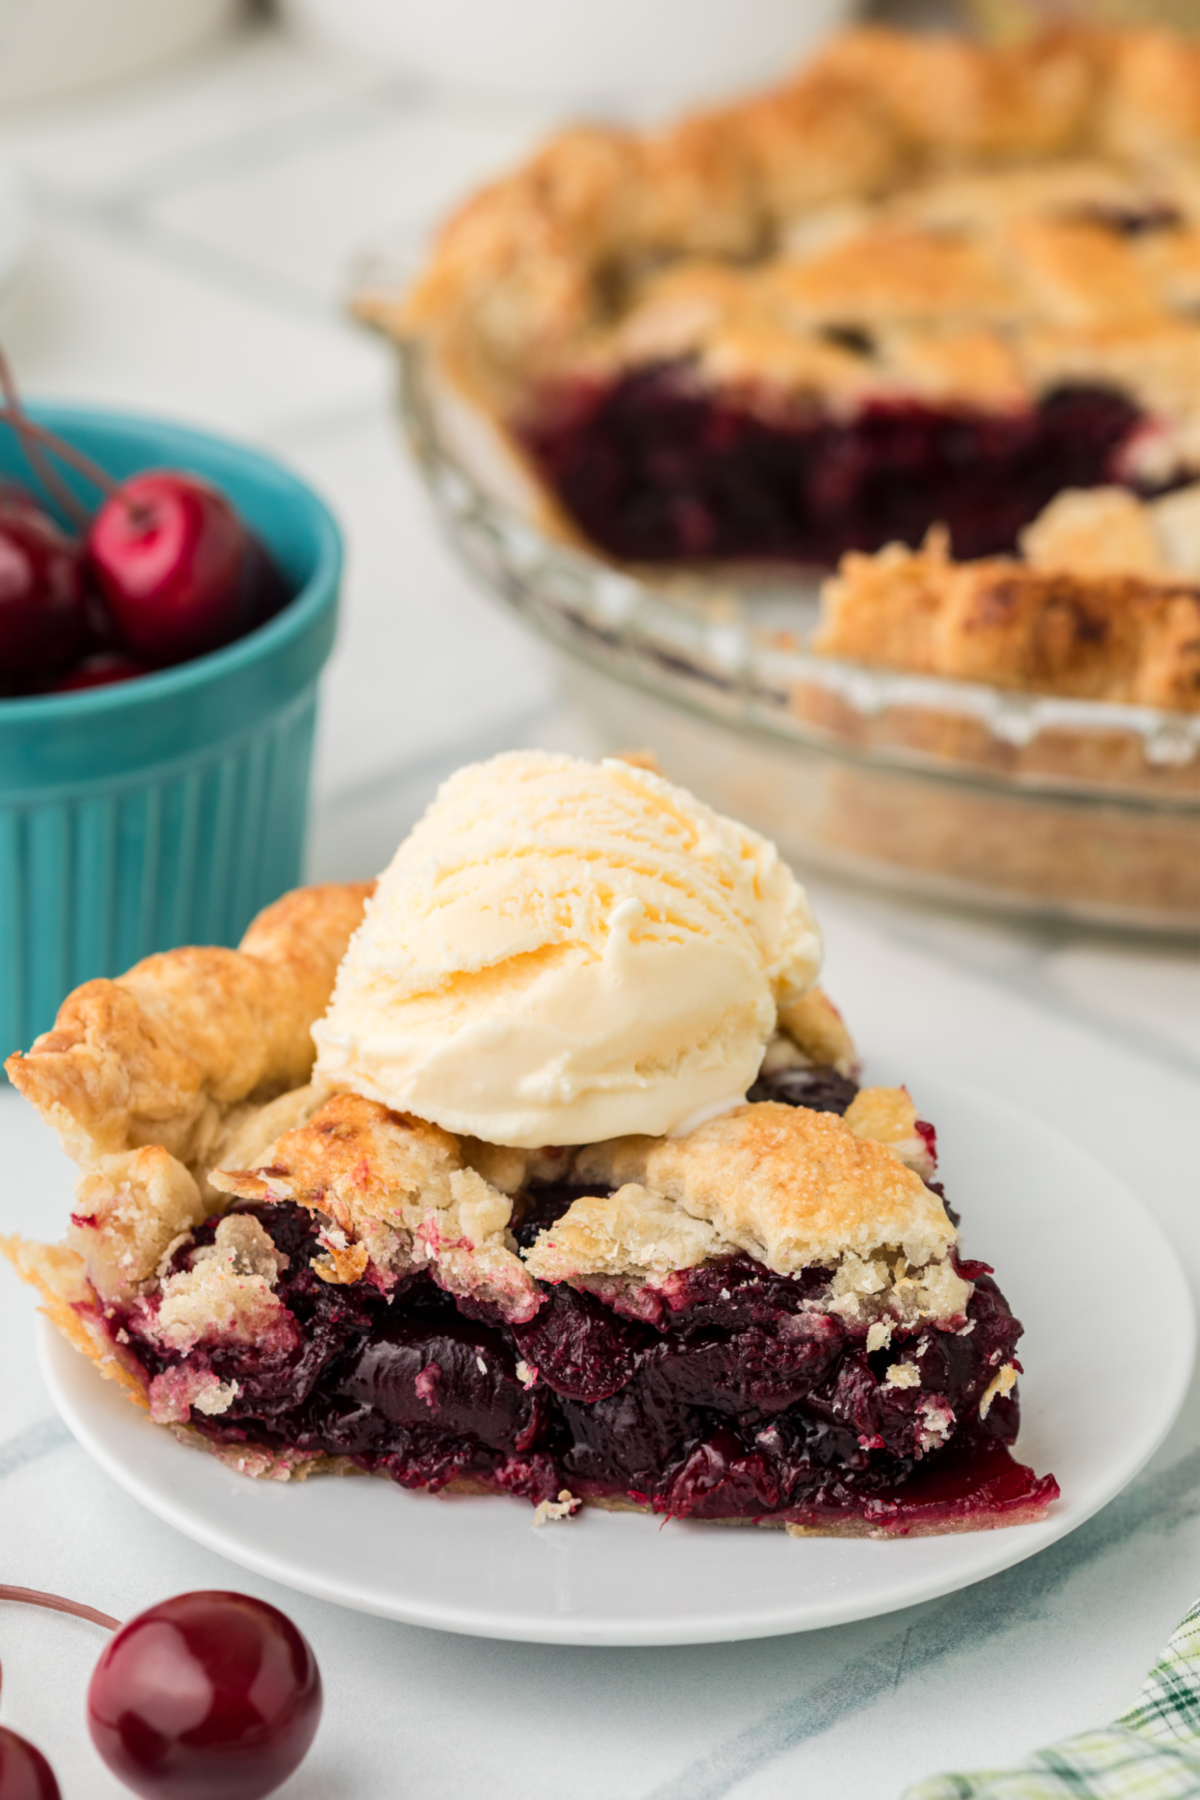
Fresh Cherry Pie That Starts on the Stovetop
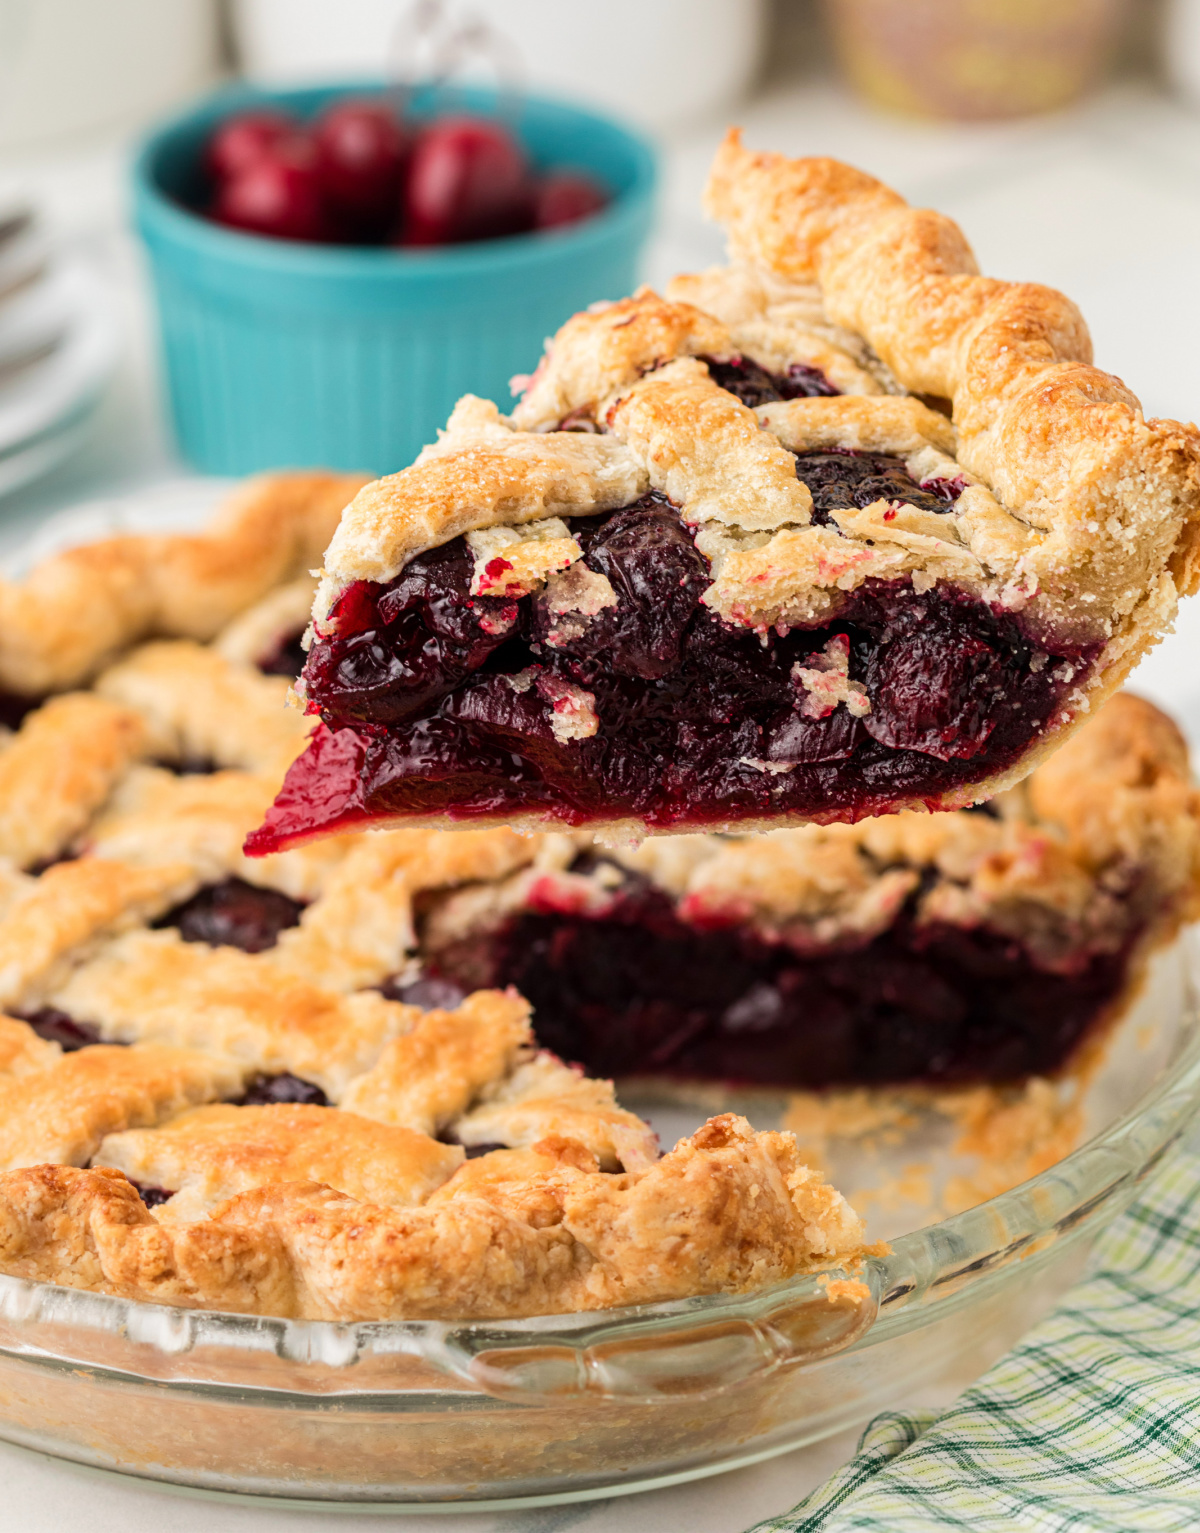
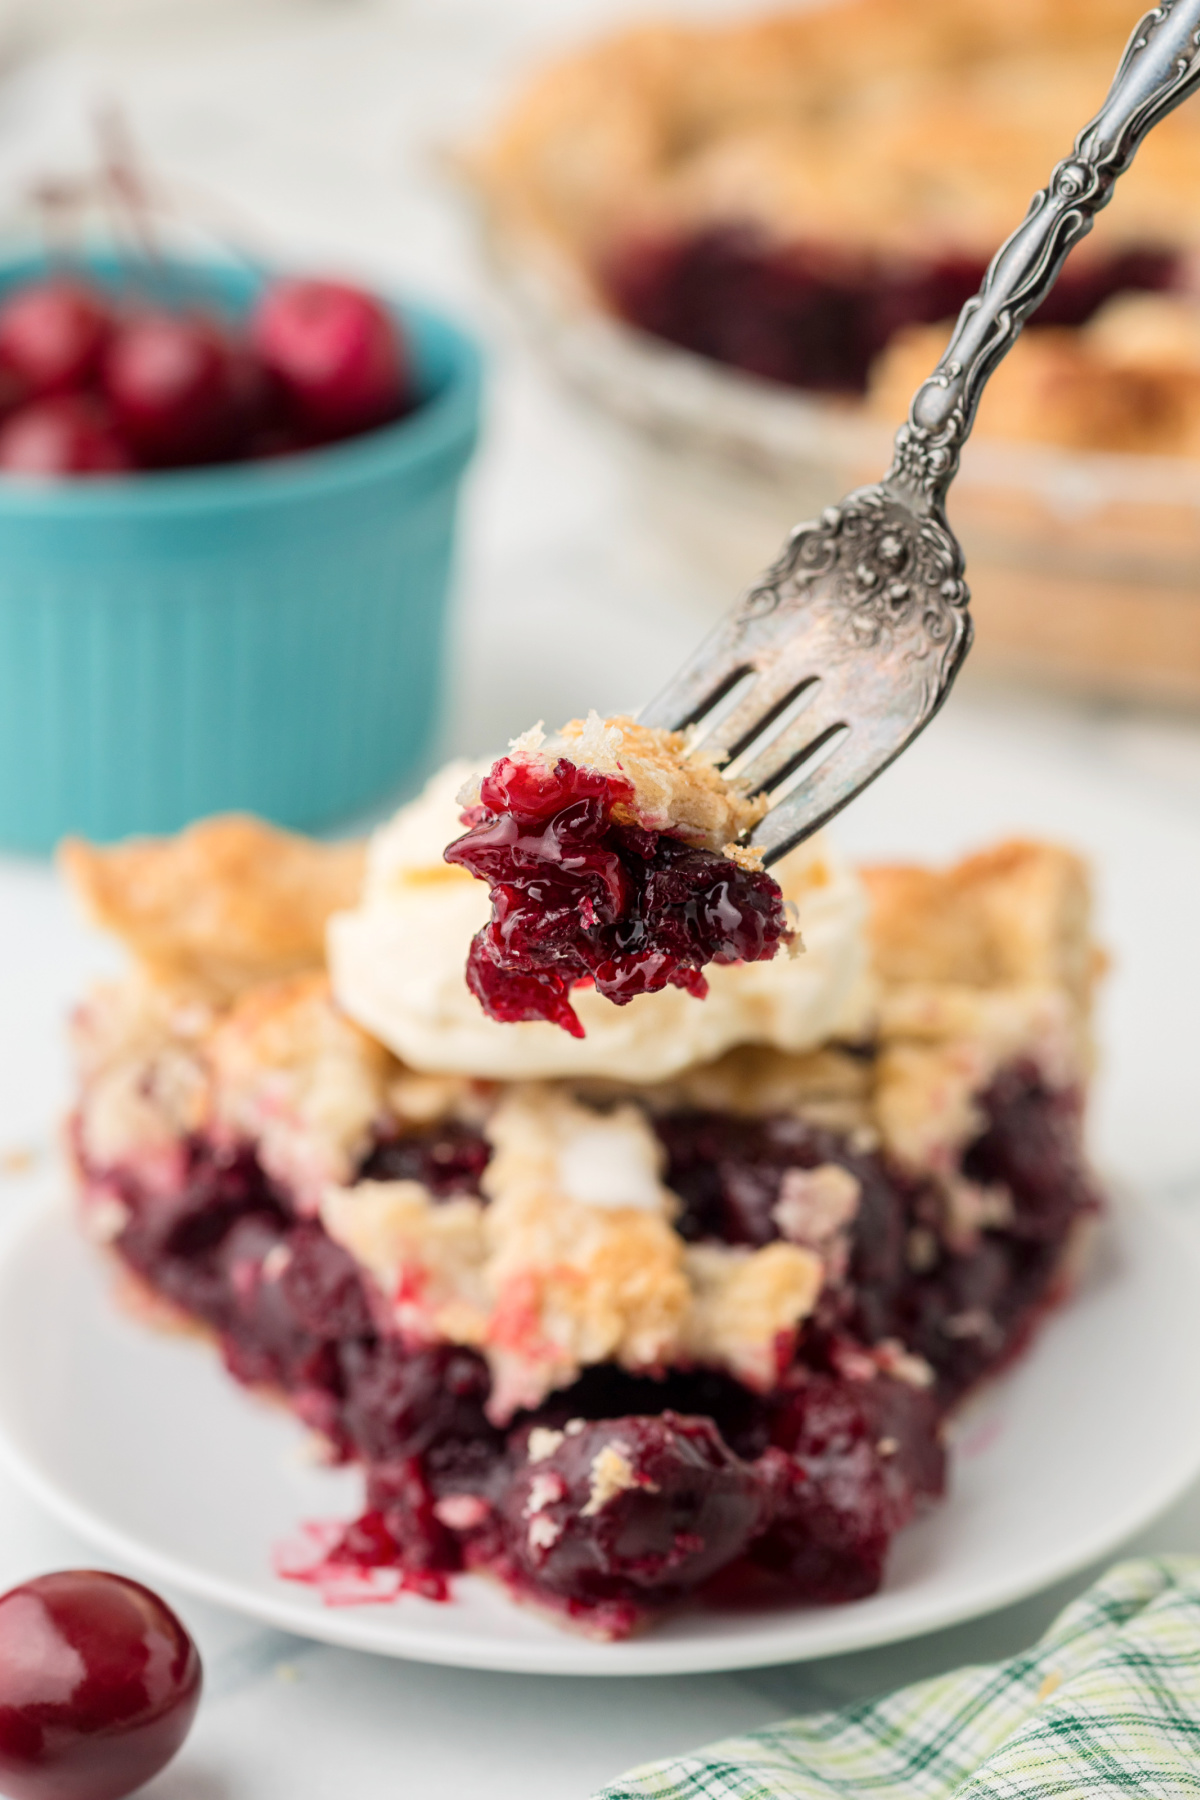
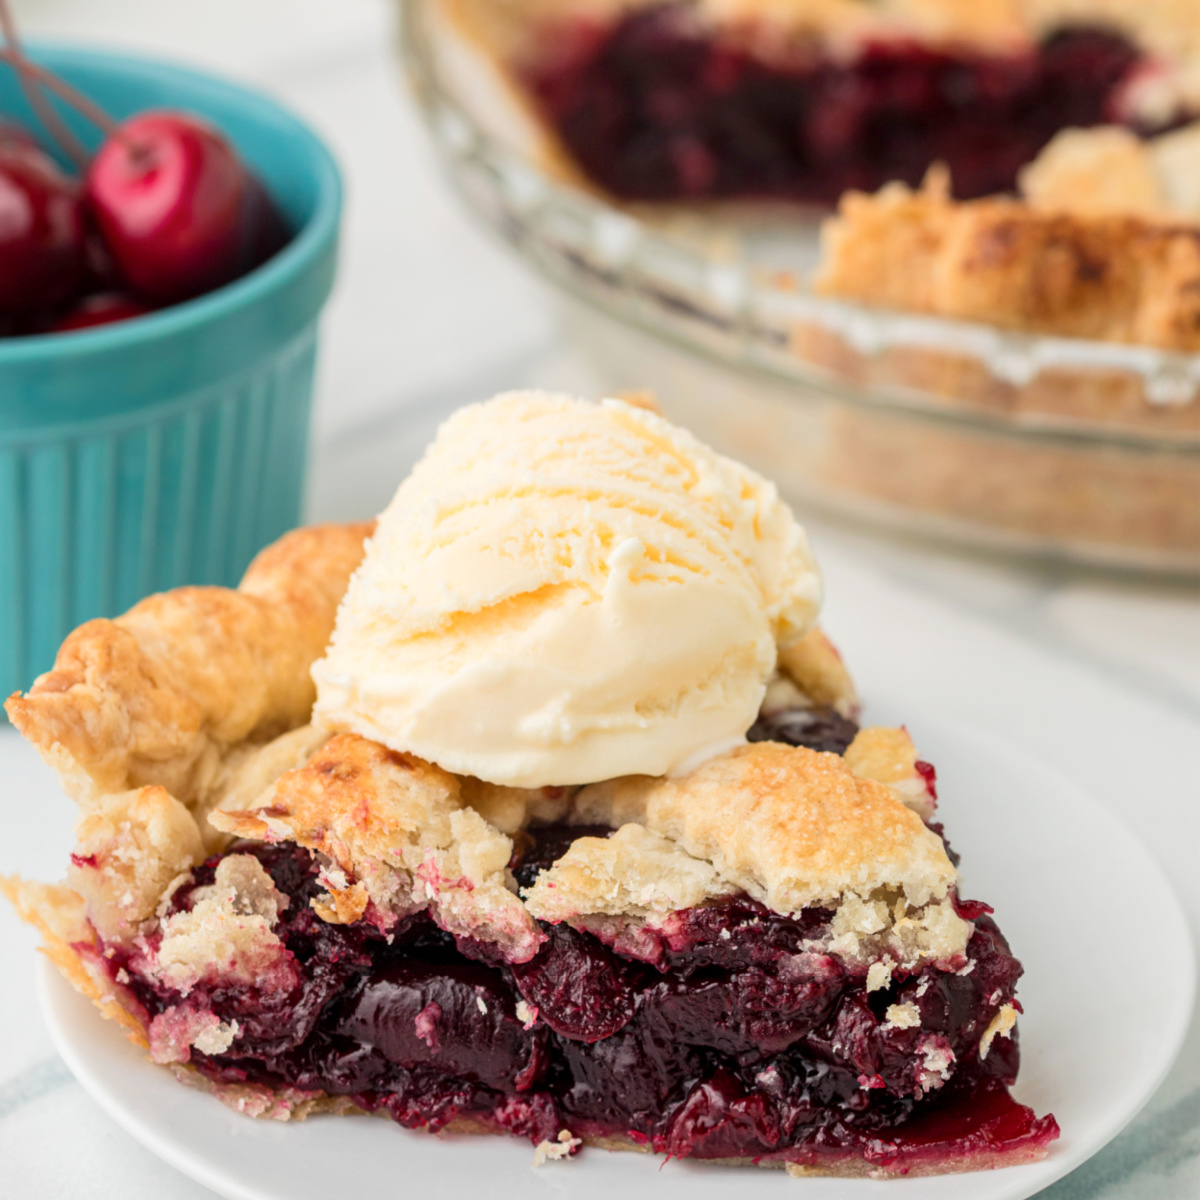
Fresh cherry pie has always been about one thing for me. I want to cut into it and see the filling stay in the pie instead of creeping out all over the plate. And that rarely happens. Fresh cherries release a lot of juice as they cook, so I started thickening the filling on the stovetop before assembling the pie instead of waiting for everything to happen in the oven. Once the pie cools, the filling stays put, inside the flaky homemade crust. The pie crust stays crisp underneath the filling instead of turning into a soggy mess.
I’ve been fresh cherry obsessed for as long as I can remember. In fact, I would be halfway up a cherry tree before anyone could stop me. Not that they were going to either. Every summer we’d drive out to Cherry Valley and Beaumont in Southern California to go cherry picking, and while the adults were organizing themselves with buckets, I was already climbing. If there was one thing I wasn’t afraid of, it was climbing a tree and scaling those extremely tall orchard ladders. When you’re five or six years old and weigh next to nothing, I could scooch way out onto branches the adults were never going to mess with, and that’s where all the best cherries were anyway.
I never came home clean. I’d sit up in the trees eating cherries until the juice was running down my arms, and into the creases of my elbows and neck, and all over the front of whatever T-shirt I was wearing. I was so completely sticky and filthy, and couldn’t have cared less. I probably ate as many cherries sitting in those trees as we picked. Those were the best days.
My parents’ friends, Leo and Sally, had a chicken farm out that way, and we’d always stop to visit on the way home. My mom would bring them cherries, and while the adults hung out, Sally would hand me a basket and let me run around and grab fresh eggs to take home. The chickens were everywhere. I guess we’d call that free range nowadays. Then we’d sit down to bowls of ice cream topped with some of the fresh cherries we picked that day before heading home. At some point my mom would make cherry ice cream and at least one or two cherry pies. My mom was quite skilled at making pie crust. I’ll give her that. And fresh cherry pie became a reliable part of my summers growing up.
Now I have a couple of cherry trees of my own here in Oregon, although whether I get cherries depends on the year. They’re more weather-dependent than anything I’ve ever grown, and when they do have a good crop, the birds usually decide they’re ripe about five minutes before I do. Most years I head out to the Columbia River Gorge during cherry season instead, climbing the ladders, wishing I could still shimmy out on the branches, but always filling a bag or two, and coming home to make pie.
Cherry season doesn’t last very long around here or anywhere really. I think that’s part of why it always feels special. The way I make the pie has changed a little over the years, too. I wanted the filling to be thick enough that it stayed inside the pie where it belongs instead of escaping onto the plate like a river. After enough summers of tinkering with it, this is how I’m doing it now.
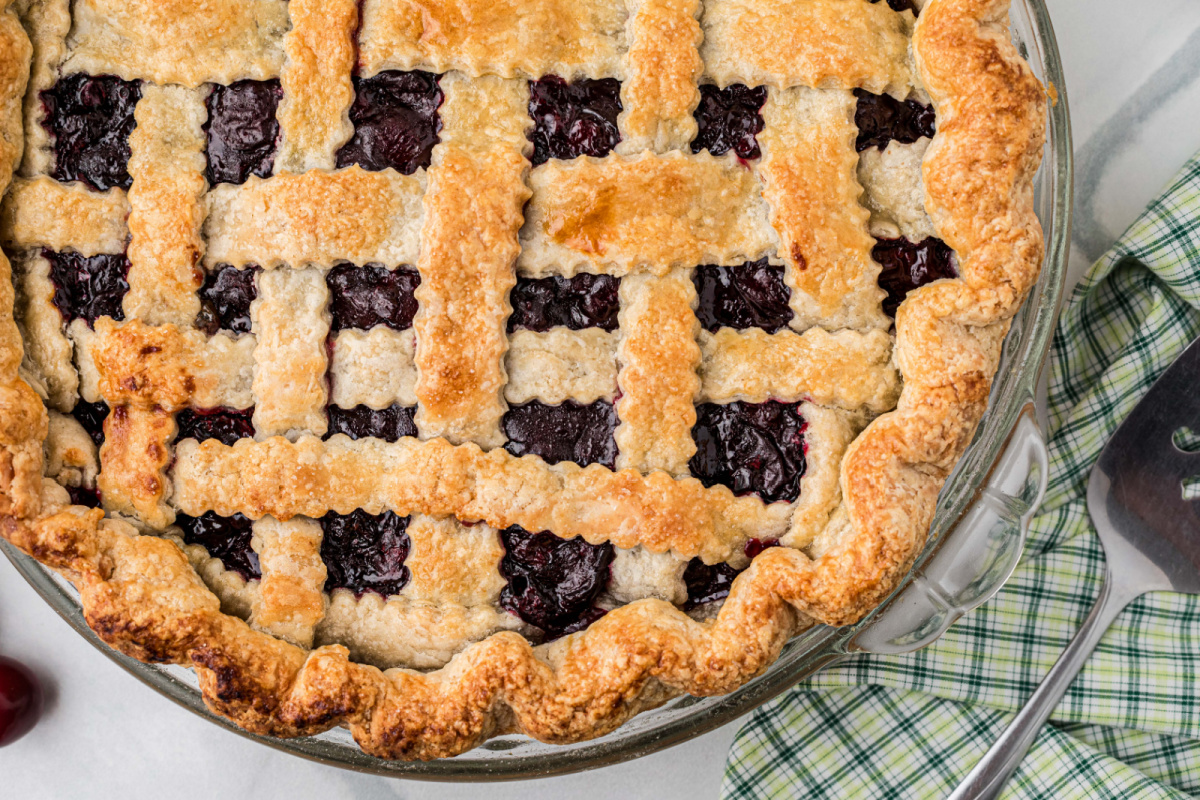
What Makes This Recipe Different
- One of my biggest issues with fresh cherry pie is the juice chaos caused by the cherries releasing their juices for the first time inside the oven. I wanted to take care of that before I put together the pie by cooking the filling on the stovetop first. This way, the cherries have a chance to release their juices before baking, and the cornstarch is already fully activated. I already know how thick the filling is before it ever reaches into the crust.
- I also started roughly chopping the cherries instead of leaving them whole. Whole cherries leave these big gaps in the filling and make the slices harder to serve neatly. Chopping them helps the fruit come together evenly, so every slice is packed with cherries instead of large pockets that want to fall apart and roll around the minute you cut into the pie.
- When I make pie dough, I skip the pastry cutter step altogether and grate frozen butter directly into the flour. The shreds of butter stay cold as they’re mixed into the dough and create the flaky layers we all want in our pie crust. It’s become my favorite way to make pie crust because it’s simple and the results are consistent.
- Once the lattice is finished, I put the pie into the refrigerator before the oven. Rolling, weaving, and handling the dough warms the butter, so giving the assembled pie time to chill again helps firm everything back up. That’s how the crust bakes up flaky. It’s not the same without this step.
- I also bake the pie at two temperatures. Starting with higher heat to set the crust, then lowering the temperature so the filling has enough time to bubble without the pastry getting too dark.
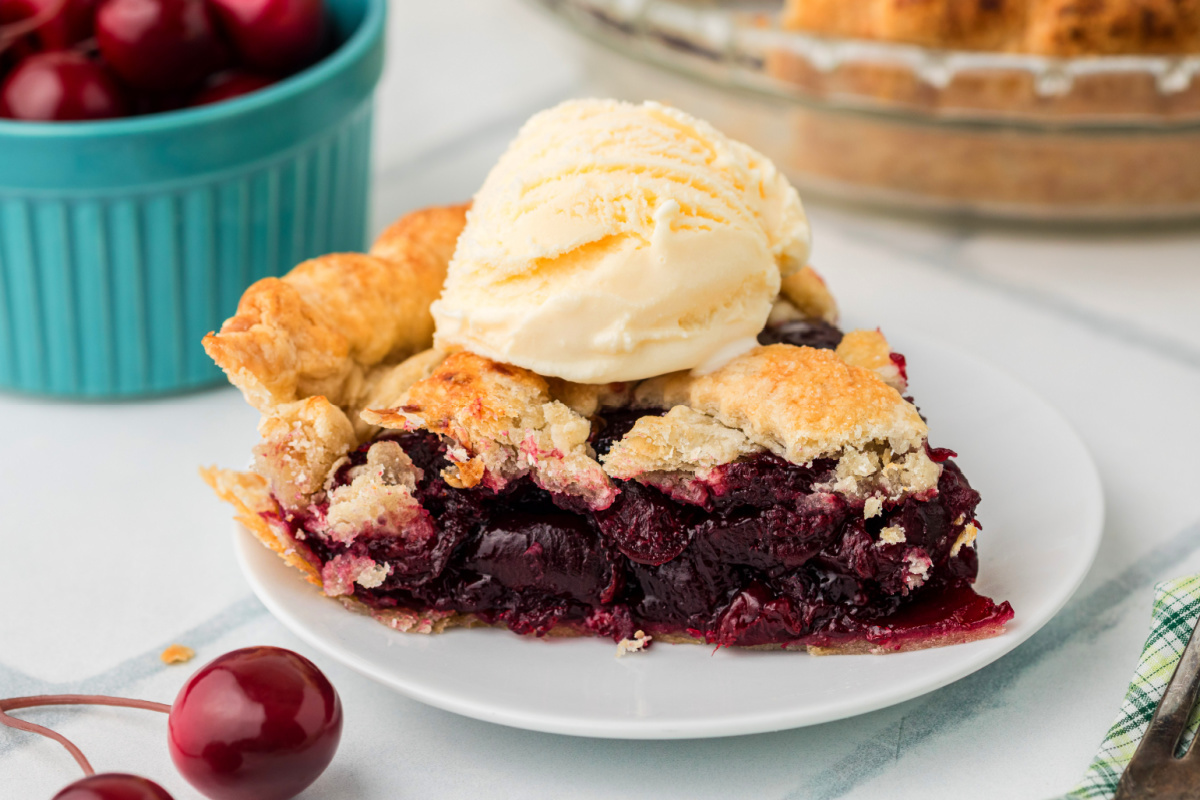
Ingredients
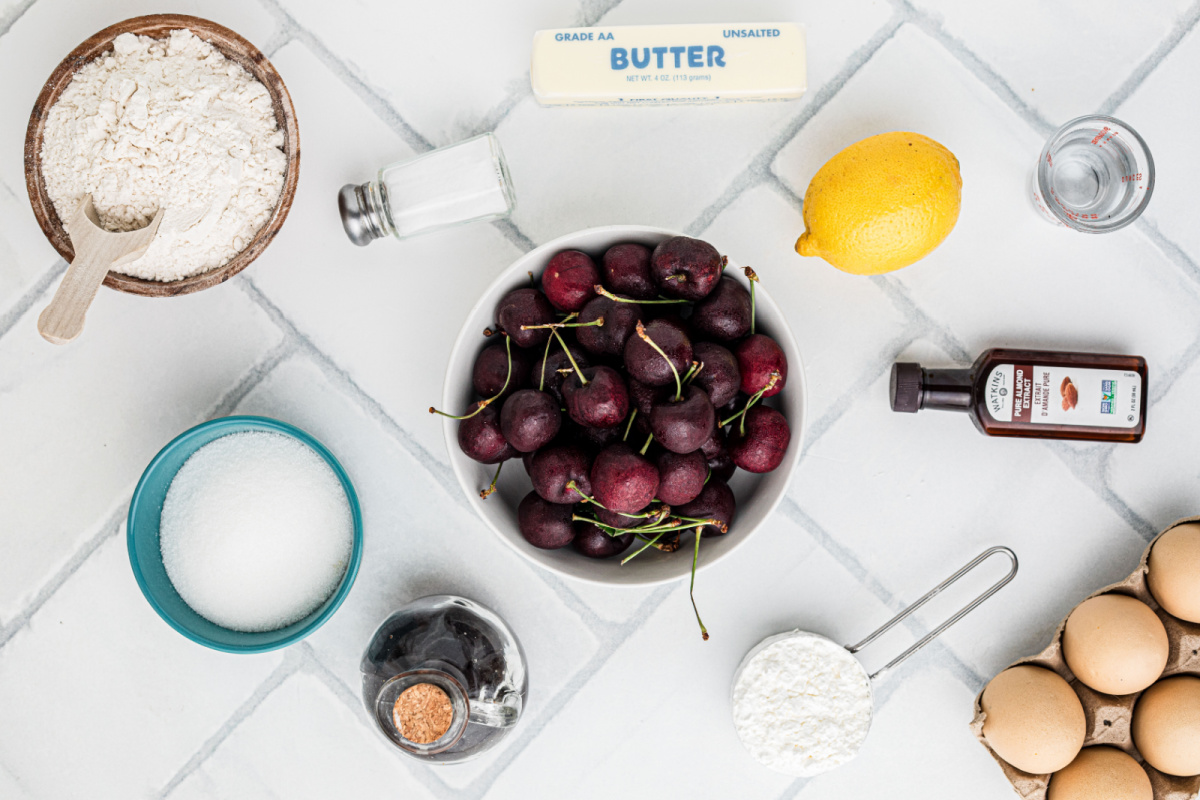
- All-Purpose Flour – Makes a pie crust that’s flaky but still strong enough to hold the cherry filling without falling apart.
- Granulated Sugar – A little goes into the pie dough, while the rest sweetens the cherries.
- Table Salt – Belongs in both the crust and the filling and helps balance the sweetness.
- Unsalted Butter – I freeze the butter first, then grate it directly into the flour instead of cutting it into cubes. The little shreds stay cold and distribute throughout the dough, and help create flaky layers as the pie bakes. European-style butter is preferred because it has less water content and more butterfat.
- Ice Water – Cold water helps bring the dough together while keeping the butter as cold as possible.
- Fresh Sweet Cherries – I usually make this pie with Bing cherries, although any sweet cherry is fine. I roughly chop them instead of leaving them whole so every slice has a more even layer of fruit.
- Fresh Lemon Juice – Balances the sweetness of the cherries without making the pie taste lemony.
- Cornstarch – Thickens the filling. Since I cook the cherries on the stovetop first, the cornstarch is already fully activated before the pie ever goes into the oven.
- Vanilla Extract – Adds warmth.
- Almond Extract – You only need a small amount, and it’s one of the best flavor pairings with cherries.
- Egg – Brushed over the lattice before baking for a shiny, golden crust.
- Turbinado Sugar – Completely optional, but I love sprinkling a little over the egg wash because it adds a light crunch and sparkle to the finished pie.
How to Make Fresh Cherry Pie
Find the complete printable recipe with measurements in the recipe card at the BOTTOM OF THE POST.
- Step One (make the pie dough)
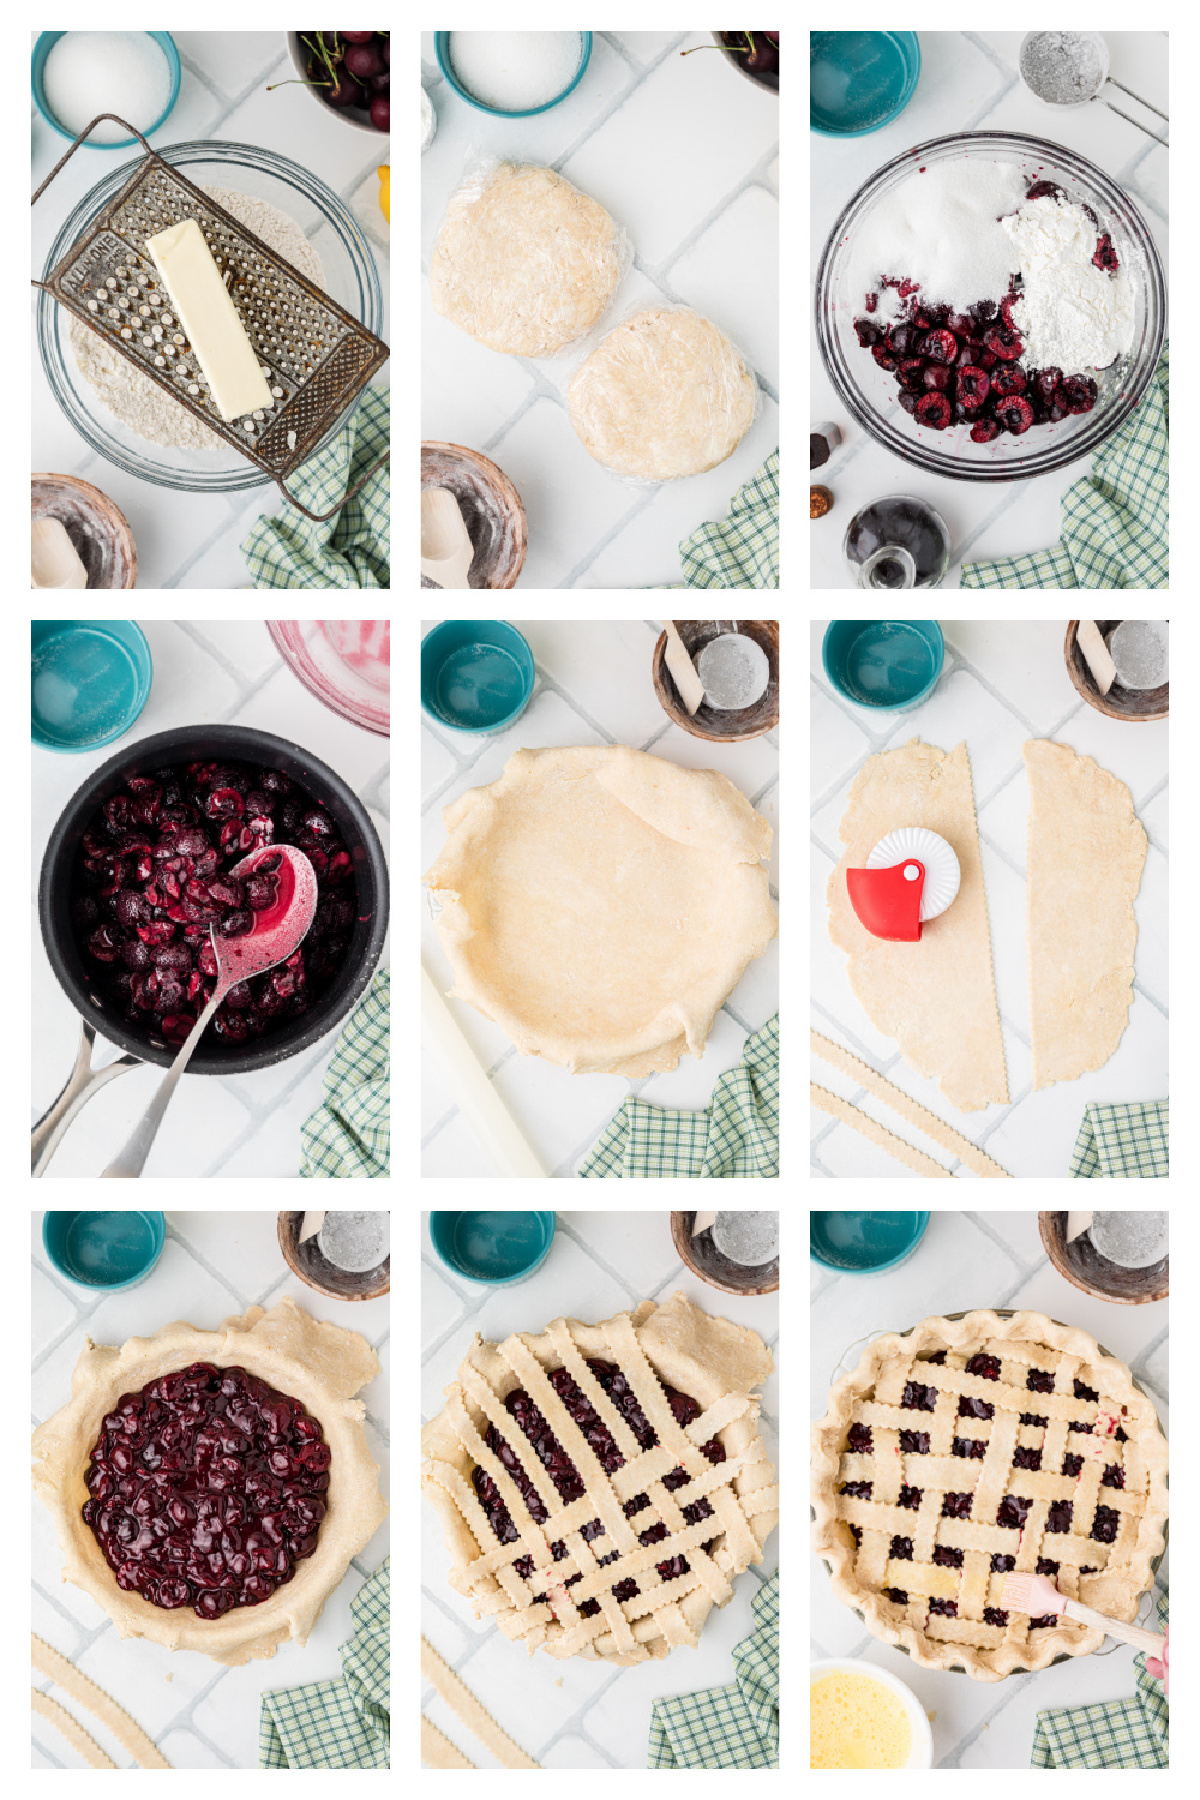
Whisk together the flour, sugar, and salt in a large bowl. Grate the frozen butter directly into the flour, tossing it into the flour every so often so the shreds stay coated instead of clumping together. Add the ice water and use your hands to bring the dough together. If it still feels a little dry, add another tablespoon or two of water until it holds together when you squeeze it. Divide the dough in half, shape each half into a disc, wrap them well, and refrigerate for at least an hour. - Step Two (cook the cherry filling)
Pit and roughly chop the cherries, then stir them together with the lemon juice, cornstarch, sugar, salt, vanilla, and almond extract in a saucepan. Cook over medium heat until the filling comes to a boil, then keep cooking for about 5 minutes until it’s thickened. You’ll know it’s ready when the juices lose that cloudy look and become shiny. Let the filling cool until it’s warm or completely cool before you start assembling the pie. - Step Three (assemble the pie)
Roll one disc of dough into a circle about ⅛-inch thick and fit it into a 9-inch pie plate, leaving a little overhang around the edges. Spoon in the cooled cherry filling. Roll out the second disc, cut it into strips, and weave the lattice over the top. Trim away the extra dough, crimp the edges, brush everything with the egg wash, and sprinkle with turbinado sugar if you’re using it. - Step Four (chill and bake)
Slide the assembled pie back into the refrigerator while the oven preheats. After all the rolling and weaving, I like giving the butter a chance to firm back up before it goes into the oven. Bake the pie at 400°F for 15 minutes, then reduce the oven to 350°F and keep baking until the crust is golden brown and the cherry filling is bubbling right through the center of the lattice, not just around the edges. If the crust starts getting darker than you’d like, loosely cover the edges with foil or a pie shield. - Step Five (let it cool)
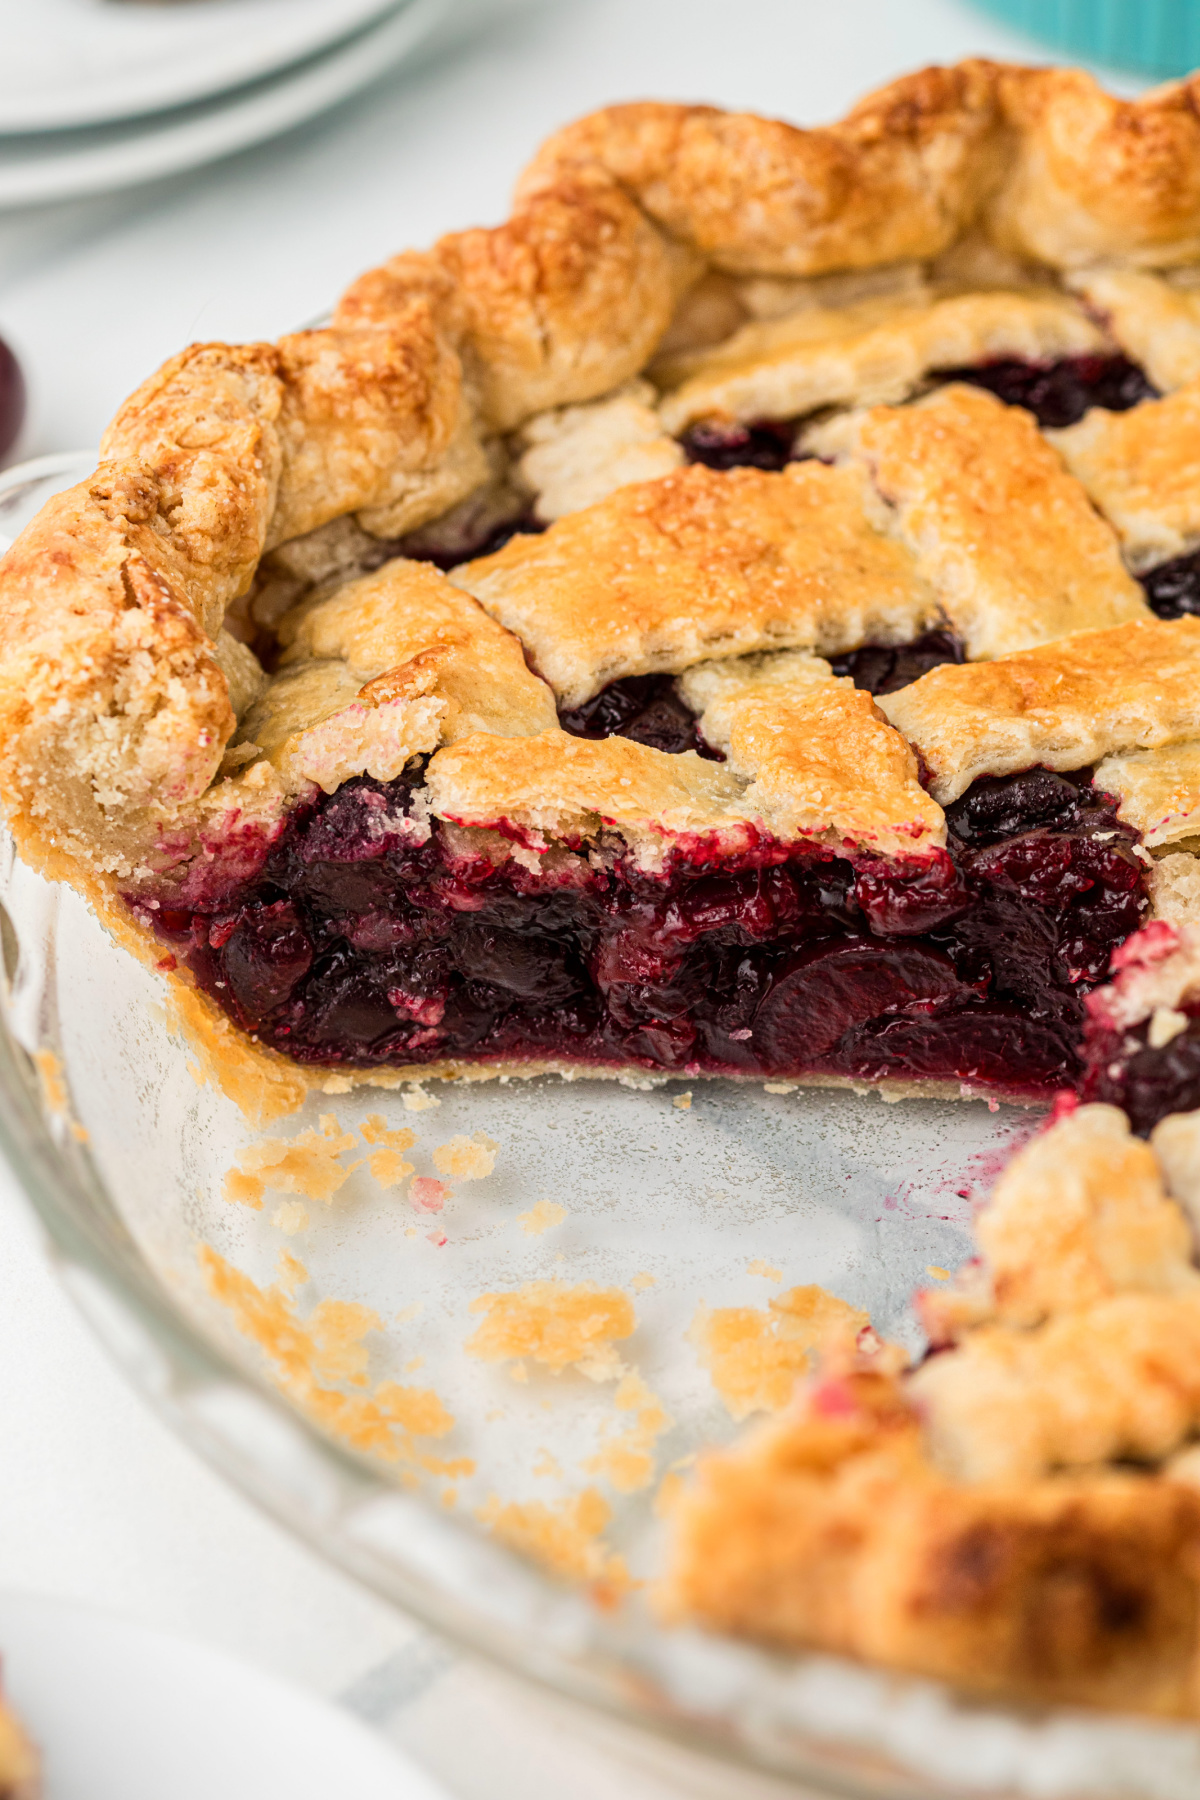
Transfer the pie to a wire rack and let it cool completely before slicing. I know it’s tempting to cut into it while it’s still warm, but this is when the filling finishes setting. Give it the time it needs, and you’ll be rewarded with slices that stay where they’re supposed to instead of leaving half the filling behind on the plate.
Recipe Tips
- If your cherries are super juicy, let the filling simmer another minute or two before taking it off the heat. I’d much rather thicken it on the stovetop than wish I had after the pie comes out of the oven.
- If the dough becomes soft while you’re rolling or weaving the lattice, slide it back into the refrigerator for a few minutes before continuing. Cold dough is easier to roll, weave, and crimp.
- If you’re using a cherry pitter, wear an apron. Cherry juice has a way of finding the one shirt you don’t want to stain.
- A metal pie plate will give you more browning on the bottom crust than glass, but either works well with this recipe. I prefer glass.
Storage & Leftovers
- Cover the pie loosely and keep it at room temperature for up to 2 days, or refrigerate it for up to 5 days if your kitchen is warm.
- I like this pie even more the next day. The filling firms up a little more overnight, making the slices easier to serve.
- If you want to warm a slice, a few minutes in a 300°F oven works better than the microwave if you want to keep the crust crisp.
FAQs
- Can I use frozen cherries?
Yes. Thaw them first and drain away any excess liquid before making the filling. Frozen cherries release more juice than fresh, so you may need to simmer the filling a little longer until it reaches the same consistency. - Can I use sour cherries instead of sweet cherries?
Yes. Sour cherries make good pie, but you’ll want to increase the sugar since they’re much more tart than Bing or other sweet cherries. - Do I have to make a lattice crust?
Not at all. A full top crust works just as well. Be sure to cut a few vents in the top so steam can escape while the pie bakes. - Why grate the butter instead of cutting it into cubes?
This is an easy way to distribute the butter evenly through the dough without pulling out a pastry cutter. It mixes in quickly while leaving plenty of small pieces that make the flaky layers. - Why is my cherry pie runny?
Usually one of two things happened. Either the pie was sliced before it had completely cooled, or the filling didn’t spend enough time thickening on the stovetop or bubbling in the oven. - Can I make this pie ahead of time?
Yes. It’s a great make-ahead dessert. Bake it the day before you plan to serve it, and the filling will be even better the next day.
From My Kitchen Notes
Small observations from the margins.
- The best fruit is almost always worth the inconvenience.
- A pie doesn’t care how impatient you are.
- Sometimes what I’ve been waiting for has a very short season.
- Lots of things fall apart because somebody cut into them too soon.
- A lot of opportunities don’t disappear. They get eaten by birds.
- The sweetest things usually leave a mark.
- Not everything needs another sign. They’re already ripe.
- There are rituals that stain your hands way after you’re finished with them.
- All things that make aren’t necessarily a mistake.
- The hardest part isn’t making the pie. It’s waiting long enough to cut the first slice.
- Some days perfection matters. Cherry pie has never been one of them.
- Some things spend all year becoming ready and disappear in two weeks. Maybe that’s part of why they’re important.
- We all think timing is about clocks. Nature has never agreed with that.
- Some of us weave everything togehter justright, and there are may of us who keep going until it holds together itself. Both usually end up with pie.
- The filling was always going to get hot. That was the whole idea.
- Certain processes look like patience from the outside and fear from the inside. I recognize them both.
- Sometimes the best things don’t stay very long. That doesn’t make them any less worth waiting for.
- There is a point where protecting the crust stops it from becoming pie. That’s not just about pie.
- There are people who mistake hesitation for wisdom. The fruit doesn’t.
- Trees and people can spend their whole lives becoming ready for a moment they never allow to arrive.
- There are people who wait for certainty. Cherry season has never worked that way. Sometimes you don’t need more time. You only need to preheat the oven.
More Summer Fruit Desserts
- Chocolate Cherry Cupcakes – Cherry buttercream from preserves.
- Fresh Cherry Coconut Chocolate Chip Ice Cream – Coconut ice cream, cherries, chocolate.
- Lemon Blackberry Bundt Cake – Lemon soak, fresh blackberry glaze.
- Peach Cobbler Bundt Cake with Bourbon Caramel – Peach cake with bourbon caramel.
- Coconut Peach Crisp – Buttery oat topping, ripe peaches.
This post may contain affiliate links. Please read my disclosure policy.
Fresh Cherry Pie
Equipment
- mixing bowls (large). For mixing the pie dough.
- measuring cups and spoons For ingredient accuracy.
- box grater To grate the frozen butter.
- Saucepan (medium). For cooking the cherry filling.
- cherry pitter (optional) or metal straw. Speeds up pitting the cherries.
- pastry brush To brush the egg wash on the lattice crust.
- 9-inch pie plate (23 cm) For baking the pie.
- pastry wheel (optional) or knife. Makes the lattice crust strips.
- pie shield (optional) or foil. To keep your pie crust edges from burning.
Ingredients
Pie Dough:
- 2½ cups (300 g) all-purpose flour
- 1 tbsp (12 g) granulated sugar
- 1 tsp (6 g) table salt
- 1 cup (227 g) unsalted butter frozen
- ¼ cup (60 ml) ice water plus 1–2 tablespoons (15–30 ml) more if needed
Cherry Filling:
- 4½ cups fresh cherries pitted and roughly chopped (about 1 ½ pounds / 680 g pitted, or about 3 pounds / 1.4 kg whole cherries before pitting)
- 1 tbsp (15 ml) fresh lemon juice
- ⅓ cup (40 g) cornstarch
- ⅔ cup (135 g) granulated sugar
- ½ tsp (3 g) table salt
- 1 tsp (5 ml) vanilla extract
- ¼ tsp (1 ml) almond extract
Topping:
- 1 large egg
- 1 tbsp (15 ml) water
- 2 tbsps (24 g) turbinado sugar (optional, for sprinkling after egg wash)
Instructions
- Whisk together the flour, sugar, and salt in a large mixing bowl.2½ cups (300 g) all-purpose flour, 1 tbsp (12 g) granulated sugar, 1 tsp (6 g) table salt
- Grate the frozen butter directly into the flour, tossing it every so often so the shreds stay coated instead of clumping together.1 cup (227 g) unsalted butter
- Pour in the ice water and use your hands to bring the dough together. If the dough still looks dry, add another tablespoon or two (15-30 ml) of ice water until it holds together when squeezed. Divide the dough in half, shape each half into a disc, wrap in plastic wrap, and refrigerate for 1 hour.¼ cup (60 ml) ice water
- Pit the fresh cherries. If you don't have a cherry pitter, place a cherry on the neck of a small bottle and push a metal straw through the center to remove the pit. Roughly chop the cherries so they distribute more evenly throughout the filling.4½ cups fresh cherries
- Combine the chopped cherries, lemon juice, cornstarch, sugar, salt, vanilla, and almond extract in a medium saucepan. Cook over medium heat until the mixture comes to a boil, stirring frequently. Continue cooking for about 5 minutes, until the filling has thickened and the cornstarch is fully cooked. Remove from the heat and let the filling cool until warm or completely cool before assembling the pie.1 tbsp (15 ml) fresh lemon juice, ⅓ cup (40 g) cornstarch, ⅔ cup (135 g) granulated sugar, ½ tsp (3 g) table salt, 1 tsp (5 ml) vanilla extract, ¼ tsp (1 ml) almond extract
- Roll one disc of dough into a circle about ⅛ inch (3 mm) thick. Fit it into a 9-inch (23 cm) pie dish, leaving a little overhang around the edges. Spoon the cooled cherry filling into the crust.
- Roll out the second disc of dough and cut it into strips about ½ inch (1.25 cm) wide. Arrange half of the strips across the pie, then weave the remaining strips over and under to form a lattice top. Trim away the excess dough, then crimp the edges to seal.
- Whisk together the egg and water. Brush the lattice with the egg wash and sprinkle with turbinado sugar, if using.1 large egg , 2 tbsps (24 g) turbinado sugar, 1 tbsp (15 ml) water
- Refrigerate the assembled pie for about 45 minutes while the oven preheats to 400°F (200°C). Chilling the pie helps the butter firm up again before baking.
- Bake for 15 minutes at 400°F (200°C). Reduce the oven temperature to 350°F (175°C) and continue baking for about 35 minutes, until the crust is golden brown and the cherry filling is bubbling through the lattice. If the crust begins browning too quickly, loosely cover the edges with foil or a pie shield.
- Transfer the pie to a wire rack and let it cool completely before slicing. The filling continues to set as the pie cools, making neater slices.
Notes
- European-style butter, such as Kerrygold, has a higher butterfat content and makes an especially flavorful pie crust.
- Cooking the filling before assembling the pie gives the cornstarch time to fully thicken the cherry juices before baking.
- Let the filling cool before adding it to the crust to help prevent a soft bottom crust.
- A lattice top allows steam to escape while the pie bakes, but a solid top crust with a few vents also works well.
- The pie slices best after cooling completely, and I think it's even better the next day.
Nutrition
Have you made this Fresh Cherry Pie? I’d love to hear how it turned out — leave a comment below and let me know.
As an Amazon Associate and member of other affiliate programs, I earn from qualifying purchases.
Cary J says
I got to work on this yesterday right after you posted it. Cherries are still going strong here and I used my frozen ones. The lattice crust came out beautifully and the filling is delish. Thank you so much, I never thought I make such a pretty pie.
Beth says
I made your cherry pie yesterday and just served it today. The crust held up beautifully and the filling was incredible. So easy to make. Love the buttery lattice crust.
Kayla says
Made this and it’s so gorgeous. And this is my first pie ever. Thanks for giving me the confidence to do it!
Ronnie says
This cherry pie was the hit of my party last night. Thanks.
Kiki says
I served this cherry pie with whipped cream and it was so good. Easier to make than I thought. Was the hit of the bbq.
Ofelia says
This was my first time making a latice a crust and you’re right, it was easy. Thanks for the lovely recipe. Love cherry pie.
Sara says
Ok this turned out great because the filling was not runny as heck, I also do not like that. I grew up cherry picking too, but in Michigan and those are great memories. Loved your story.
Anya says
This method of cooking the filling was so smart and chopping the cherries because they are always too big in pie. Mine turned out perfect.
Michelle in AL says
This pie turned out so beautiful! The crust, everything. It’s gorgeous.
Linda says
This pie was the centerpiece of our 4th of July dessert table and it came out so perfect. I loved not having a runny pie to have to cut into. Great idea.
Lane says
I love you for this one. I never thought about cooking down the filling before but it made such a difference. It was nice not to have this runny pie thing going on as well as chopping the cherries because it all made a difference. Greta recipe and the dough was perfect.