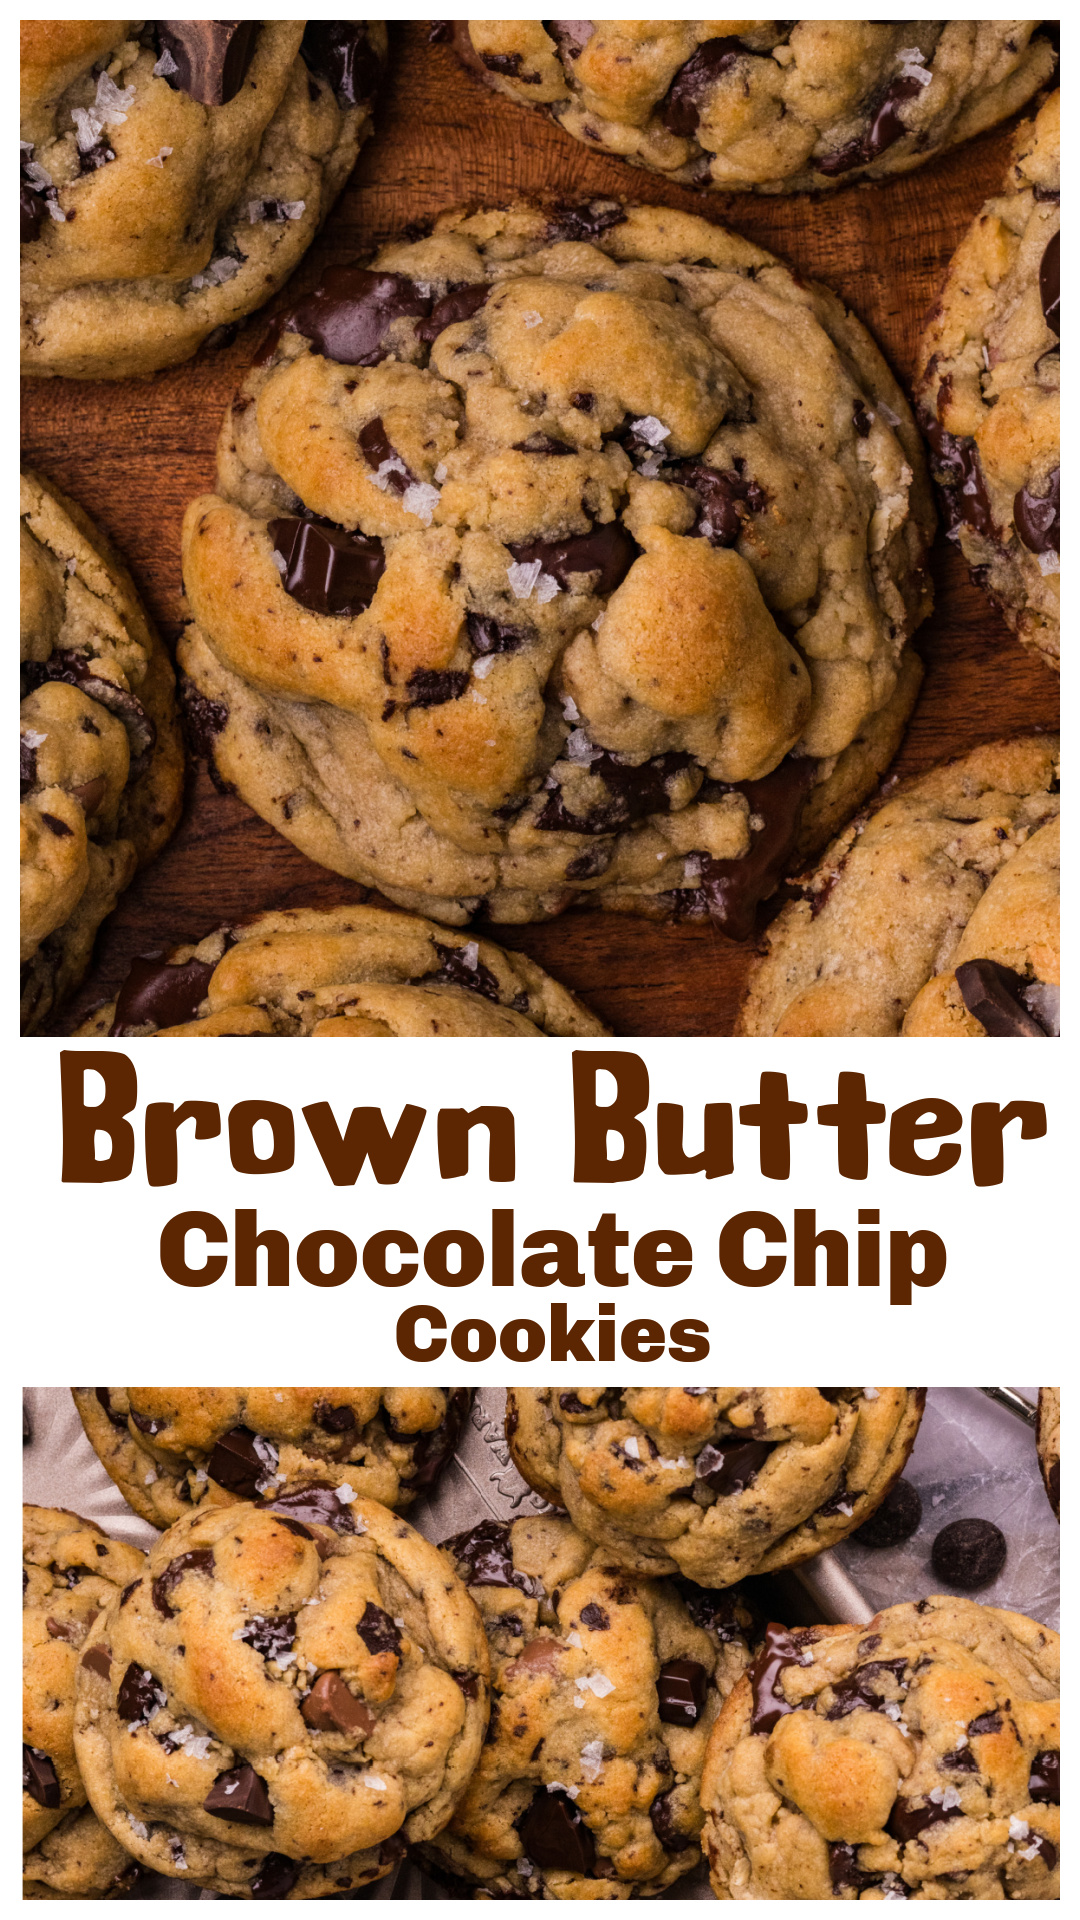
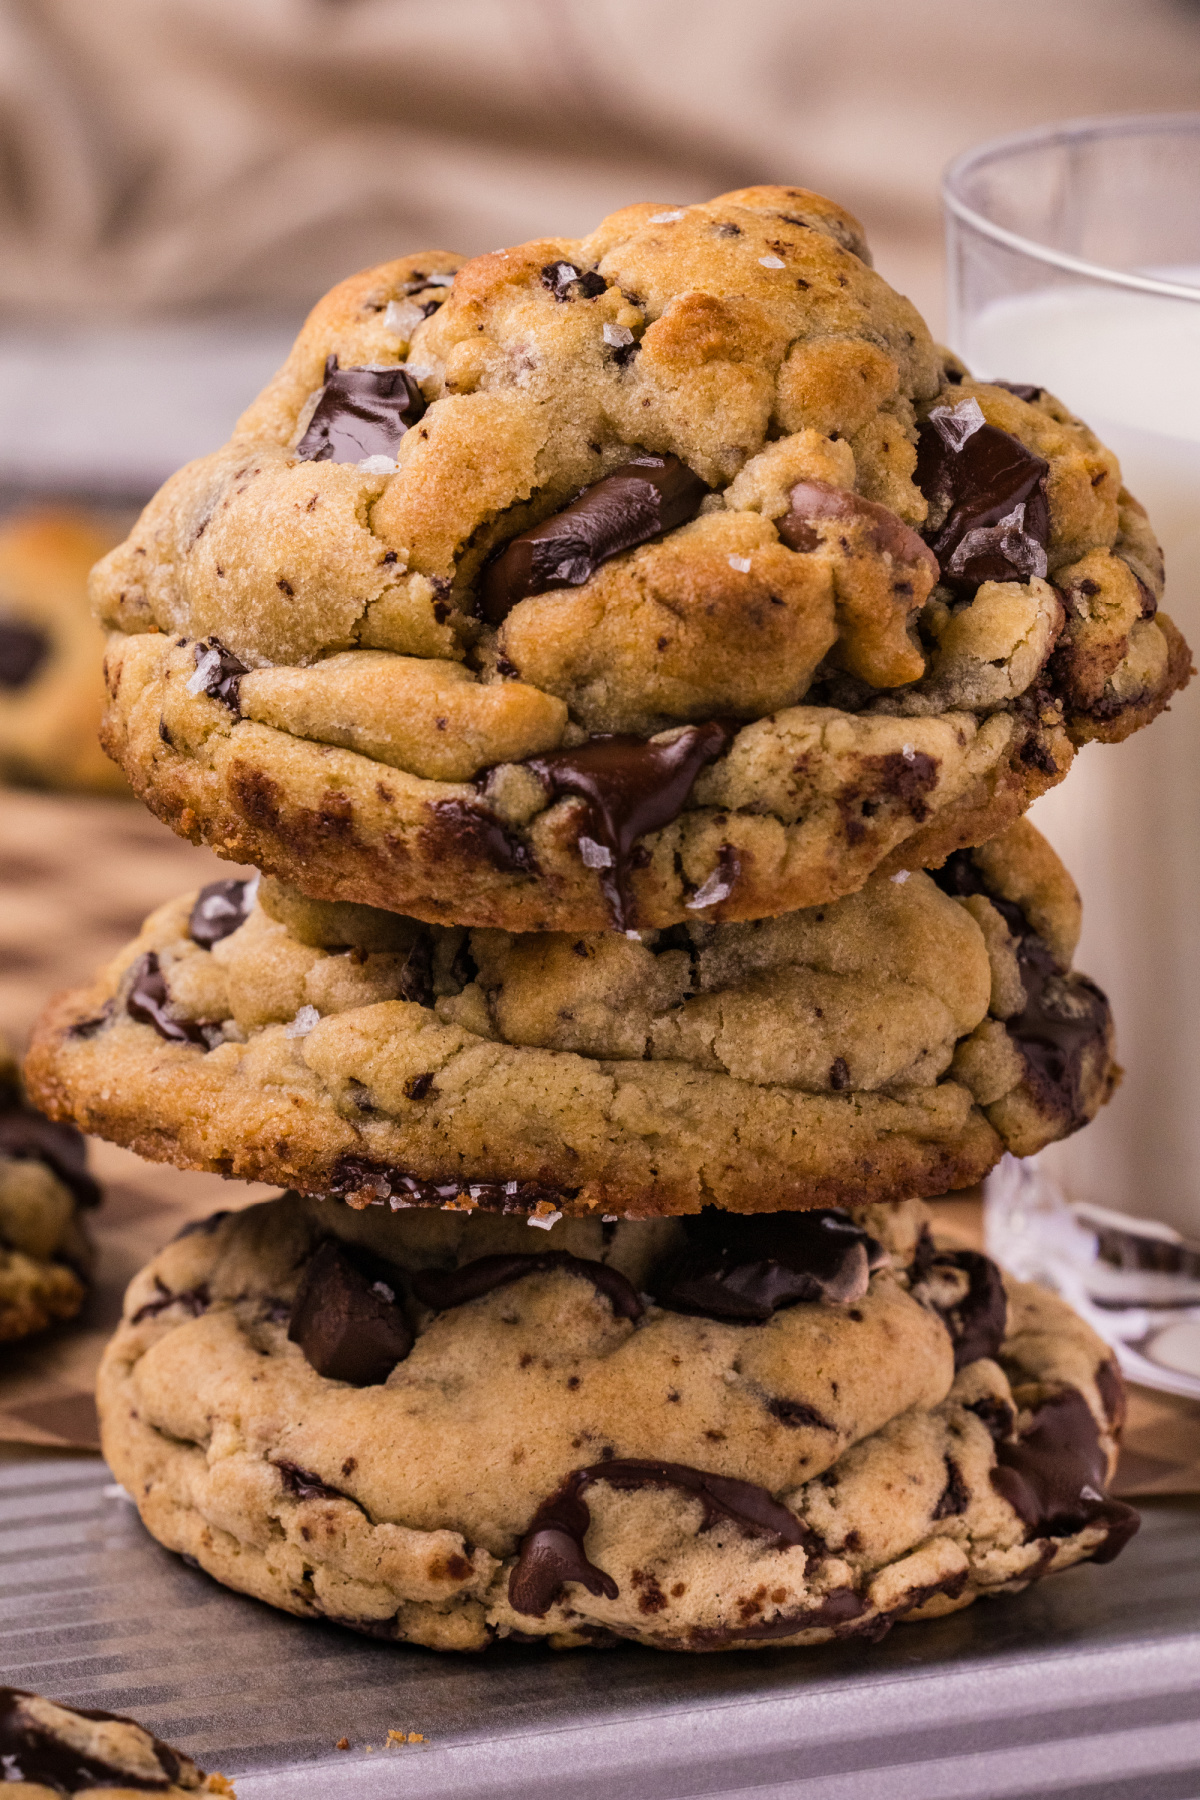
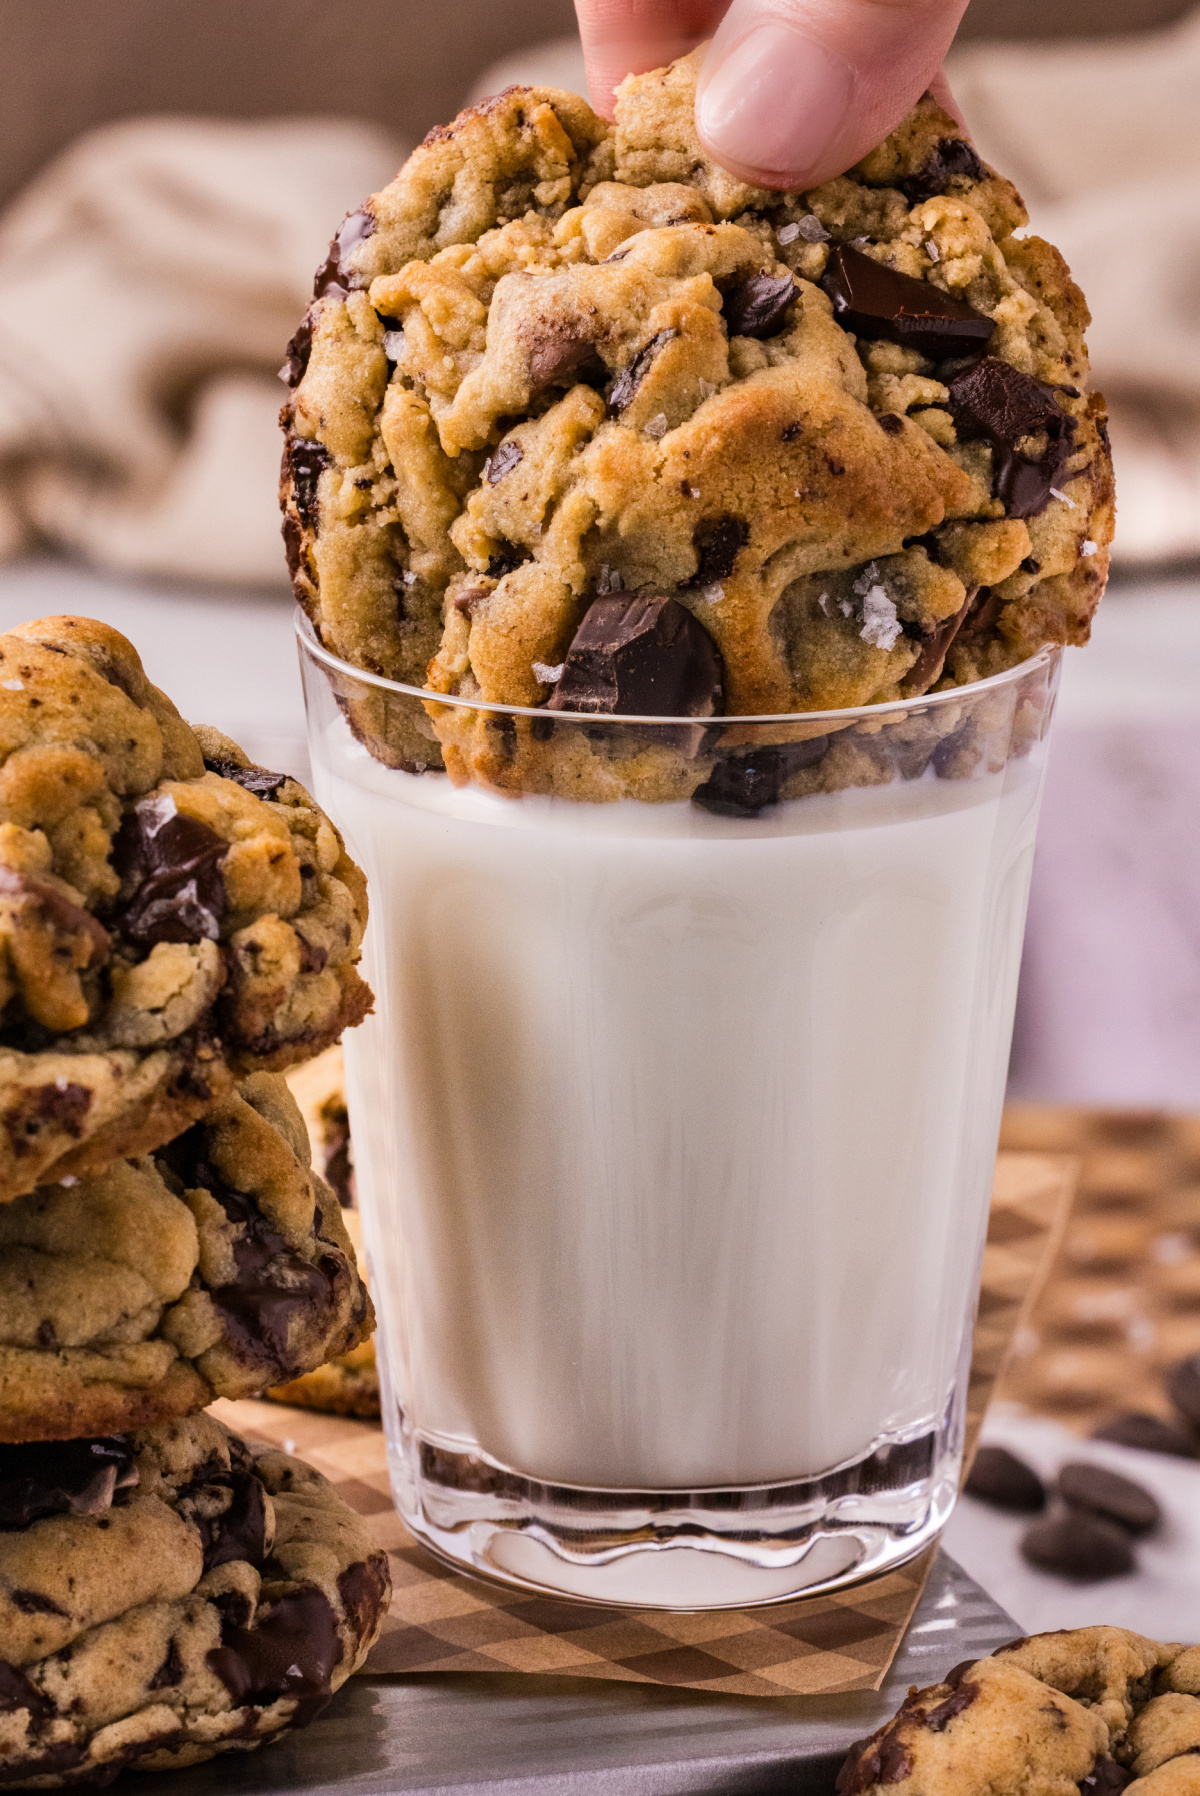
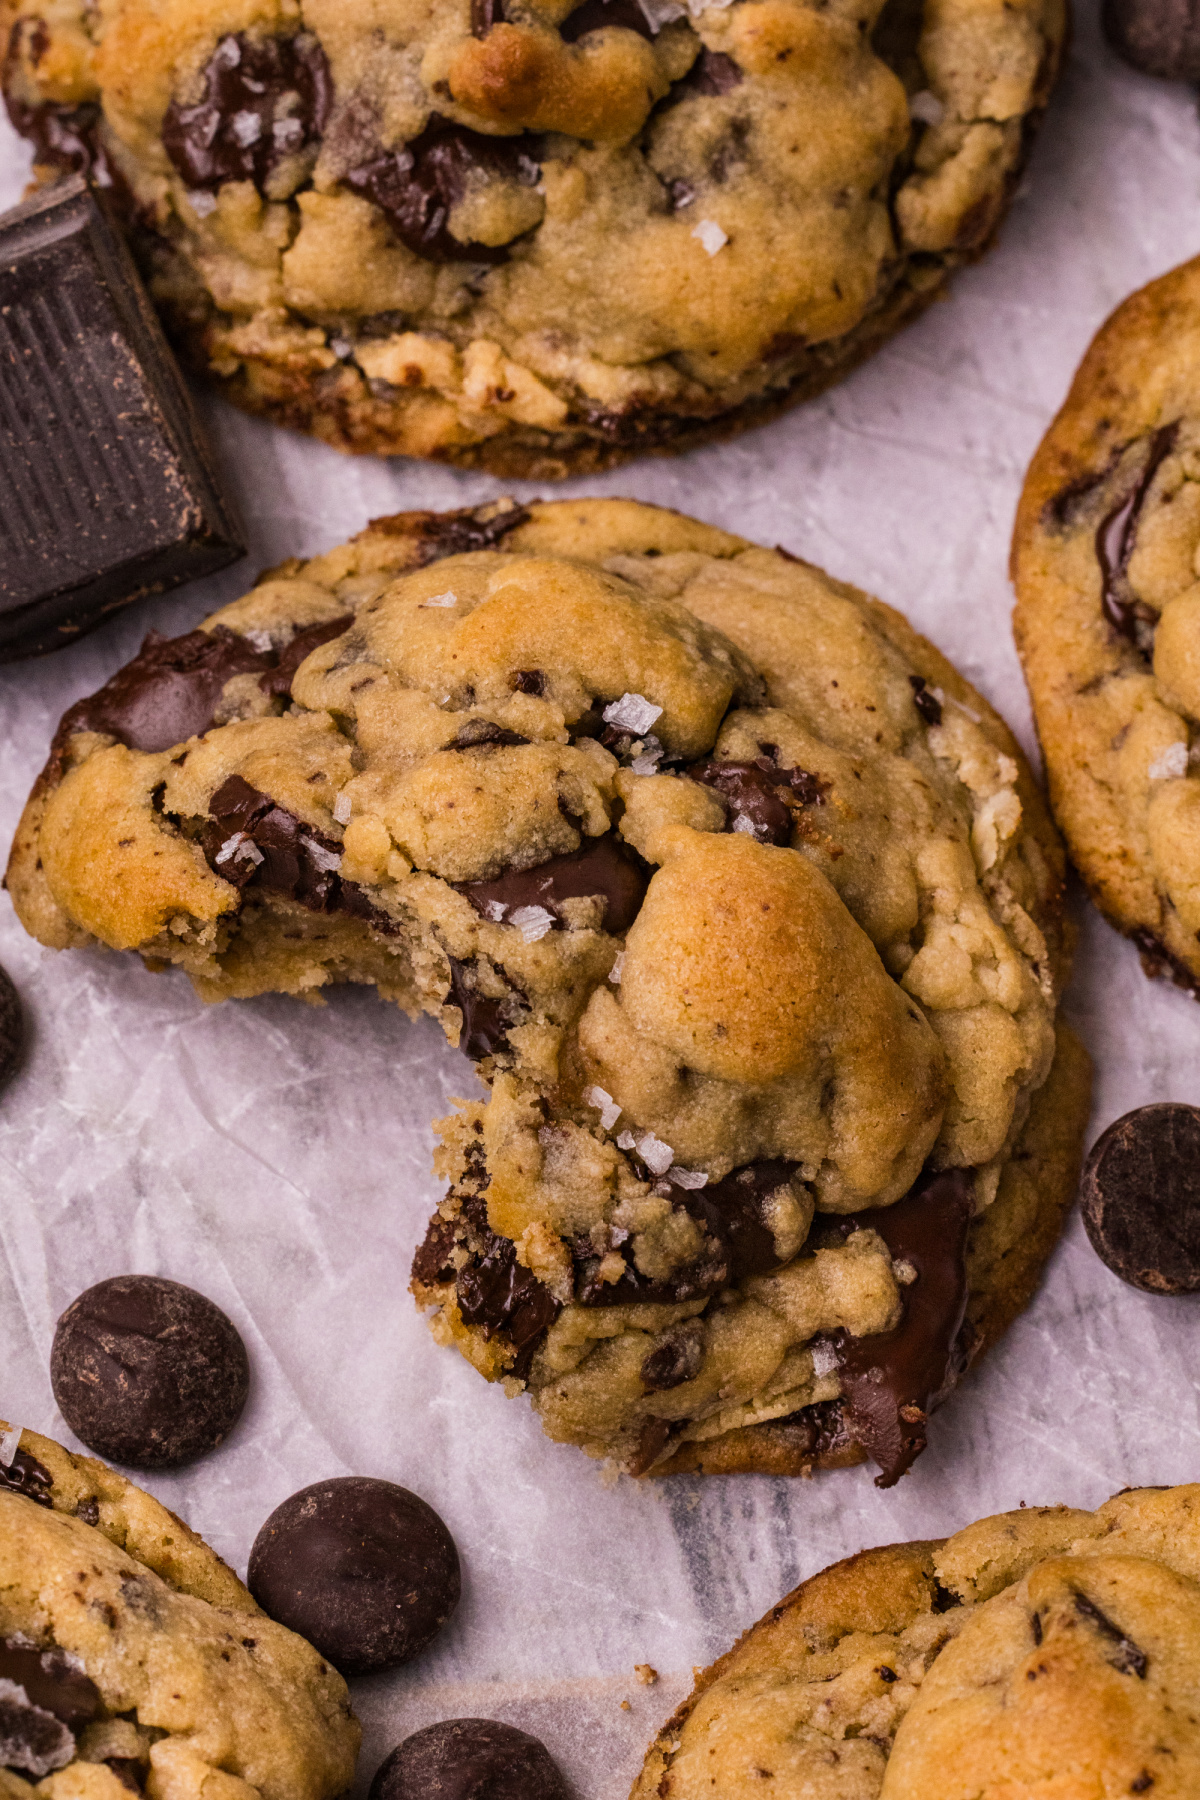
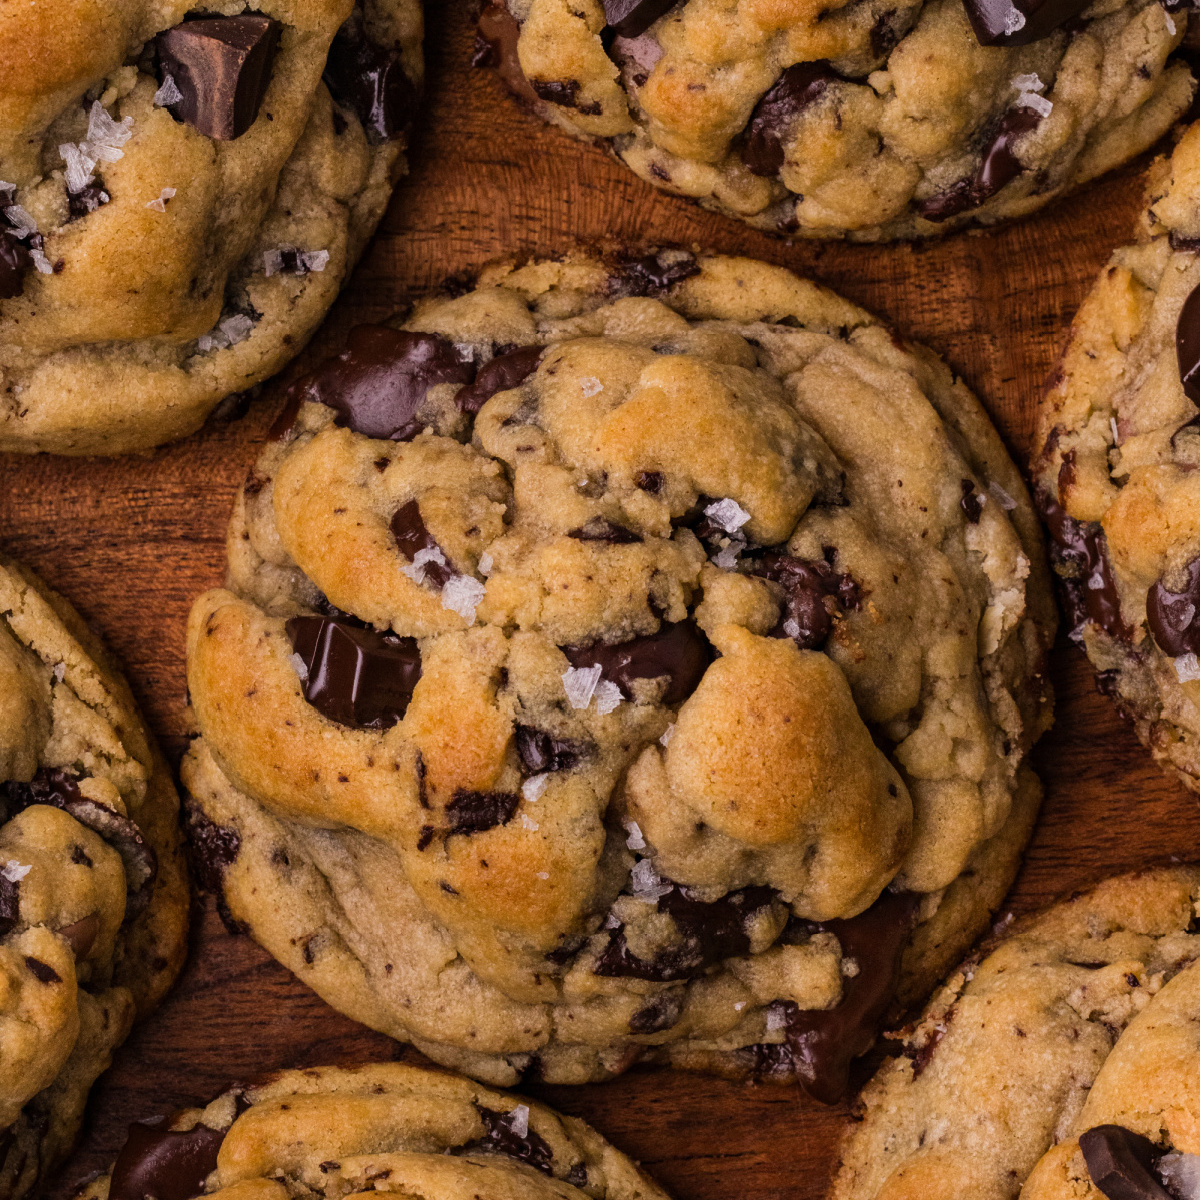
These brown butter chocolate chip cookies have golden tops, soft, chewy centers, and melted dark and milk chocolate. Browned butter adds a rich, nutty flavor, while the large portions of dough bake into thick cookies that stay soft as they cool.
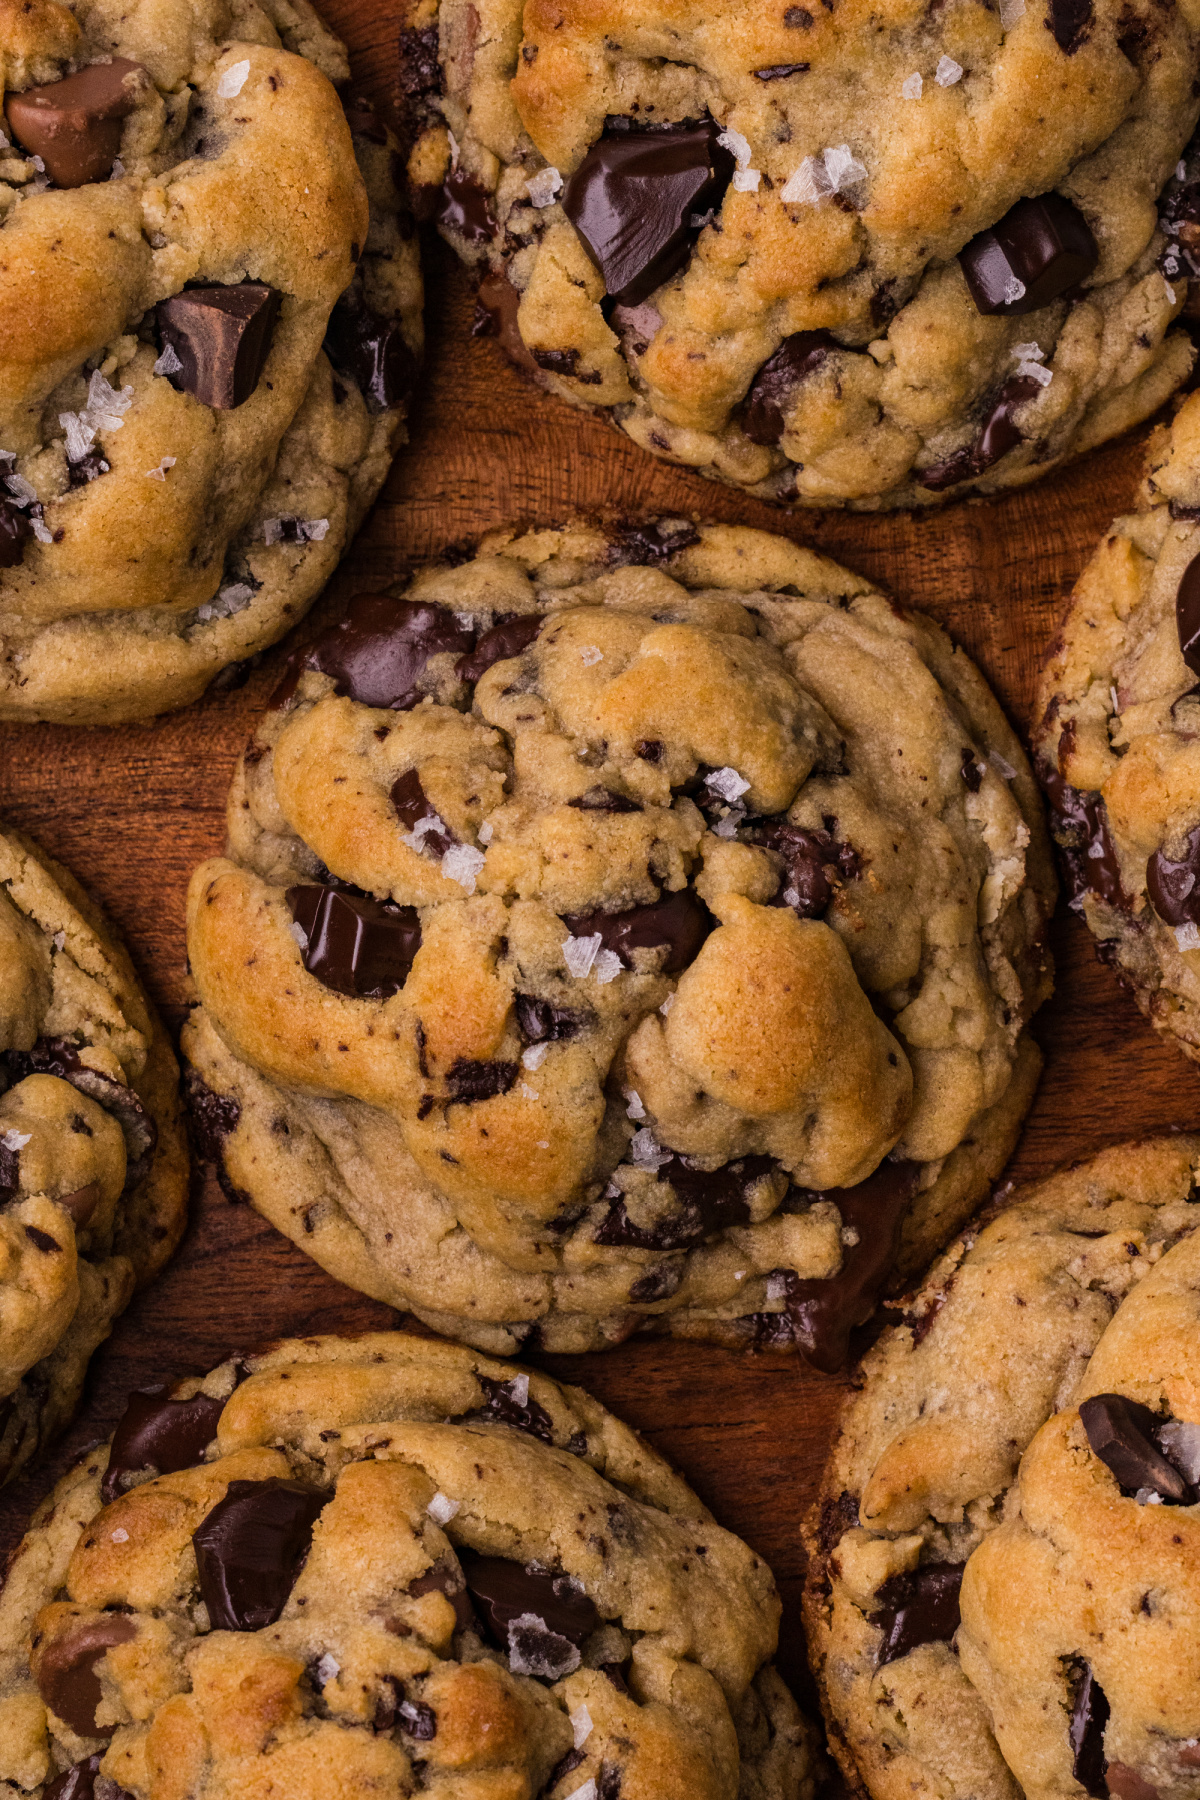
Brown Butter Chocolate Chip Cookies with Soft, Chewy Centers
I’ve been baking chocolate chip cookies since I was 10 years old, and I’ve learned how much the smallest changes can affect the finished cookie. For this recipe, I wanted a large cookie with a golden top, a chewy center, and enough chocolate that the browned butter could stand there with a straight face and declare victory.
I spent time testing how the dough was shaped, how long it needed to chill, and what happened when I baked large portions at a higher temperature. The difference between rolling the dough into smooth balls and forming uneven mounds was noticeable enough that I stopped rolling them altogether.
There’s also more going on with the browned butter than melting it in a saucepan until it turns golden. I use an ingredient that changes how much of the butter mixture can toast, and it’s one of the reasons I like the flavor of these cookies so much.
The Decisions Behind This Recipe
- Browning dry milk powder with butter adds more toasted milk solids than butter has on its own. Butter already has milk solids, but the dry milk powder increases the amount available to brown, creating more of the nutty, caramel-like flavor. When browning butter, I’m looking for almond-to-pecan color, then I’m getting the butter out of the saucepan right away. Once it’s heading toward walnut brown, it can get bitter, and I refuse to make chocolate chip cookies that have that kind of negativity.
- Bread flour is the gateway to the chewiness of these cookies, which becomes really important when you’re making them this large and adding ten ounces of chocolate. I use some all-purpose flour so they don’t turn into construction equipment, and the cornstarch helps keep the centers tender.
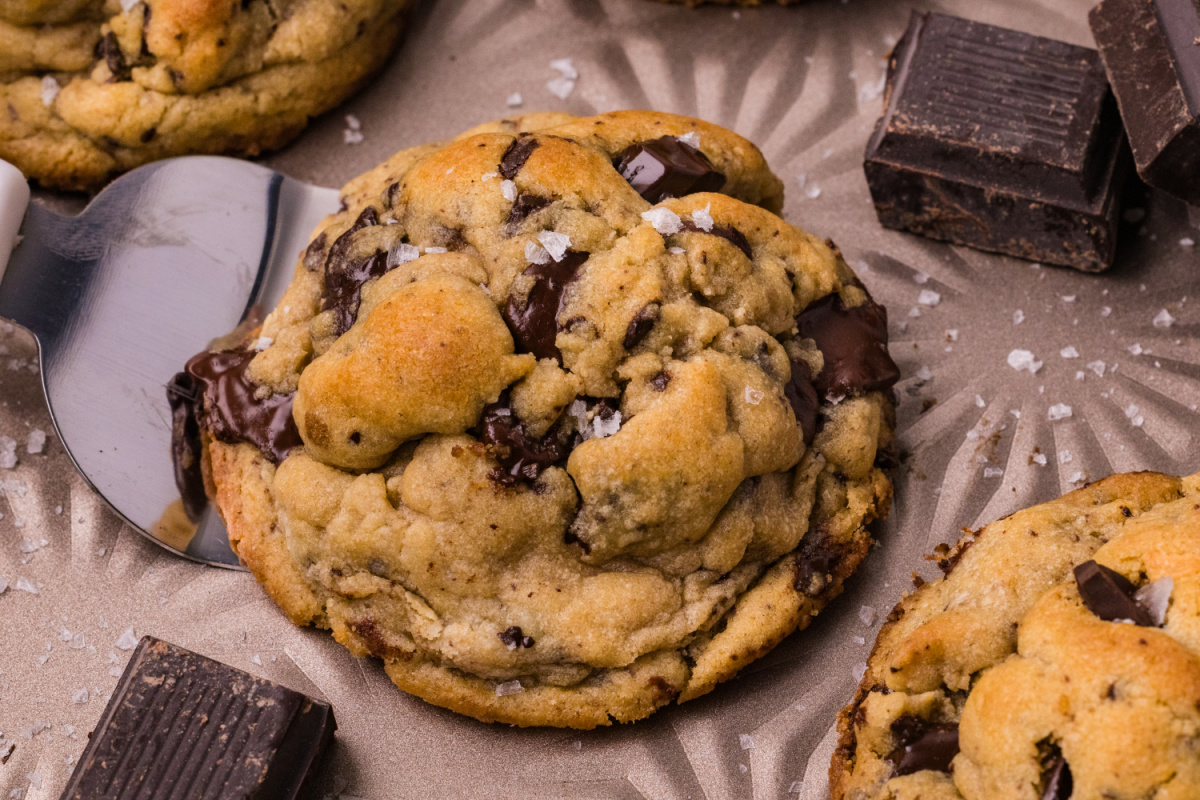
- I like using dark chocolate chips, milk chocolate chips, and chopped dark chocolate because it’s a nice contrast. The chips keep more of their shape, the chopped chocolate melts into larger areas, and the milk chocolate keeps the dark chocolate from taking itself too seriously. There’s a full ten ounces of chocolate in ten cookies before I press extra chunks into the tops, so there is never any question where it all went.
- The teaspoon of molasses is small, but don’t leave it out. There’s already molasses in the brown sugar, obviously, but I wanted slightly more of the caramel-like flavor. It’s not enough to make these taste like gingerbread, and nobody is going to mistake them for molasses cookies.
- I tested these cookies as smooth dough balls and as tall, uneven mounds put together by hand. The hand-shaped dough is the look and texture I wanted, with more height and all the different folds of dough and chocolate showing on top. I don’t pack or roll them into perfect balls because a perfect look wasn’t the goal.
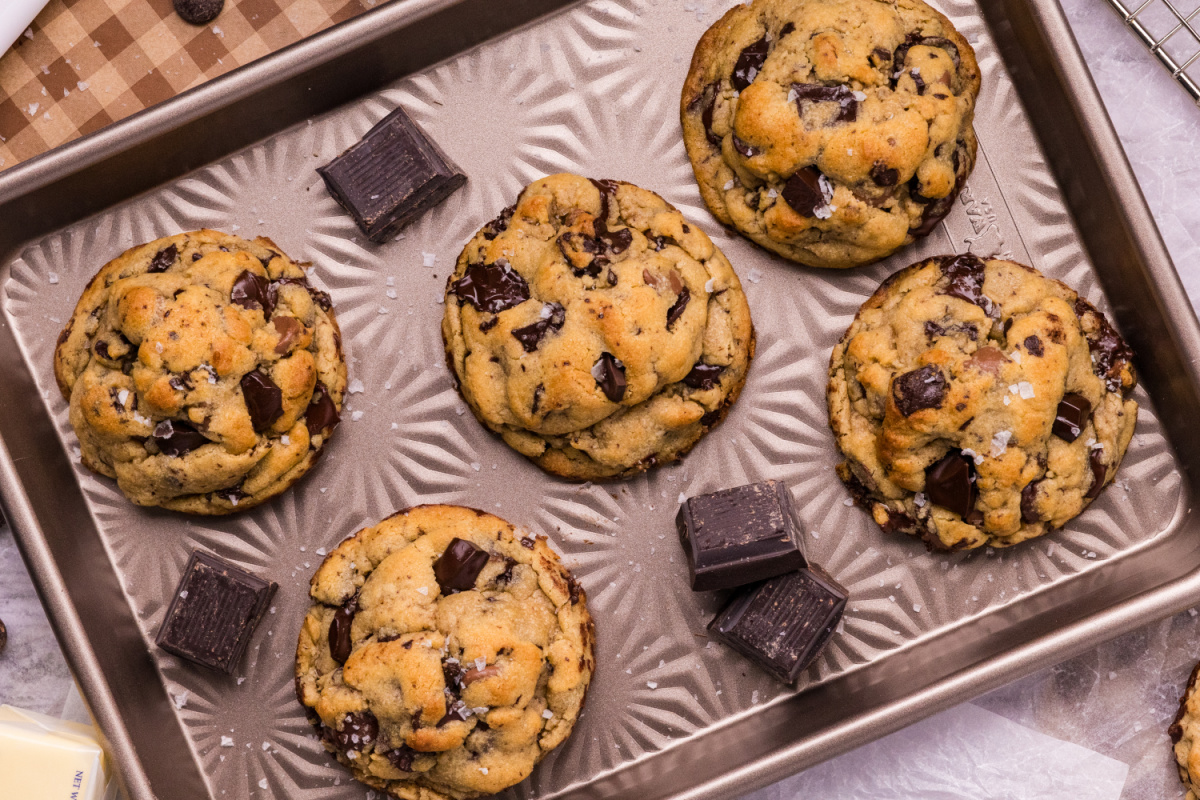
- These are four-ounce cookies baked at 400°F for about eight minutes, which sounds brief until you see what happens. The hotter oven gives the outside a head start, while the center stays soft enough to finish setting on the baking sheet. I take them out when the tops have lost their shine and the bottoms are starting to brown, not when the centers look completely finished. Then I leave them on the baking sheet until they’re completely cooled because the centers continue setting as the cookies cool. My oven maintains a very accurate temperature, but not every oven does, so watch the cookies closely rather than relying completely on the eight-minute baking time.
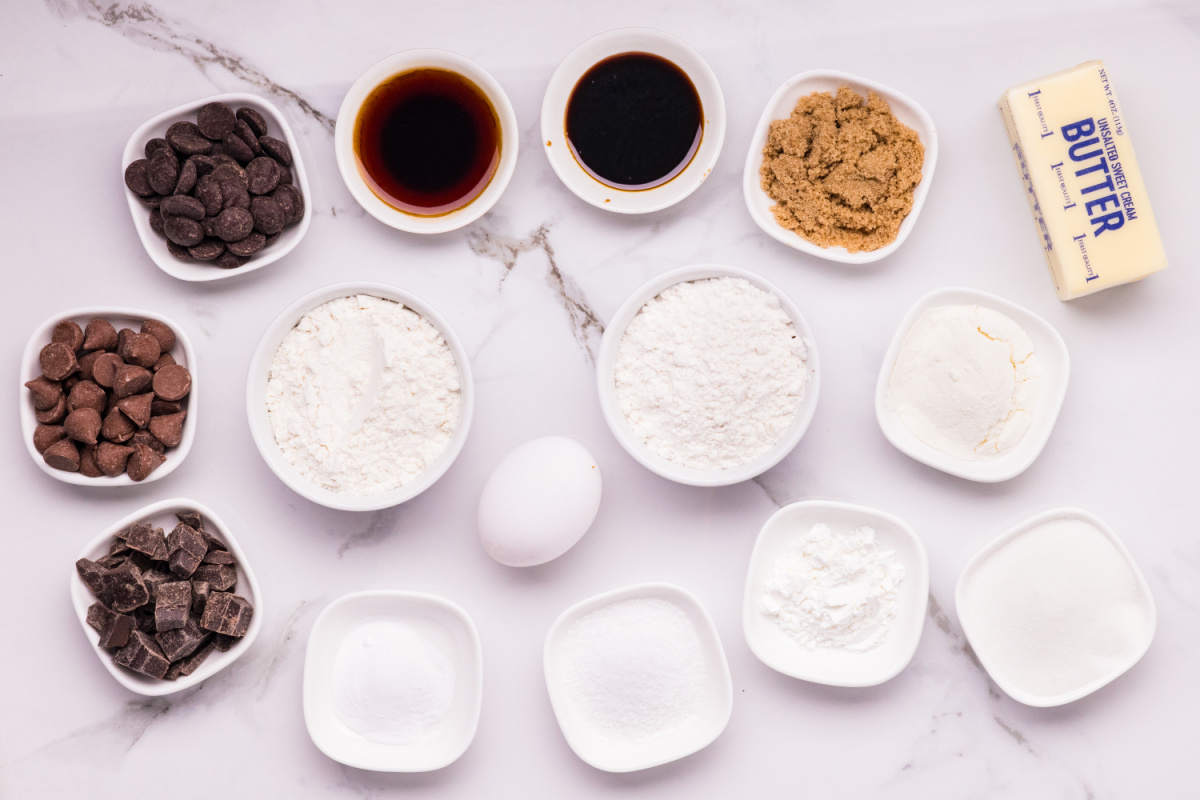
Ingredients
- Unsalted butter and water – Use unsalted butter so you’re in charge of the salt level. After browning, you’ll weigh the butter and toasted milk solids, then add enough water to reach 220 grams if needed. Some of the butter’s moisture evaporates during browning, and you don’t want the loss changing how the cookies bake.
- Dry milk powder – Use regular nonfat dry milk powder, not liquid milk. It browns with the butter, adding extra toasted milk solids that stay in the cookie dough.
- Brown sugar and granulated sugar – I use both because brown sugar adds moisture and a molasses flavor, while granulated sugar helps the cookies spread and brown. Light or dark brown sugar is fine, but dark will give you a stronger molasses flavor. If you’re out of brown, make a batch of my homemade brown sugar.
- Kosher salt – I use kosher salt in the dough. Salt crystal sizes vary a lot between brands, so don’t automatically sub it one-for-one with table salt.
- Bread flour, all-purpose flour, and cornstarch – Bread flour adds to the chewiness, all-purpose flour reduces the proportion of higher-protein flour, and cornstarch helps the centers stay tender. I weigh the flour because large cookies with a short baking time don’t leave room for guessing.
- Baking soda – Use baking soda, not baking powder. It helps the cookies brown and spread the way they’re supposed to.
- Dark chocolate chips, milk chocolate chips, and a dark chocolate bar – The chips hold on to more of their shape during baking, while the chopped chocolate melts more freely. Use a dark chocolate bar you’d be happy to eat on its own.
- Egg and egg yolk – The whole egg helps hold the dough together, while the extra yolk adds richness without another egg white changing the texture.
- Vanilla extract and molasses – Vanilla is necessary in a cookie, and the small amount of molasses adds a caramel-like note without tasting like a spice cookie.
- Flaky sea salt – Completely optional, but Maldon over a warm cookie makes the chocolate taste even more chocolatey and adds a slight crunch.
How to Make Brown Butter Chocolate Chip Cookies
Find the complete printable recipe with measurements in the recipe card at the BOTTOM OF THE POST.
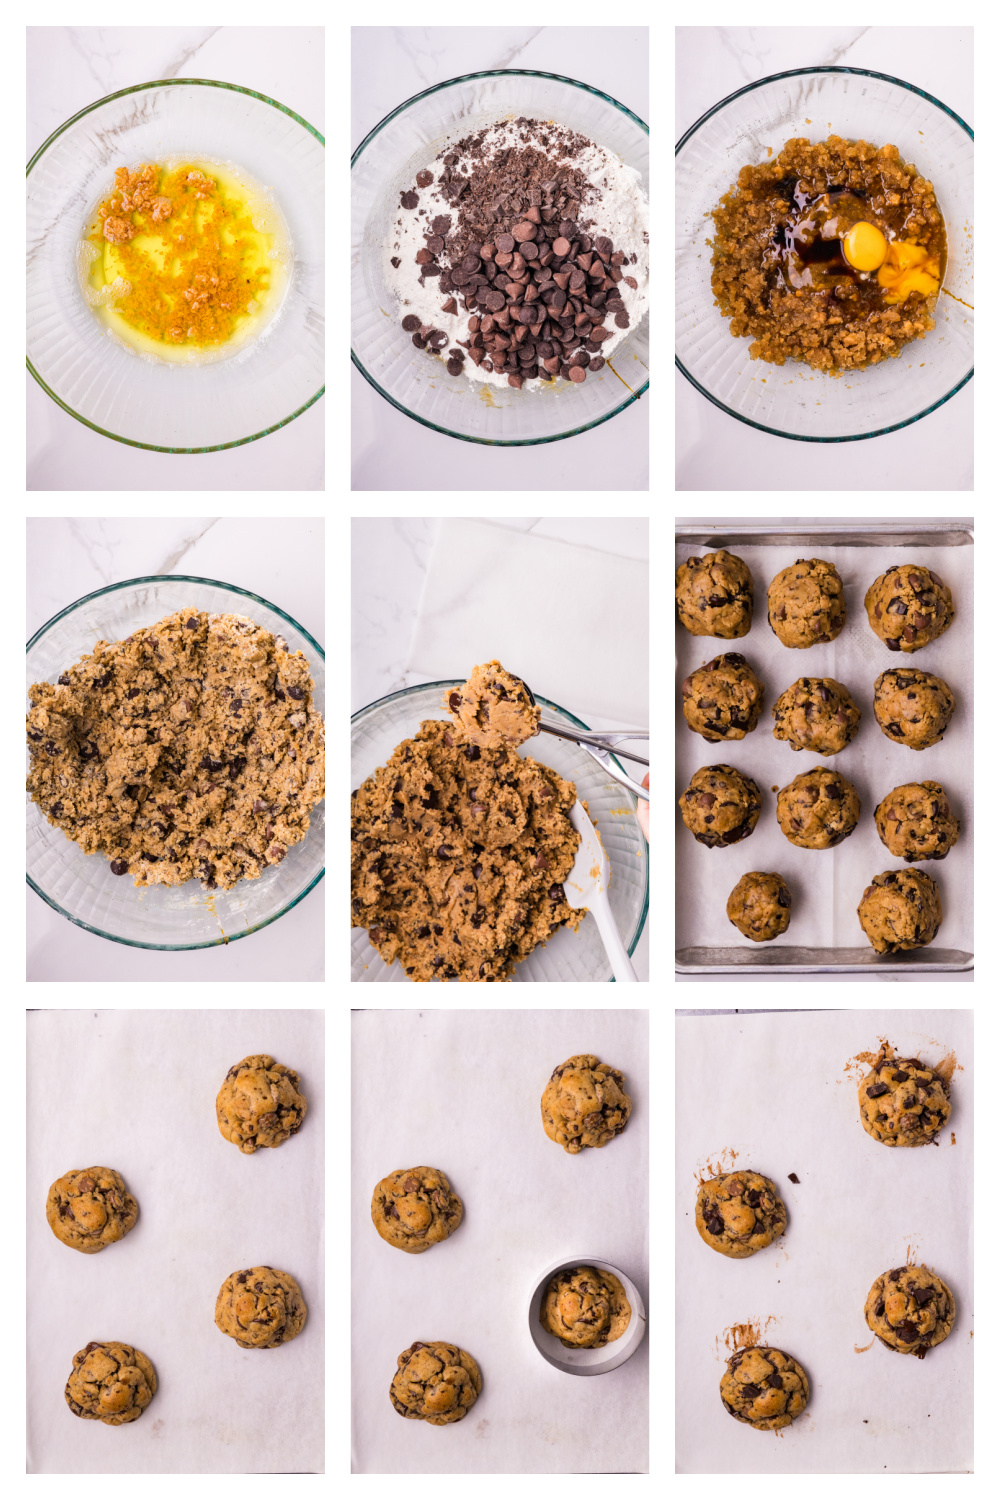
- Step One (brown the butter)
Melt the butter in a saucepan over medium heat, then stir in the dry milk powder. Keep scraping the bottom and sides as it cooks because the milk solids are developing the toasted flavor, and they can go from golden brown to bitter in seconds. Once they reach an almond-to-pecan color, immediately pour everything into a heatproof glass bowl. Weigh the browned butter and add enough water to bring it back to 220 grams if it needs it, then let it cool to room temperature before you make the dough. - Step Two (mix the flour and chocolate)
Whisk together the all-purpose flour, bread flour, cornstarch, and baking soda. Stir in the dark chocolate chips, milk chocolate chips, and chopped dark chocolate. I mix the chocolate into the flour first so it’s evenly distributed before everything goes into the butter mixture. - Step Three (make the dough)
Stir both sugars and the kosher salt into the cooled browned butter, then add the whole egg, egg yolk, vanilla, and molasses. Stir vigorously until the mixture thickens slightly and looks more uniform. Fold in the flour and chocolate mixture until no dry flour remains, then stop. - Step Four (shape and chill the dough)
Divide the dough into 10 portions, about 4 ounces each. Use your fingers to loosely form them into tall, uneven mounds instead of rolling them into smooth balls. I tested both, and the hand-shaped dough baked into the cookies I wanted. Cover and refrigerate the portions for at least 2 hours or up to 48 hours. Once they’re chilled, they can go straight from the refrigerator onto the baking sheet. - Step Five (bake the cookies)
Preheat the oven to 400°F and line a baking sheet with parchment paper. Arrange the chilled dough mounds several inches apart because they do spread, even if they’re enormous. Bake for about 8 minutes, until the tops have lost their shine, the raised parts are lightly golden, and the bottoms are beginning to brown. The centers will still look soft. That’s correct. Don’t wait for them to look completely baked before taking them out. - Step Six (finish and cool)
While the cookies are still hot, use something round to bring any uneven sides back into a circle. Press extra dark chocolate chunks into the tops and add flaky sea salt if you want. Leave the cookies on the baking sheet until they’re completely cool. They’re still setting in the middle, and trying to move them too early is how a perfectly good cookie becomes a broken mess.
Recipe Tips
- Watch the milk solids when you brown the butter. With the dry milk powder in there, you have more to toast and more to burn. You’re looking for almond-to-pecan brown, then get it out of the hot saucepan quickly.
- Let the browned butter cool to room temperature before adding the egg and yolk. You want it cooled but still fluid, not warm enough to make the eggs weird and not cold enough to turn solid again.
- Weigh the dough portions if you can. Four ounces is a big cookie, and they all need to be close to the same size when they’re baking for only about eight minutes. A four-ounce cookie and a five-ounce cookie aren’t necessarily going to finish baking at the same time.
- Shape the dough before you refrigerate it. Trying to scoop cold cookie dough out of a bowl later is an unnecessary upper-body workout. Once the mounds are chilled, they’re ready to go directly onto the baking sheet.
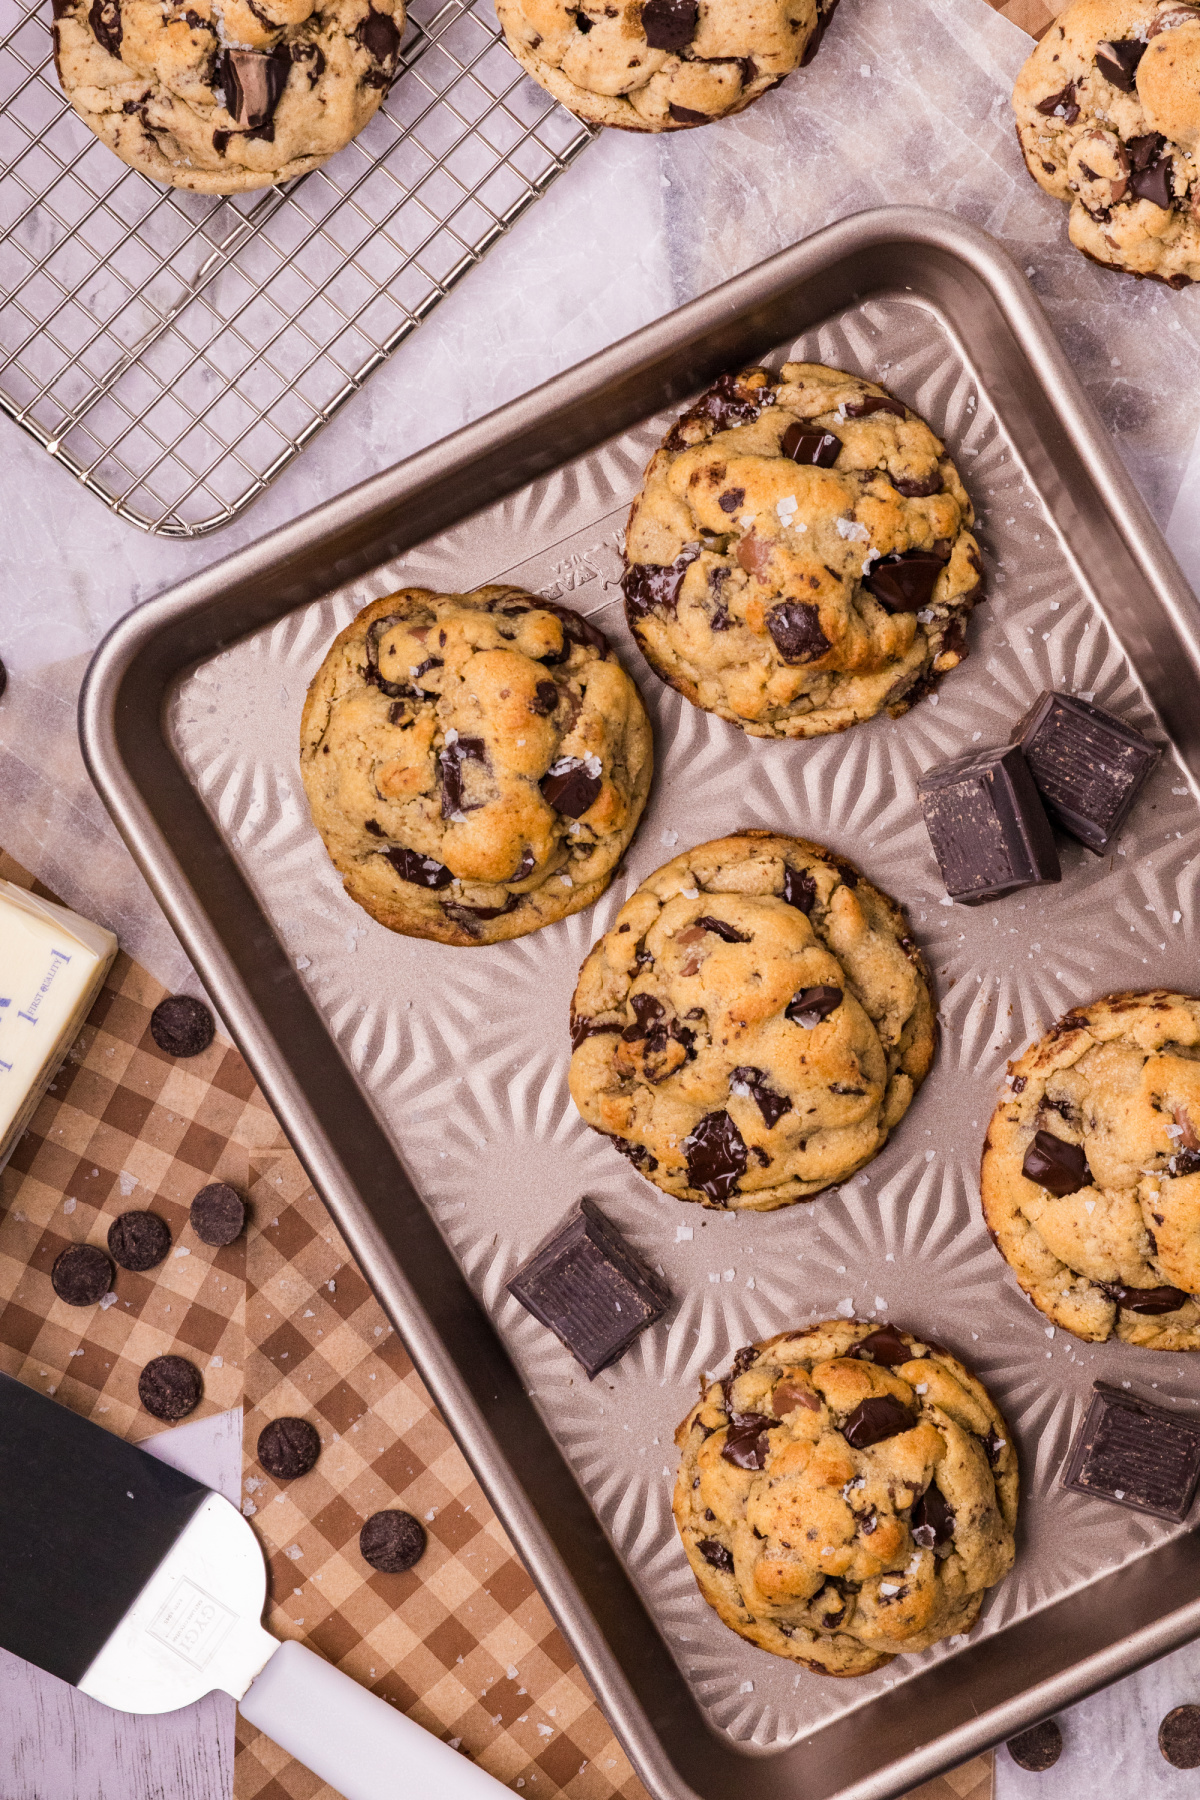
- These cookies are supposed to look soft when they leave the oven. The tops should no longer look shiny, and you want some golden color on the raised parts and bottoms, but the centers will finish setting on the hot pan. Let them stay there until completely cool before you decide anything has gone wrong.
Storage and Freezing
- Store the cooled cookies in an airtight container at room temperature for up to 4 days. They’re softest the day they’re baked, but I also like them several hours later, once the chocolate has firmed up again and the centers have had more time to set.
- To freeze baked cookies, let them cool completely, then layer them in a freezer-safe container with parchment paper between them. Freeze for up to 3 months for the best texture and thaw at room temperature when you’re ready for one.
- You can also freeze the shaped cookie dough. Refrigerate the portions for at least 2 hours first, then transfer the firm dough mounds to a freezer-safe container or bag. Freeze for up to 3 months. I haven’t tested baking these directly from frozen, so I recommend thawing the dough overnight in the refrigerator and baking it chilled, as I did during testing.
- To warm a baked cookie, put it in a 300°F oven for 3–5 minutes or microwave it briefly. Be careful with the chocolate because melted chocolate can be hot and has zero concern for the roof of your mouth.
FAQs
- Why add dry milk powder when browning butter?
Butter already has milk solids that toast as it browns. The dry milk powder adds more milk solids to work with, which means more nutty, caramel-like brown butter flavor in the cookies. - Can I make these without bread flour?
Yes. You can replace the bread flour with an equal weight of all-purpose flour, but the cookies may be slightly less chewy. They’ll still be very good, obviously. - Can I make smaller cookies?
Yes. I tested 2-ounce portions at the same 400°F oven temperature, and they baked in about 6–7 minutes. Start checking them at 6 minutes because smaller cookies move faster than these four-ounce butter monsters. - Why didn’t my cookies spread very much?
Too much flour can be one reason, which is why I like weighing it. Make sure you added enough water after browning the butter to bring it back to 220 grams, and don’t turn the dough mounds into compact cannonballs. These are supposed to be loosely shaped before they chill. - Can I refrigerate the dough for 48 hours?
Yes. I’ve tested the dough refrigerated for up to 48 hours. Cover the shaped portions well, then bake them straight from the refrigerator when you’re ready.
From My Kitchen Notes
Small observations from the margins.
- I know when something has gone far enough and needs to leave the warmth.
- I can measure what’s lost without pretending it wasn’t.
- I’ve never smoothed myself out to make a better shape for someone else.
- Some things need time in the cold before they can hold together properly.
- I’ve learned not to keep stirring things that have already had enough.
- More sweetness doesn’t fix what was allowed to burn.
- Making myself smaller so someone else can bake evenly is never going to happen.
Brown Butter Puts in the Work
- Brown Butter Peach Coffee Cake Muffins – Fresh peaches, brown butter, cinnamon streusel, vanilla glaze.
- Cabernet Sauvignon Brown Butter Brownies – Red wine, brown butter, fudgy chocolate.
- Brown Butter Carrot Bundt Cake – Brown butter, warm spices, cream cheese frosting.
- Sweet Potato Bundt Cake with Buttered Rum Caramel Glaze – Roasted sweet potatoes, browned butter, dark rum caramel, toasted pecans.
- Banana Pudding Cookies – Fresh banana, soft cookies, brown butter cream cheese frosting.
This post may contain affiliate links. Please read my disclosure policy.
Brown Butter Chocolate Chip Cookies
Equipment
- Saucepan (medium). For browning the butter and dry milk powder while allowing enough room to stir and scrape the bottom.
- mixing bowls (heatproof). For cooling the browned butter and mixing the cookie dough.
- kitchen scale (digital). For weighing the browned butter after cooking and dividing the dough into equal portions.
- whisk For distributing the dry ingredients before adding the chocolate.
- rubber spatula For mixing the cookie dough without overworking the flour.
- 2 baking sheet For chilling the portioned dough and baking the cookies.
- parchment paper For lining the baking sheets and preventing sticking.
- 3-inch round cookie cutter Optional, for shaping the cookies immediately after baking.
Ingredients
- 1 cup (226 g) unsalted butter
- 2 tbsps (16 g) dry milk powder
- ⅔ cup (80 g) all-purpose flour
- 1¾ cups (210 g) bread flour
- 2 tsps (5 g) cornstarch
- 1 tsp (5 g) baking soda
- 3 oz (85 g) dark chocolate chips
- 4 oz (113 g) milk chocolate chips
- 3 oz (85 g) dark chocolate bar chopped
- ¾ cup (160 g) dark brown sugar
- ½ cup (99 g) granulated sugar
- 1 tsp (3 g) kosher salt
- 1 large egg
- 1 large egg yolk
- 2 tsps (10 g) vanilla extract
- 1 tsp (7 g) molasses
- additional dark chocolate chunks optional for topping
- Maldon flaky sea salt optional for topping
Instructions
- Melt the unsalted butter in a medium saucepan over medium heat, then add the dry milk powder and stir continuously, scraping the bottom and sides of the pan to prevent the milk solids from sticking or burning. Continue cooking until the butter is fragrant and the milk solids reach a deep almond-to-pecan color, removing the saucepan from the heat before they darken to a walnut color, which can result in a bitter flavor.1 cup (226 g) unsalted butter, 2 tbsps (16 g) dry milk powder
- Immediately transfer the browned butter, including all the toasted milk solids, to a heatproof glass mixing bowl to stop the browning process. The easiest way to check the weight is to weigh the empty bowl beforehand and record its weight, then subtract that amount from the weight of the bowl containing the browned butter. If the browned butter weighs less than 220 g, add enough water to reach 220 g, then allow it to cool to room temperature before continuing with the cookie dough.
- While the browned butter cools, whisk together the all-purpose flour, bread flour, cornstarch, and baking soda in a separate mixing bowl. Add the dark chocolate chips, milk chocolate chips, and chopped dark chocolate, stirring until the chocolate is evenly distributed through the flour mixture.⅔ cup (80 g) all-purpose flour, 1¾ cups (210 g) bread flour, 2 tsps (5 g) cornstarch, 1 tsp (5 g) baking soda, 3 oz (85 g) dark chocolate chips, 4 oz (113 g) milk chocolate chips, 3 oz (85 g) dark chocolate bar
- Add the brown sugar, granulated sugar, and kosher salt to the cooled browned butter, stirring until thoroughly incorporated. Add the whole egg, egg yolk, vanilla extract, and molasses, then stir vigorously until the mixture becomes slightly thicker and more uniform in consistency.¾ cup (160 g) dark brown sugar, ½ cup (99 g) granulated sugar, 1 tsp (3 g) kosher salt, 1 large egg, 1 large egg yolk, 2 tsps (10 g) vanilla extract, 1 tsp (7 g) molasses
- Fold the flour and chocolate mixture into the butter mixture using a spatula, mixing until no dry flour remains and the chocolate is distributed through the dough. Stop mixing once the ingredients are incorporated to avoid developing excess gluten, which can make the cookies tougher.
- Divide the cookie dough into 10 equal portions, weighing approximately 4 ounces (113 g) each (weigh your total dough first and divide by 10 for the most accurate measurement). Using your fingers, loosely press each portion into a tall, irregular mound rather than rolling it into a smooth ball or flattening it, allowing the dough to retain its uneven surface as it bakes.
- Arrange the portioned cookie dough on a baking sheet or in a covered container and refrigerate for at least 2 hours, or up to 48 hours for additional flavor development. Chilling the dough also allows the flour to absorb moisture and helps control spreading during baking.
- Preheat the oven to 400°F (204°C) and line a baking sheet with parchment paper. Arrange the chilled dough mounds several inches apart to allow for spreading, then bake for approximately 8 minutes, until the tops have lost their shine, the bottoms are beginning to brown, and the raised areas of dough are lightly golden. The centers should still appear soft when the cookies are removed from the oven, so avoid extending the baking time until they look completely firm.
- Immediately after removing the baking sheet from the oven, use a round cookie cutter slightly larger than each cookie, a spatula, a ramekin to carefully shape any uneven sides into a more circular form. Press additional dark chocolate chunks into the warm tops if desired, then finish with a sprinkling of Maldon flaky sea salt.additional dark chocolate chunks, Maldon flaky sea salt
- Leave the cookies on the baking sheet until completely cooled, allowing the residual heat to continue setting the centers without drying them out in the oven. The cookies will firm as they cool while retaining the soft, chewy texture developed during baking.
Notes
- Regular nonfat dry milk powder works well for browning with the butter. Liquid milk can't be substituted because it changes the moisture content.
- After browning, the butter and toasted milk solids should weigh 220 g. If the mixture weighs less, add enough water to restore the weight before cooling.
- The cookie dough should be portioned before refrigeration. Chill for at least 2 hours or up to 48 hours.
- For smaller cookies, divide the dough into approximately 2-ounce (57 g) portions and bake at 400°F (204°C) for 6–7 minutes, using the same visual cues for doneness.
- The cookies will appear soft when removed from the oven and need to cool completely on the baking sheet before being moved.
- Store cooled cookies in an airtight container at room temperature for up to 4 days or freeze for up to 3 months. Refrigerated, portioned dough can be frozen for up to 3 months and thawed overnight in the refrigerator before baking.
- Nutritional information is provided as a courtesy only and should be construed as an estimate rather than a guarantee. Ingredients can vary, and Noble Pig makes no guarantees to the accuracy of this information.
Nutrition
Have you made these Brown Butter Chocolate Chip Cookies? I’d love to hear how they turned out – leave a comment below and let me know.
As an Amazon Associate and member of other affiliate programs, I earn from qualifying purchases.
Leave a Reply