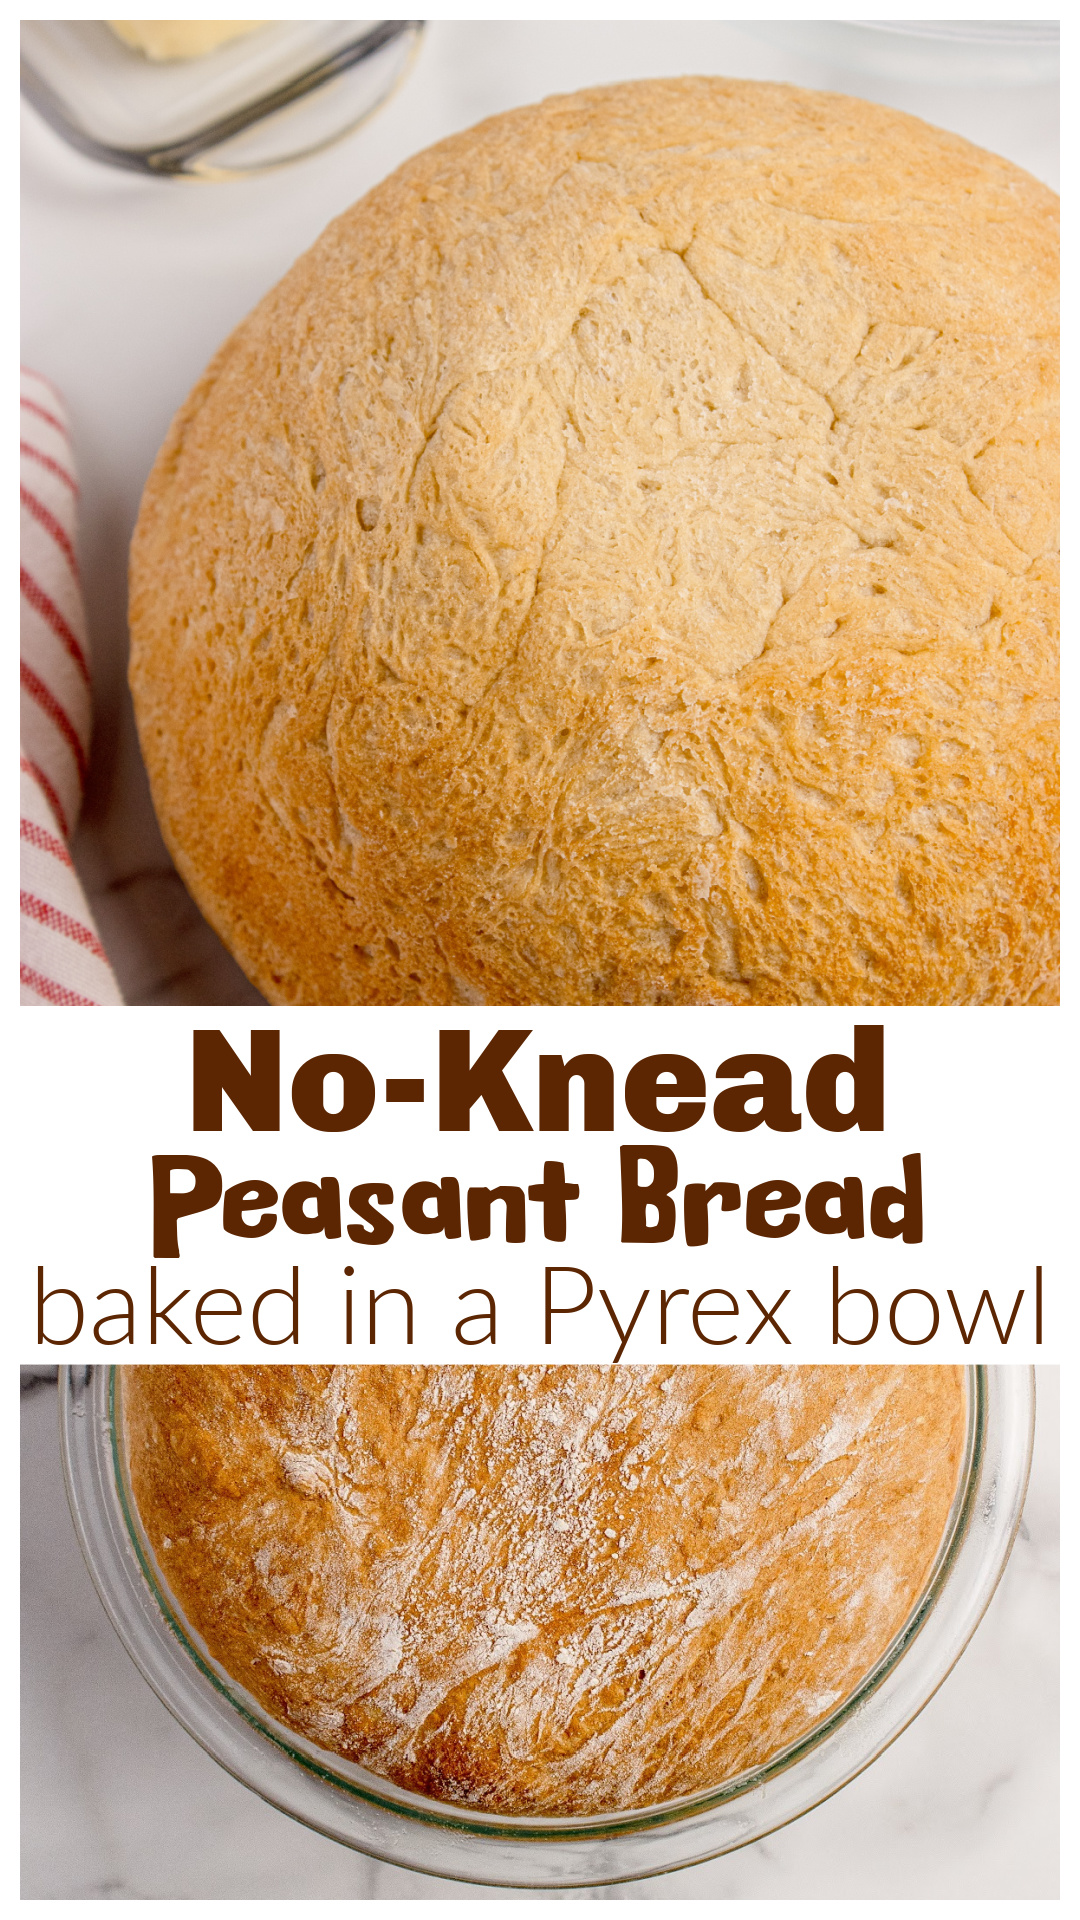
No-knead peasant bread baked in a pyrex bowl is for anyone who wants homemade bread without collecting a shelf full of baking equipment. The glass bowl shapes the dough into a tall, golden loaf with very little hands-on work.

The Pyrex Bowl Method
I made this no-knead peasant bread with a simple high-hydration dough that rises in a Pyrex bowl and bakes in the same vessel. The bowl supports the dough as it proofs, which helps create a tall, round loaf with a golden crust and soft interior. You will not need a Dutch oven, stand mixer, or specialty bread-baking equipment for this recipe.
I make a lot of bread, which means I’ve accumulated a lot of bread equipment over the years. Some of it I use regularly and some of it spends most of its life shoved onto shelves waiting for me to remember I own it. I also know most bread recipes assume everybody has a Dutch oven, a banneton, a baking stone, or whatever the latest must-have bread tool happens to be. A lot of my own recipes do. I’m winking at you Dutch oven bread.
While I had this dough rising in a Pyrex bowl on the counter, I thought why couldn’t I just bake it in this bowl? Maybe it’s normally used for cookie dough, salad or something else. Either way, there’s a decent chance you already own it. Here’s the caveat, you cannot use any bowl for this method. This is not the time to pull out the glass bowl from the dollar store. I used a 2.5-quart (2.4 L) Pyrex bowl, the middle-sized one from that stack of three bowls we have all bought or been gifted at some point.
The bowl does more than hold the dough while it rises. It supports this very wet dough as it rises, gives the loaf its tall rounded shape, and goes straight into the oven for baking. The rise and the bake happen in the same bowl, which means less handling and less equipment. The first time I pulled this loaf out of the oven, I was surprised by how well it worked. The crust was golden, and the inside stayed soft. The shape makes it look like this was your idea all along.

What Makes This Recipe Different
- As I mentioned before, most no-knead bread recipes rely on a Dutch oven or another heavy baking vessel to help support the dough as it bakes. I wanted to see if I could get a similar tall, round loaf using something many of us already have in the kitchen, a Pyrex bowl. Because I’m here working for you. Ha.
- The Pyrex bowl is part of the reason this method works. This is a very high-hydration dough, which means it contains more water than most traditional bread recipes. That extra hydration is what helps create the airy crumb without kneading, but it also makes the dough softer and more likely to spread as it rises. The Pyrex bowl supports the dough during the second rise and helps it rise upward rather than outward.
- The dough proofs and bakes in the same bowl, which means less handling and fewer pieces of equipment. You are still going to use another bowl for the initial mixing of the ingredients. But you are going to end up with a tall peasant-style loaf that is perfect for sandwiches and toast. This is my favorite bread for my daily PB & J.
- The high-hydration dough and the oven-safe Pyrex bowl are what give this bread its shape, texture, and character.

Ingredients
- All-purpose flour – Gives the loaf enough support to rise tall in the bowl while still staying soft enough for sandwiches and toast.
- Fine sea salt – Adds flavor and helps keep the dough from rising too quickly.
- Granulated sugar – Feeds the yeast and helps the crust develop its golden color during baking.
- Instant yeast – Gives the dough a reliable rise and can be mixed directly into the dry ingredients without proofing first. Active dry yeast can also be used, but the rise will take a little longer.
- Warm water – This recipe uses a generous amount of water, creating a very wet dough that rises easily and develops naturally during the proofing process instead of relying on kneading.
- Nonstick cooking spray – Keeps the loaf from sticking to the bowl and helps it release cleanly after baking.

How to Make No-Knead Peasant Bread in a Pyrex Bowl
Find the complete printable recipe with measurements in the recipe card at the BOTTOM OF THE POST.
- Step One (mix the dough)
Add the flour, salt, sugar, and instant yeast to a large bowl and stir everything together. Pour in the warm water and mix until there aren’t any dry patches left. The dough is going to look alarmingly wet and sticky compared to most bread doughs. Resist the urge to add more flour. This loaf depends on that extra moisture. - Step Two (let the dough rise)
Cover the bowl and place it somewhere warm until the dough doubles in size, about 1½ to 2 hours. I usually use the oven with the light turned on. By the time it’s ready, the dough should look puffy, airy, and full of life. - Step Three (shape the loaf)
Lightly flour your work surface and sprinkle a little flour over the top of the dough. Gently pull the edges underneath to form a rough ball, then continue tucking until you have a round loaf. This isn’t the time to wrestle with it. A light touch goes a long way here. - Step Four (proof in the Pyrex bowl)
Generously coat a 2.5-quart oven-safe Pyrex bowl with nonstick spray. Place the dough seam-side down in the bowl, cover loosely, and let it rise until it crowns slightly above the rim, about 45 to 60 minutes. This is where the bowl starts doing some of the work, helping the dough rise upward and hold that tall rounded shape. - Step Five (bake the bread)
Bake at 350°F until the loaf is deeply golden and the center reaches 190°F to 195°F on an instant-read thermometer, about 40 to 50 minutes. If your oven runs hot, lower the temperature by 25 degrees. Glass and metal don’t behave exactly the same in the oven, and a small adjustment can keep the outside from getting ahead of the inside. - Step Six (cool before slicing)
Remove the bread from the bowl and place it on a wire rack. I know it’s tempting to cut into it immediately, but give it at least 30 minutes. Fresh bread has terrible timing and always smells ready before it really is.

Recipe Tips
- This dough is much wetter than most bread doughs. It will look sticky, loose, and messy. Resist the urge to add extra flour. The higher water content is part of what gives this loaf its airy texture and helps it rise without kneading.
- Pay attention to the dough more than the clock. A warm kitchen may have the dough ready sooner, while a cooler kitchen may take longer. Look for dough that has doubled in size and looks puffy before moving on.
- Use a 2.5-quart Pyrex bowl made from tempered glass and inspect it before baking. Skip any bowl with chips, cracks, or damage. This is not the recipe for experimenting with mystery glass.
- Start with room-temperature glass and avoid sudden temperature changes. Don’t move the bowl from the refrigerator directly into a hot oven, and don’t place a hot bowl onto a cold, wet, or metal surface when it comes out of the oven.
- Every oven has its own personality. If yours tends to run hot, lower the temperature by 25 degrees. Glass and metal don’t bake exactly the same way, and a slightly lower temperature can help the loaf bake more evenly.
- If the top of the loaf is getting darker than you’d like before the center is fully baked, loosely tent it with foil for the remainder of the baking time.
- An instant-read thermometer removes the guesswork. Because this loaf rises tall in the bowl, the center can take longer to bake than the crust suggests. Look for an internal temperature of 190°F to 195°F before removing it from the oven.

Storage
- Store the cooled loaf tightly wrapped at room temperature for up to 3 days. The crust will soften slightly as it’s stored, but the bread stays fresher longer this way.
- The crust is at its best the day it’s baked. By the second day it softens a bit, which makes this bread especially good for toast, grilled sandwiches, and dunking into soup.
- If you prefer a crisper crust, store the loaf in a paper bag and plan to enjoy it the same day.
- For longer storage, slice the loaf and freeze the slices in a freezer-safe bag for up to 3 months. Individual slices can go straight from the freezer into the toaster.

FAQs
- Why is my dough so sticky?
It’s supposed to be. This is a high-hydration dough, which means it has more water than most traditional bread recipes. The dough will look loose and sticky from the beginning. It’s nothing to panic over. - Can I bake bread in a Pyrex bowl?
Yes, as long as you’re using tempered glass that is in good condition and does not have any chips or cracks. Avoid sudden temperature changes and don’t use damaged glass. - Can I use a different glass bowl?
Only if it is specifically labeled tempered glass. I used a Pyrex bowl for this recipe, so that’s what I recommend. - Why didn’t my bread rise?
Yeast, temperature, and time are usually the biggest factors. Make sure your yeast is fresh and give the dough enough time to double in size before moving on. - Can I use bread flour?
Bread flour will give the loaf a slightly chewier texture, but the recipe works well with either all-purpose flour or bread flour. - Why is the center gummy?
The bread was likely sliced too soon or needed a little more time in the oven. Let the loaf cool for at least 30 minutes and check for an internal temperature of 190°F to 195°F before removing it from the oven. - Can I use a metal bowl instead?
I haven’t tested this recipe in a metal mixing bowl. The Pyrex bowl helps support the dough and create the loaf’s tall shape, so I can’t guarantee the same results.

From My Kitchen Notes
Observations from the margins.
- The things that get used for everything usually end up being the most interesting.
- There are tools that spend years proving themselves before anyone gives them much credit.
- The things I use most often are rarely the most specialized. That’s true outside the kitchen too.
- The objects that earn permanent counter space rarely start out as the most exciting.
- There’s usually a reason certain things rarely leave the cabinet.
- There’s a noticeable difference between being overlooked and being unnecessary. The two get confused all the time. The bowl seems to be doing just fine with that.
- I have definitely underestimated certain things because they looked too ordinary.
- Some things become obvious so gradually that you can’t pinpoint the moment you finally saw them.
- There are possessions we all have that sit in the same place for years before revealing a new purpose. And a lot of potential looks ordinary until the day it doesn’t.
- A surprising number of useful things begin their lives as something else.
- Sometimes the best ideas start with lowering the qualifications. Because the bowl was never trying to become a bread pan.
- Lots of things work once you stop insisting they become something else first.
- Versatility is an underrated form of competence.
- And some items become more valuable the more jobs they’re asked to do.
- But there are things that shape outcomes while remaining mostly invisible.
- I keep discovering that support and restriction are occasionally mistaken for each other.
- The bowl doesn’t make the bread. It changes what the bread can become.
- Expansion and direction are two completely different skills.
- Dough rises differently once it has somewhere to go.
- I’ve spent enough time with bread to know that visible activity isn’t the only kind that counts. That’s how fermentation works.
- The most dramatic part of the process happens before the loaf ever sees the oven. That’s true with self-improvement too.
- There are days when progress looks a lot like waiting.

More Bread Recipes for Bread People
- Roasted Garlic Rosemary Artisan Bread – crusty loaf with roasted garlic throughout.
- Honey Oatmeal Bread – soft sandwich bread with honey.
- Honey Whole Wheat Sandwich Bread – soft sandwich loaf with honey.
- Homemade Slider Buns – soft buns for burgers and sandwiches.
This post may contain affiliate links. Please read my disclosure policy.

No-Knead Peasant Bread Baked in a Pyrex Bowl
Equipment
- mixing bowls (large) For mixing and fermenting the high-hydration dough.
- Pyrex 325 2.5 quart Glass Mixing Bowl Supports the dough during the second rise and creates the loaf's tall rounded shape.
- digital thermometer The most reliable way to determine when the center of the loaf is fully baked.
- wire rack Allows air to circulate around the loaf while it cools.
- kitchen scale For the most accurate measurement of ingredients.
- oven thermometer If you're unsure of how hot/cold your oven runs, this is the best way to figure it out.
Ingredients
- about 4 cups (17.6 oz / 500 g) all-purpose flour
- 1 tsp (0.2 oz / 6 g) fine sea salt
- 2 tbsps (0.9 oz / 25 g) granulated sugar
- 1 packet (7 g / 2¼ tsps) RapidRise yeast
- 2 cups (480 ml) warm water (100-110°F / 38-43°C)
- cooking spray
Instructions
- Add the flour, salt, sugar, and instant yeast to a large bowl and stir to combine. Pour in the warm water (38-43°C) and mix until no dry flour remains. The dough will be very loose and sticky, which is exactly what you want for this high-hydration bread.about 4 cups (17.6 oz / 500 g) all-purpose flour, 1 tsp (0.2 oz / 6 g) fine sea salt, 2 tbsps (0.9 oz / 25 g) granulated sugar, 1 packet (7 g / 2¼ tsps) RapidRise yeast, 2 cups (480 ml) warm water
- Cover the bowl and place it in a warm spot until the dough has doubled in size, about 1½ to 2 hours. A slightly warm oven with the light on works well. The dough should look puffy and airy before moving to the next step.
- Lightly flour your work surface and dust the top of the dough with a little flour. Gently fold the outer edges underneath to form a rough ball, then transfer the dough to the counter and tuck the edges underneath again until a smooth round shape forms. Avoid overworking the dough so it retains the air developed during the rise.
- Generously coat a 2.5-quart (2.4 L) oven-safe Pyrex bowl with nonstick spray or you can brush with olive oil. Place the dough seam-side down in the bowl, cover loosely, and let it rise until puffy and slightly above the rim, about 45 to 60 minutes. The bowl supports the dough as it rises and helps create the loaf's tall, rounded shape.cooking spray
- While the dough completes its second rise, preheat the oven to 350°F (175°C). Place the bowl in the oven and bake for 40 to 50 minutes, or until the loaf is deep golden brown and the center reaches 190-195°F (88-91°C) on an instant-read thermometer. If your oven tends to run hot, reduce the temperature by 25°F (15°C).
- Carefully remove the loaf from the bowl and transfer it to a wire rack. Let it cool for at least 30 minutes before slicing. This resting time allows the crumb to finish setting and prevents a gummy interior.
Notes
- Do not use decorative glass bowls, serving bowls, vintage glassware of unknown origin, or any bowl with chips, cracks, or other damage.
- The Pyrex bowl should be at room temperature before use. Avoid sudden temperature changes, also known as thermal shock, which can cause glass to crack or shatter.
- Do not place a cold glass bowl into a hot oven.
- Do not place a hot glass bowl onto a cold, wet, stone, metal, or granite surface. Set it on a dry towel, wooden cutting board, or cooling rack instead.
- This dough is intentionally high-hydration and will look much wetter than traditional bread dough. Resist the urge to add additional flour. The extra moisture helps create a lighter crumb without kneading.
- For the most accurate results, weigh the flour and water with a kitchen scale.
- The loaf is fully baked when the center reaches 190-195°F (88-91°C). Because the loaf is tall and baked in glass, color alone is not always the best indicator of doneness.
- If your oven tends to bake hot, reduce the oven temperature by 25°F (15°C). Glass bakeware heats differently than metal and may brown the crust more quickly.
Nutrition
Have you made this No-Knead Peasant Bread Baked in a Pyrex Bowl? I’d love to hear how it turned out – leave a comment below and let me know.
As an Amazon Associate and member of other affiliate programs, I earn from qualifying purchases.
Leave a Reply