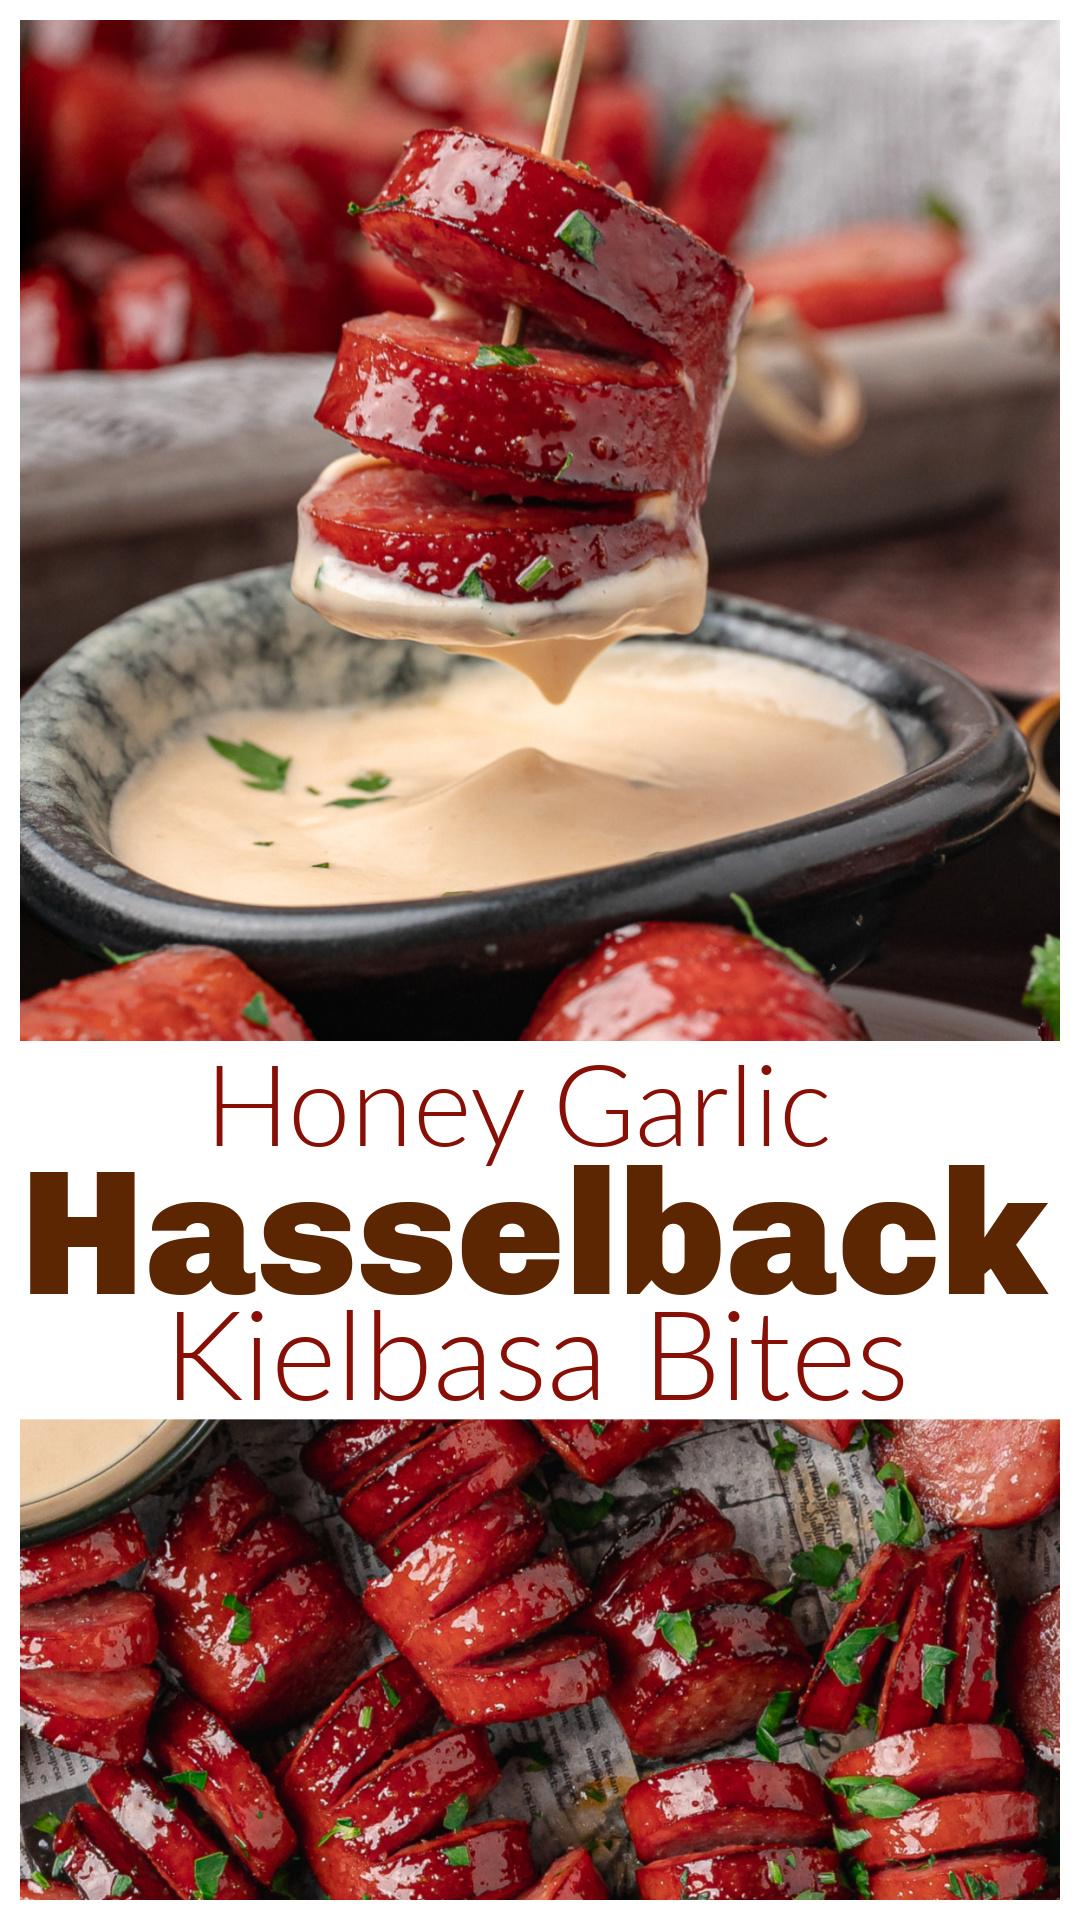
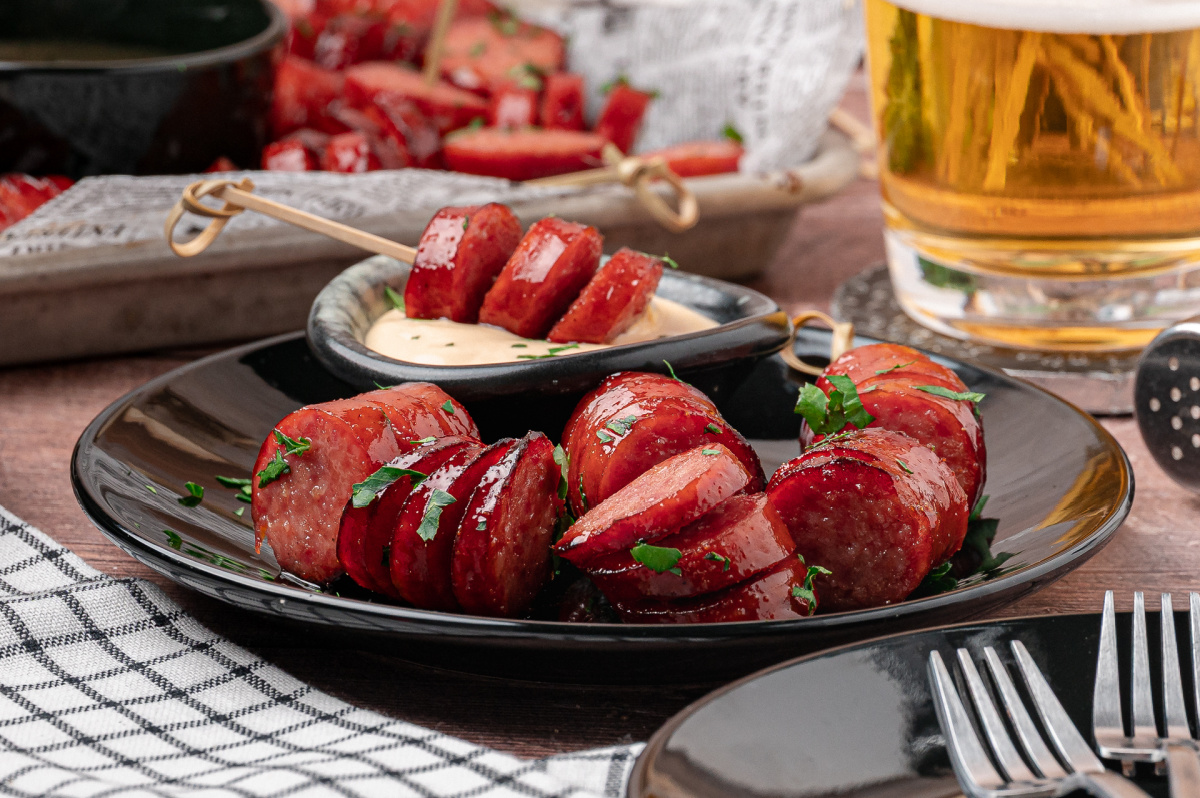
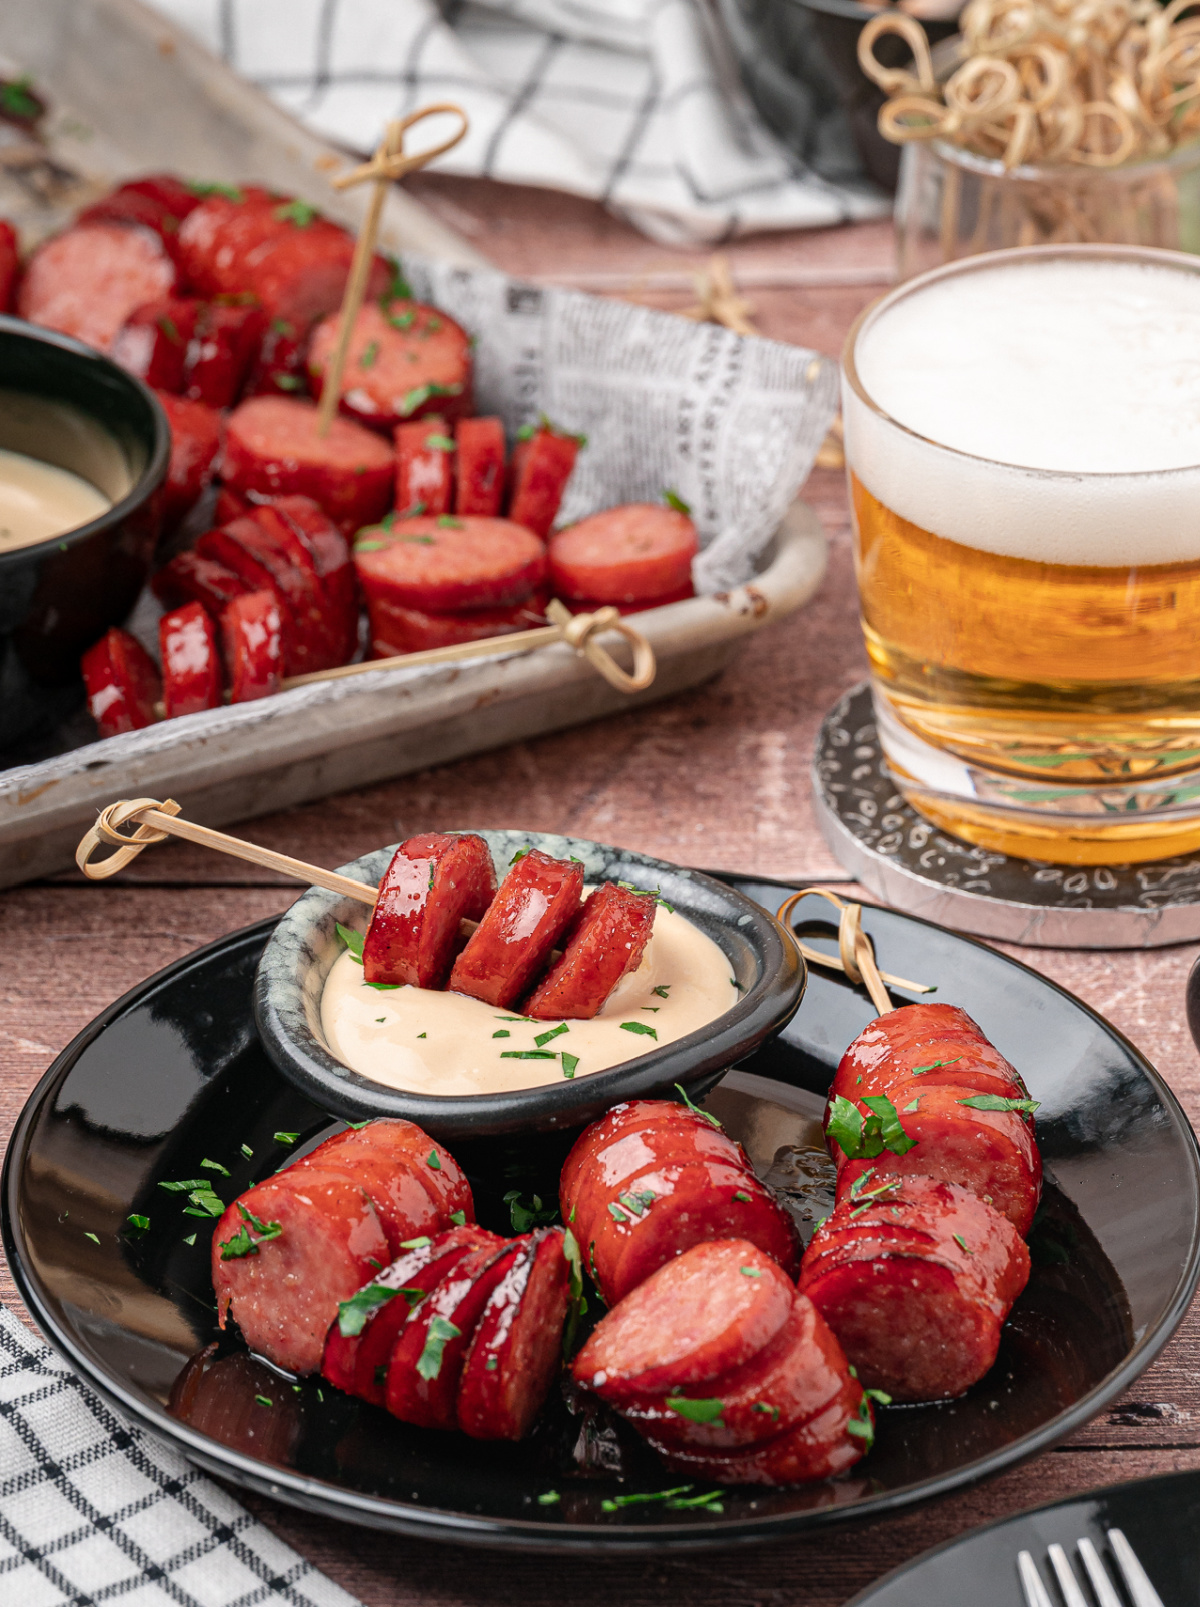
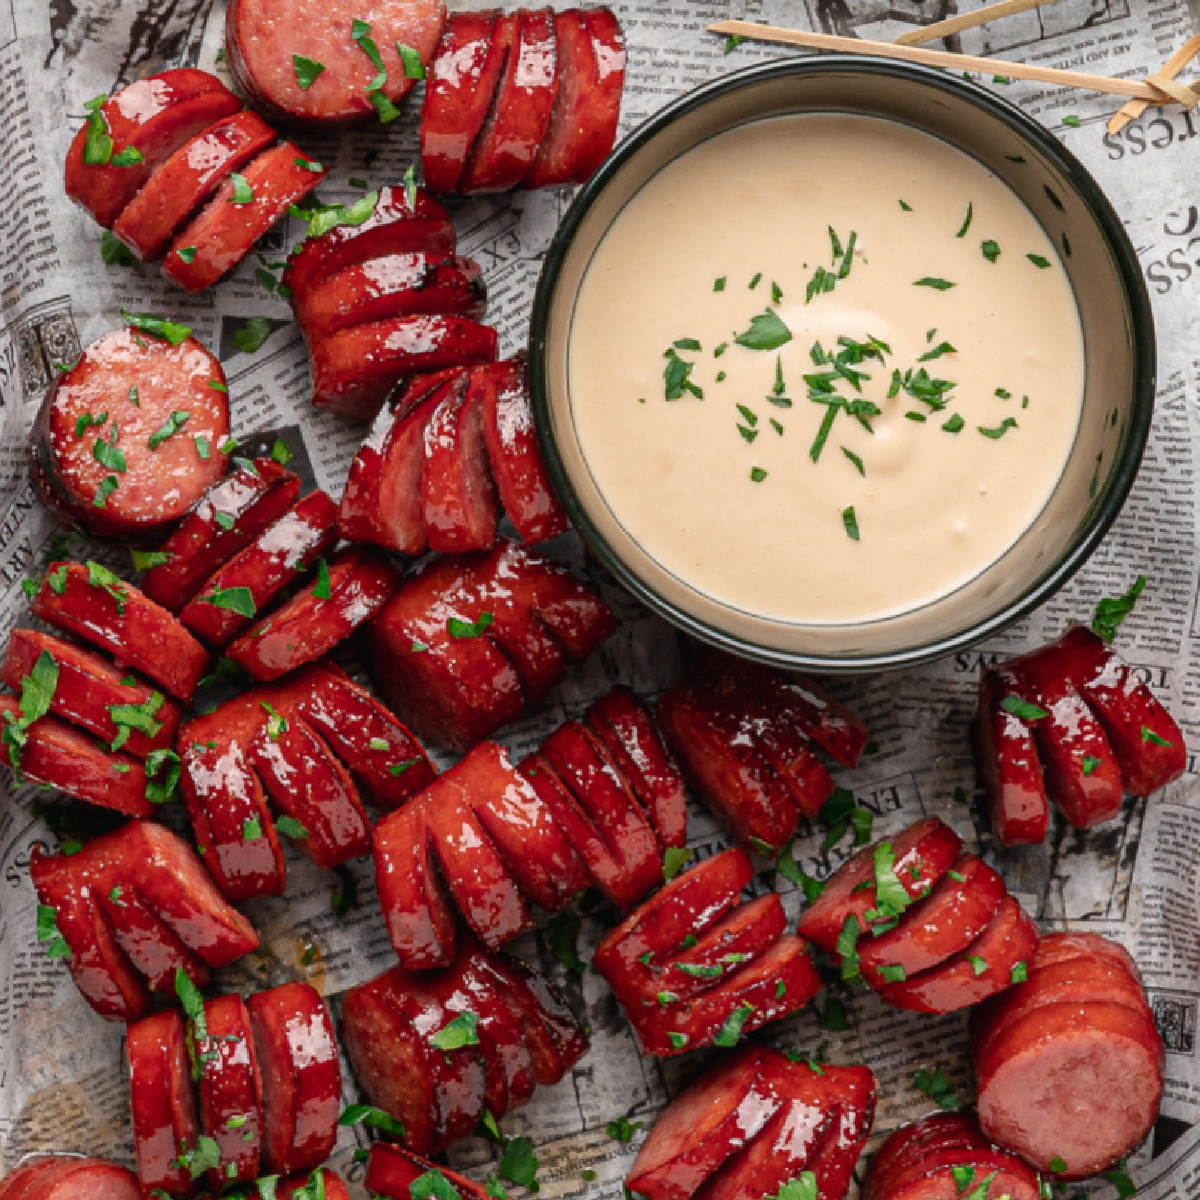
Honey garlic hasselback kielbasa bites are brushed with honey garlic butter after they begin to brown, then finished with one last brush before serving. I serve them warm with creamy honey mustard for an easy appetizer that’s pretty great for dipping.
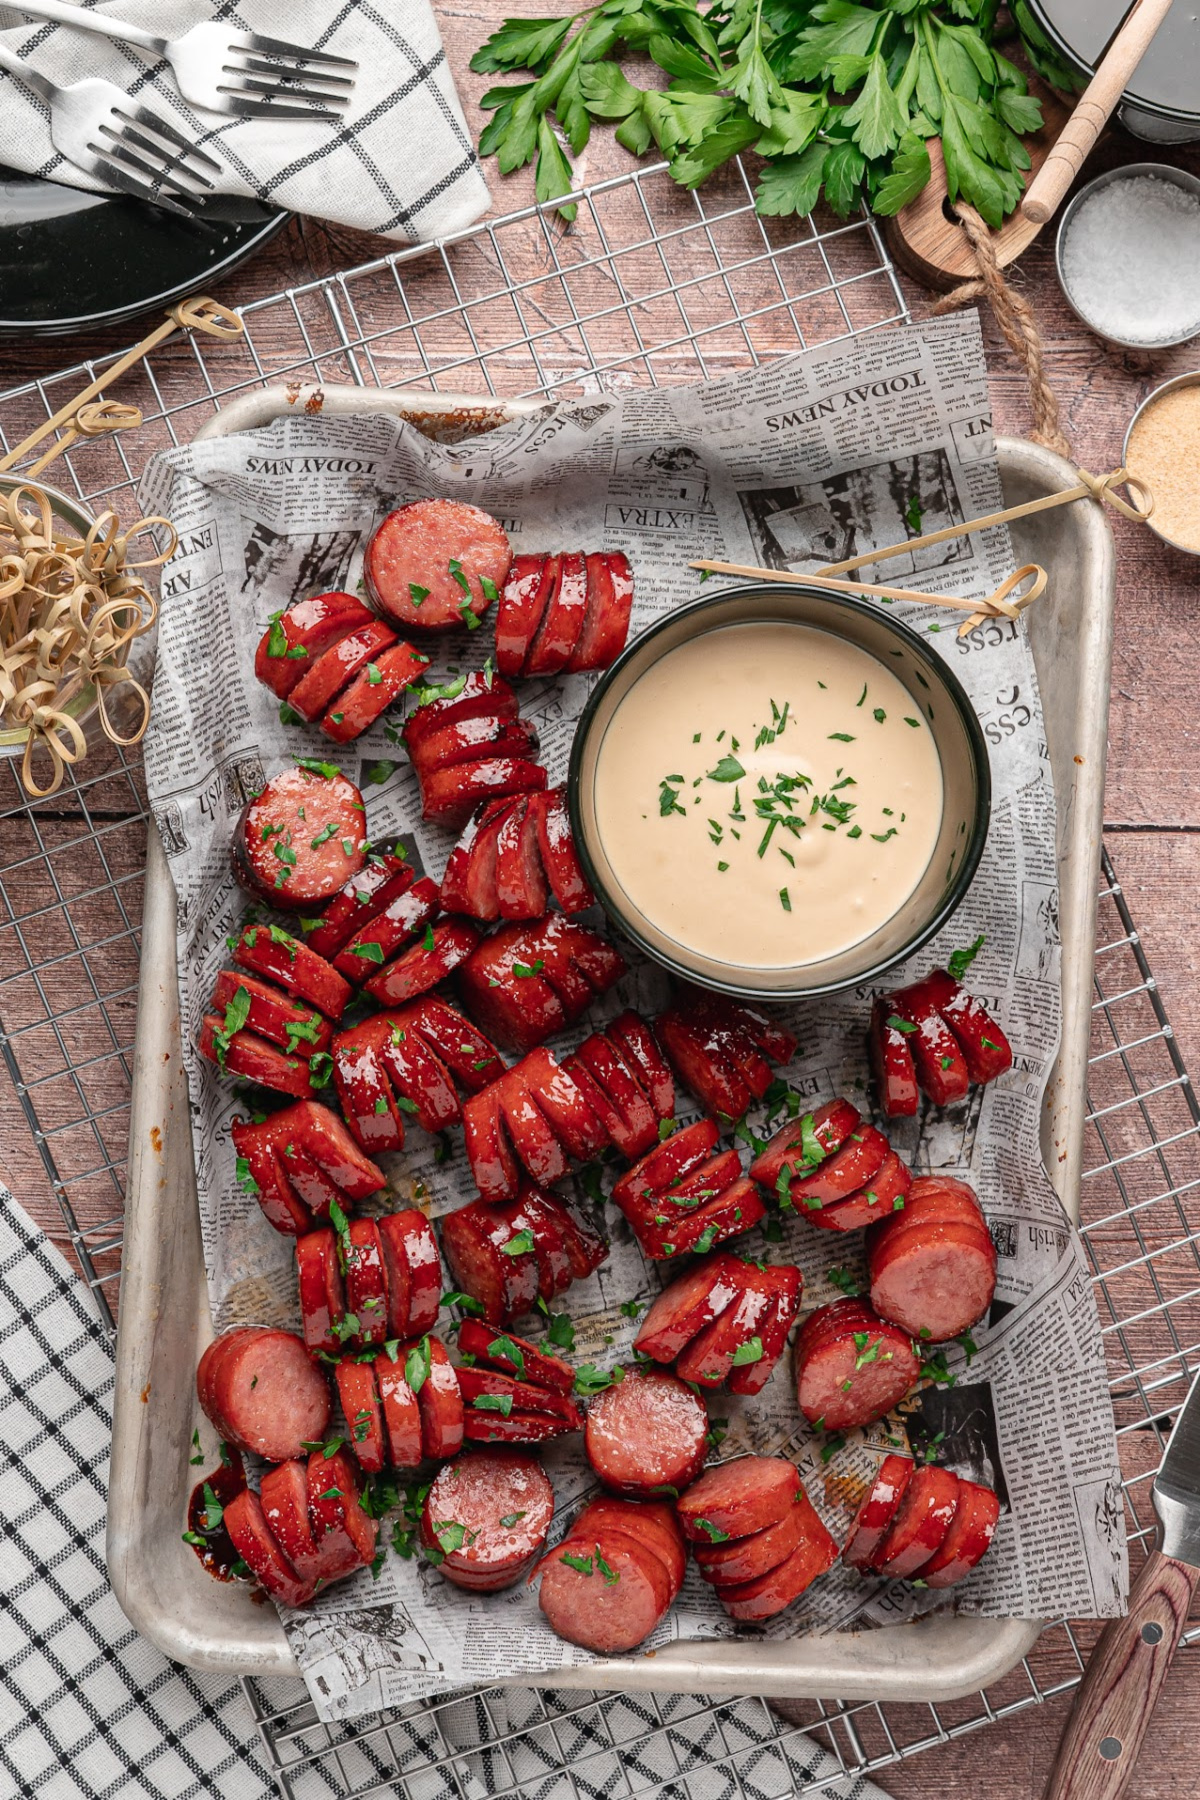
Honey Garlic Hasselback Kielbasa Bites with a Sticky Honey Garlic Glaze and Creamy Honey Mustard
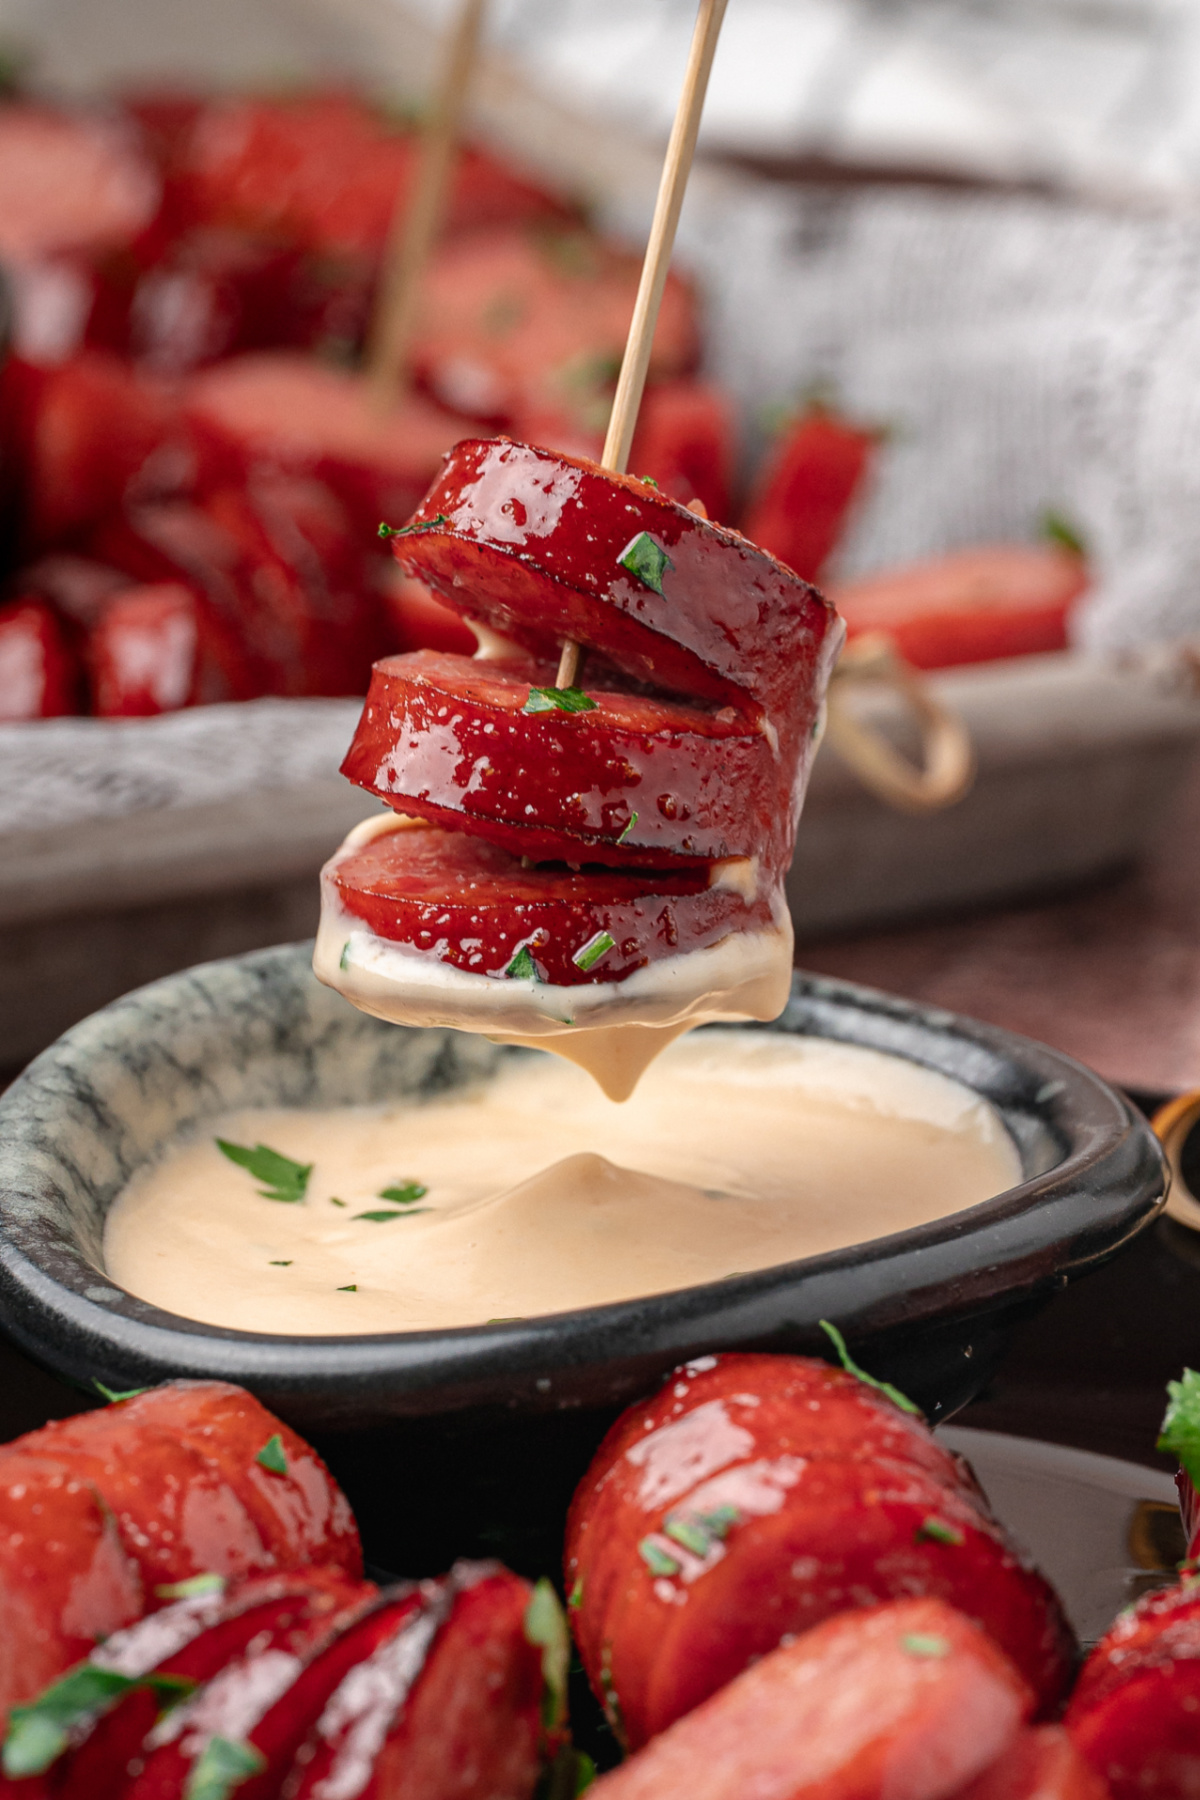
Kielbasa was something I ate regularly growing up, and it’s still something I look forward to. But this time, I wanted to make it into a bite-sized appetizer with more surface to brown and pockets that would catch a honey garlic glaze. I ended up with these honey garlic hasselback kielbasa bites, and instead of brushing the glaze on from the beginning, I baked the kielbasa first so the cuts had time to open before coating them and finishing with a second brush of reserved glaze after baking. I also made a creamy honey mustard to serve alongside, and dipping the bites into the sauce seems to be everyone’s favorite part. Including mine.
I’ve never needed much of an excuse to make smoked kielbasa. Both sides of my family are Polish, and my grandparents’ path to Los Angeles was anything but a straight line. My grandfather came from Poland through Montreal, while my grandmother came through Mexico. They were both turned away at Ellis Island before eventually making their way to California. Somehow, they both ended up there, found each other, and were instrumental in helping build a Polish community around them.
The church we went to every weekend was a huge part of that. My parents also gave so much of their time there, and my dad even donated a massive stained-glass window that’s still there today with his name etched in glass in the corner. Most Sunday mornings, they made breakfast after the early Mass. It helped support the church, but looking back it was really about community. I swear that sausage had a social network before Facebook.
For me, the best part was that every Sunday morning, there was kielbasa. Smoked and the fresh kind.
My godmother Alice would pick up these hard rolls from a bakery on Fairfax that I still think about because I have never found anything like them again. They had the kind of crust that shattered when you bit into them, with fluffy white bread on the inside. I would strategically slice my kielbasa in half lengthwise, place it in the roll and douse it in yellow mustard. It was messy. I didn’t care.
That taste is something I think about often, and it’s the driver behind all of my kielbasa experiments. I’m always finding another reason to bring it back into my kitchen.
My honey garlic hasselback kielbasa bites are obviously a long way from those Sunday morning sandwiches, but that’s kind of how cooking goes. The things we grow up with have a way of coming along for the ride.
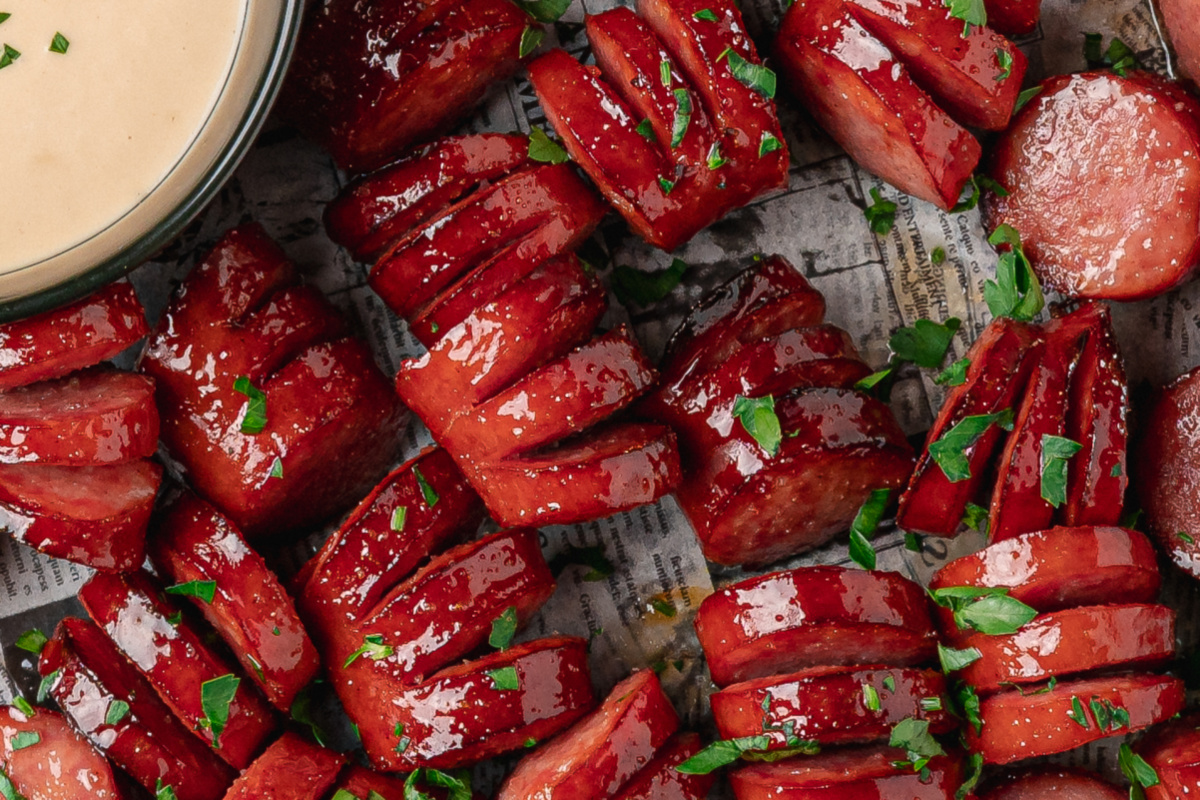
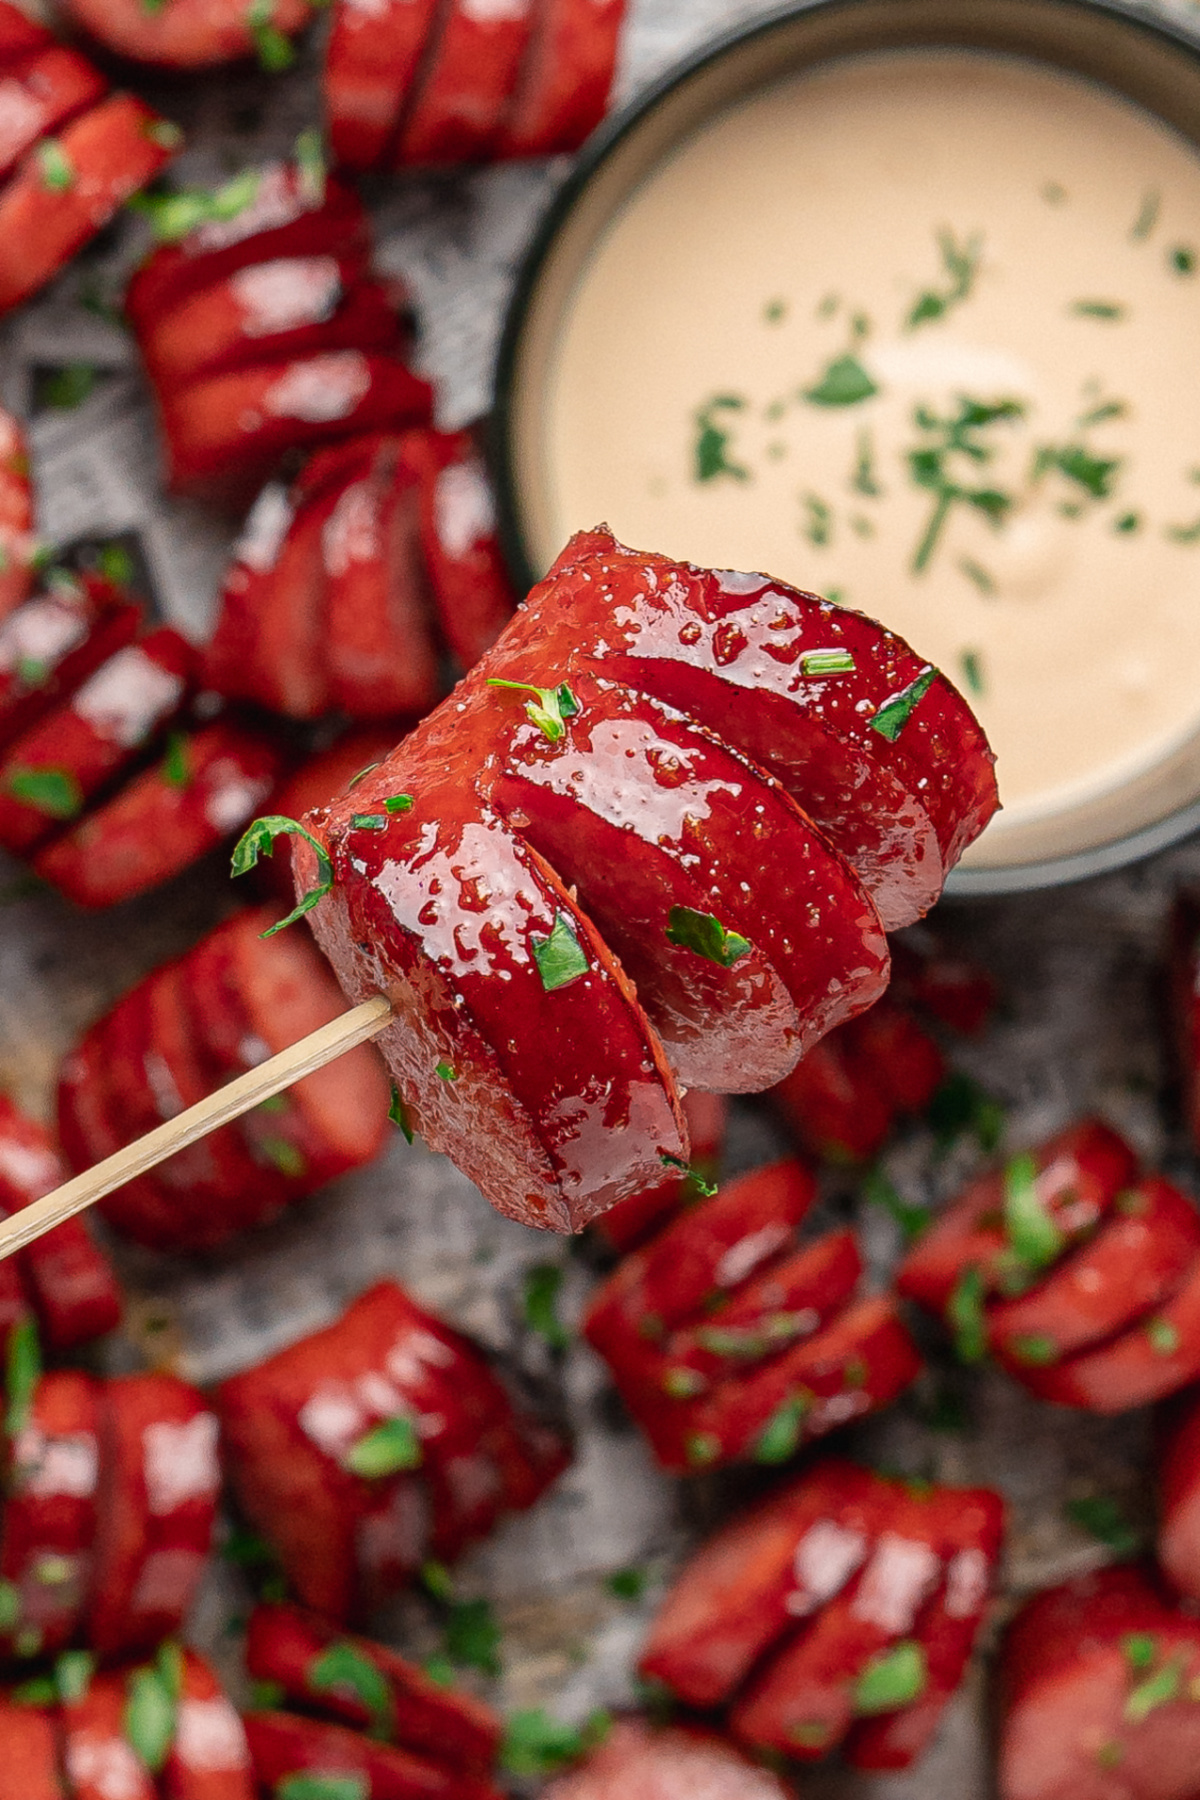
This time I made small hasselback cuts instead of slicing the kielbasa into regular pieces, giving it more places to brown and for the honey garlic butter to go. I bake the kielbasa first so the cuts have time to open before adding the glaze, then finish it with one last brush before serving so every bite catches more of the honey garlic butter.
And because I’m convinced kielbasa needs a sidekick, I made a creamy honey mustard sauce for dipping.
What Makes This Recipe Different
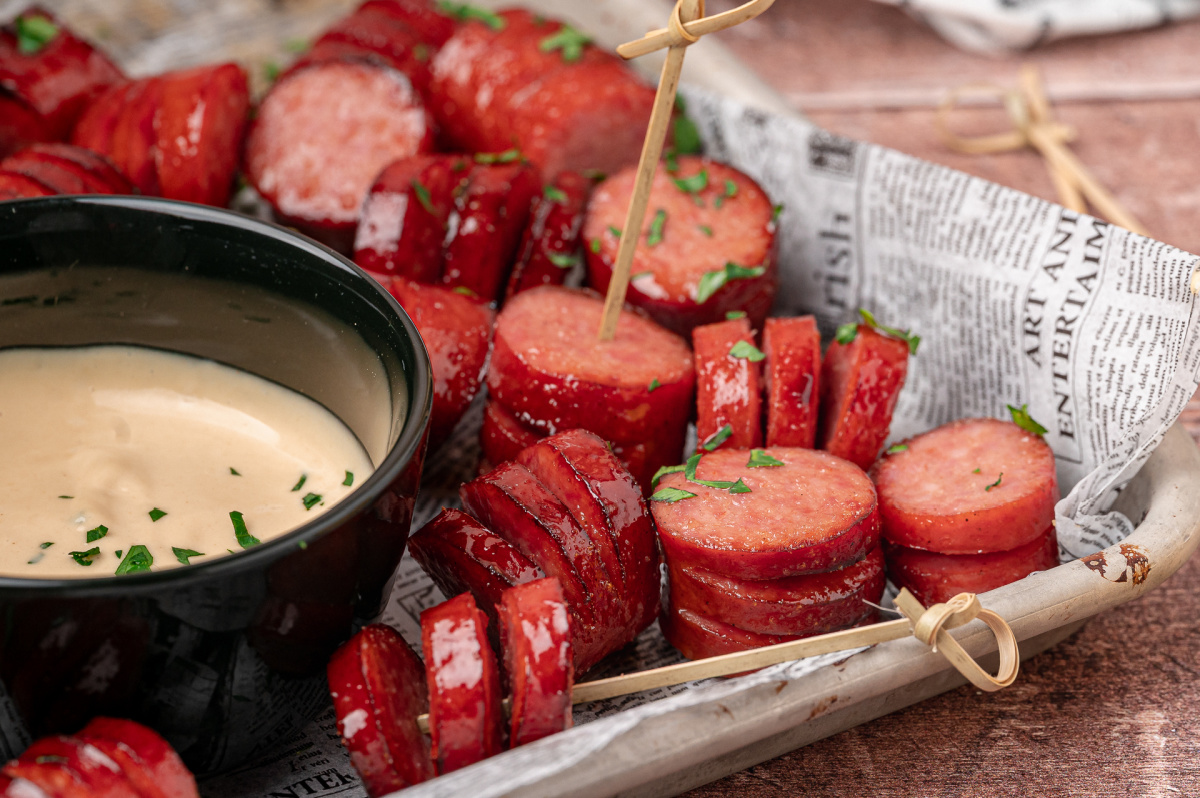
- I hasselback the kielbasa first, then cut it into smaller pieces instead of leaving the whole sausage together. Each piece becomes its own bite with the cuts opening up as it bakes. This gives the honey garlic butter a final destination.
- I’ve tried it both ways, but I prefer baking the kielbasa before adding the honey garlic butter because honey doesn’t need much time in the oven. Letting the sausage start cooking first gives the cuts time to open and the outside time to brown before adding the glaze.
- I save some of the honey garlic butter for after baking instead of using it all at once. That last coating brings back some of the fresh honey garlic flavor that mellows while the kielbasa bakes.
- Cutting the kielbasa into bite-sized pieces changed the recipe for me. This is what made it appetizer-worthy.
- The creamy honey mustard isn’t here because I think every appetizer needs a dipping sauce. But after trying them together, I wouldn’t serve the kielbasa without it.
Ingredients
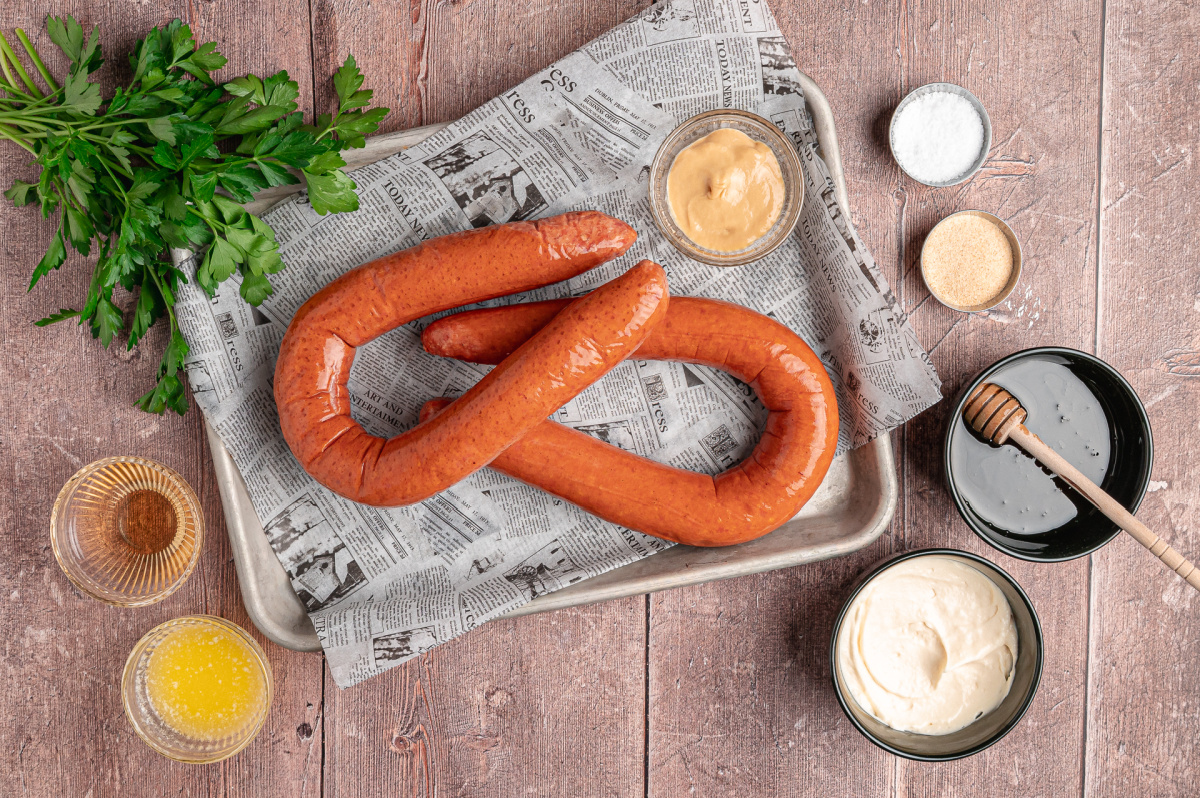
- Smoked kielbasa – A fully cooked sausage is what you want because it holds the hasselback cuts and opens as it bakes, making room for the glaze.
- Fresh parsley – Adds color and freshness before serving.
- Honey – Sweetens the glaze and creates the sticky coating as it bakes.
- Unsalted butter – Adds richness.
- Apple cider vinegar – Balances the sweetness from the honey and adds some zing to both the glaze and the dipping sauce.
- Garlic powder – Adds savory flavor without worrying about fresh garlic burning in the oven.
- Mayonnaise – Makes the dipping sauce creamy.
- Honey mustard – Keeps the honey flavor going without needing multiple kinds of mustard.
- Kosher salt – Necessary.
How to Make Honey Garlic Hasselback Kielbasa Bites
Find the complete printable recipe with measurements in the recipe card at the BOTTOM OF THE POST.
- Step One (hasselback the kielbasa)
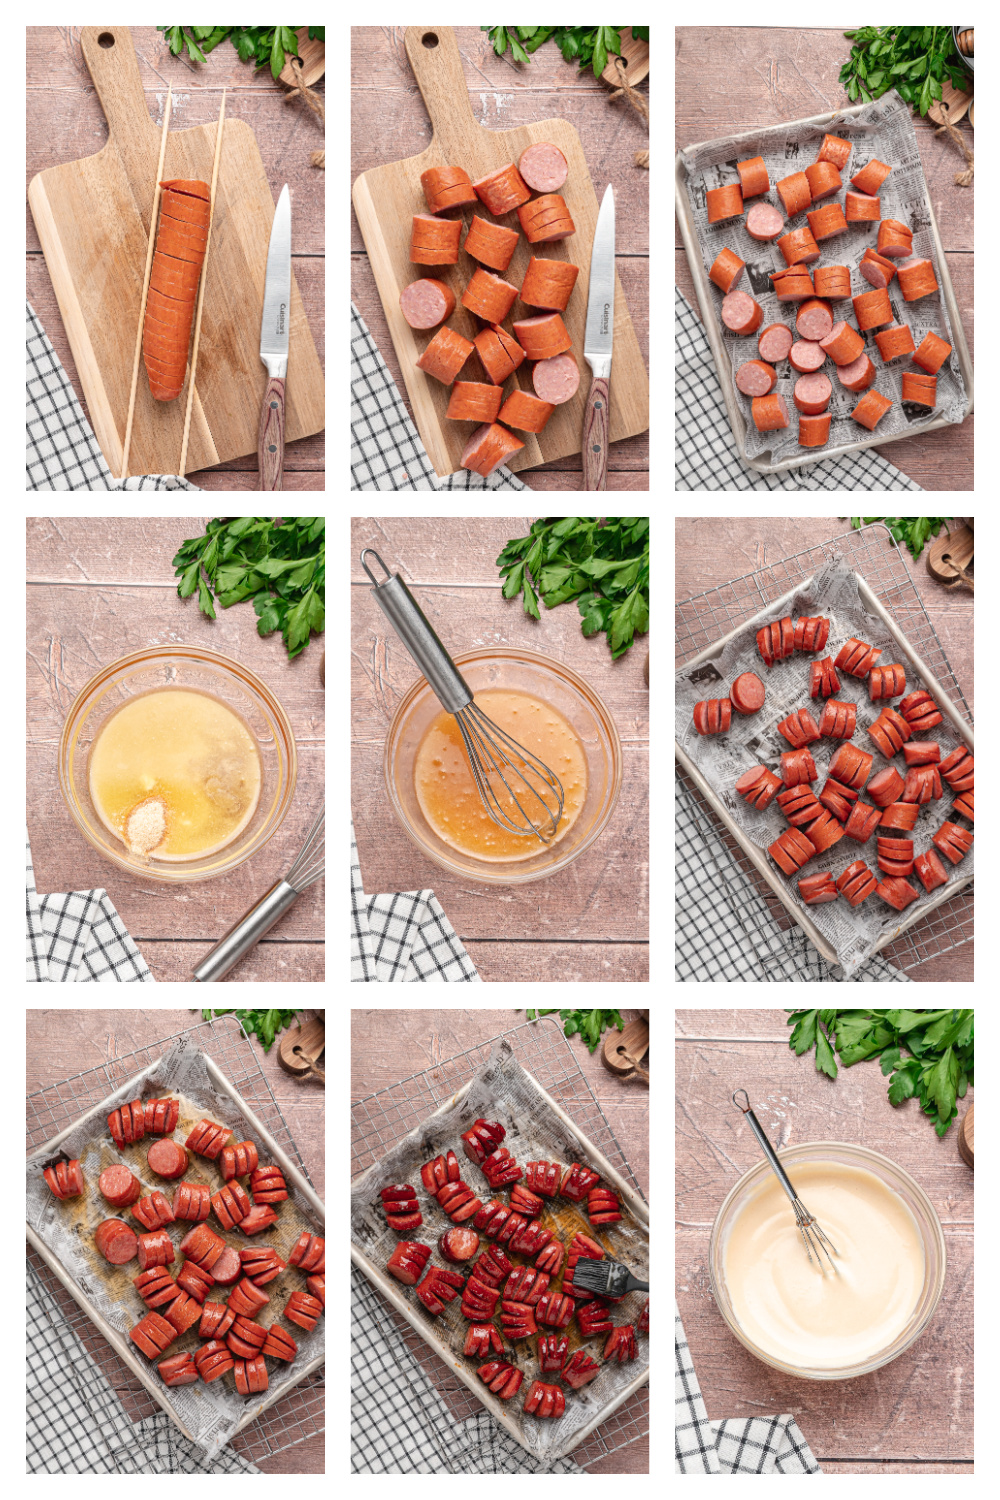
Pat the kielbasa dry with paper towels, then place each rope between two chopsticks or wooden skewers. Slice thin cuts across the top, letting the chopsticks stop your knife before it cuts all the way through. Once both ropes are hasselbacked, cut them into bite-sized pieces between every few slices so each piece stays connected at the bottom. Arrange them cut side up on a parchment-lined baking sheet so they have room to open as they bake. - Step Two (bake the kielbasa)
Bake at 400°F (205°C) for 12 to 14 minutes, until the cuts begin to open and the sausage starts to brown. Giving the kielbasa this time in the oven before adding the honey garlic butter keeps the glaze from spending too much time in the oven. - Step Three (make the honey garlic butter)
While the kielbasa bakes, stir together the honey, melted butter, apple cider vinegar, and garlic powder until smooth. Pour about 2 tablespoons into a separate bowl and save it for finishing after baking. - Step Four (glaze the kielbasa)
Brush the remaining honey garlic butter over the kielbasa, making sure some gets down into the opened cuts. Return the pan to the oven for another 6 to 8 minutes, until the glaze is sticky and the kielbasa is browned. For a little more color, broil for 1 to 2 minutes at the end, watching closely because honey can burn quickly. - Step Five (make the creamy honey mustard)
While the kielbasa finishes baking, stir together the mayonnaise, honey mustard, apple cider vinegar, and kosher salt. If the sauce seems too thick for dipping, stir in another splash of apple cider vinegar until it’s where you want it. - Step Six (finish and serve)
Brush or drizzle the reserved honey garlic butter over the warm kielbasa as soon as it comes out of the oven. Let the bites rest for a few minutes, then sprinkle with parsley and serve warm with the creamy honey mustard.
Recipe Tips
- Keep the kielbasa cold until you’re ready to slice it. It makes the hasselback cuts much easier.
- Use chopsticks or wooden skewers as your guide when slicing. They stop the knife before it reaches the bottom, so the pieces stay connected.
- Hasselback the whole kielbasa rope first, then cut it into pieces. It is much easier than trying to make tiny cuts on individual pieces.
- Brush the glaze down into the openings instead of only coating the top. The spaces are the reason for cutting the kielbasa this way.
- Only broil at the end if you want more color. Keep an eye on it because honey can go from perfect to too dark quickly.
- Let the bites sit for a few minutes before serving. The glaze thickens and sticks better as it cools.
Storage
- Store leftover kielbasa bites in an airtight container in the refrigerator for up to 4 days.
- Keep the creamy honey mustard in a separate container and stir before serving.
- Reheat the kielbasa in a 350°F (175°C) oven or air fryer until warmed through. This keeps the texture better than reheating too quickly.
- The microwave works too, but the glaze will soften more and you’ll lose some of the browning from the oven.
- I don’t recommend freezing this recipe. The sauce and texture are much better when made fresh.
FAQs
- Can I cut the kielbasa into pieces before making the hasselback cuts?
I wouldn’t. It is much easier to slice the whole rope first while you have more control, then cut it into bite-sized pieces afterward. - Can I make these ahead of time?
Yes. You can cut the kielbasa, make the honey garlic butter, and mix the dipping sauce ahead of time. Bake and glaze the kielbasa shortly before serving for the best result. - Can I use another kind of sausage?
Yes. Turkey kielbasa, beef kielbasa, andouille, or another fully cooked smoked sausage will work. Choose something firm enough to hold the cuts. - Why didn’t my hasselback cuts open?
The cuts may not have been deep enough, or the kielbasa needed more time in the oven before adding the glaze. The chopstick method helps keep the cuts even without slicing all the way through.
From My Kitchen Notes
Small observations from the margins.
- It’s interesting how things stay with us before ever understanding why.
- Nobody thinks they’re creating a memory while they’re making breakfast. Usually they are.
- Lots of things become important because they happen over and over.
- The smallest traditions tend to hold the most weight.
- Sometimes what survives is a flavor or a place. Or a name in the corner where most people never think to look.
- Apparently my kielbasa comes with a complete ancestry report.
- Recipes travel farther than any one of us expects.
- Sometimes the things we keep going after are more connected than we first realized.
- And there are things that hold more history than they ever explain.
- Changing something doesn’t mean leaving it behind.
- You can honor where something came from without keeping it exactly the same.
- The outside can look completely different and still have the same beginning.
- What’s most important is what survives a transformation.
- The right cuts let more things in.
- Not every cut is damage.
- Maybe something just needs room to open before anything new can reach it.
- The parts that stay with me are usually not the ones I expect.
- Sometimes it takes years to be ready for the next version.
- I’ve found the best things don’t ask me to erase the first chapter. But they do want to know if there’s room for another one.
More Appetizers Worth Passing Around
- Chicago Hot Dog Pigs in a Blanket – Chicago dog flavors, mustard dip.
- Hot Honey Peach Chicken and Waffle Bites – sweet, spicy, skewered bites.
- Sausage Balls – smoked cheddar, chipotle sausage bites.
- Ground Turkey Stuffed Jalapeños – cheesy, spicy, pepper-filled bites.
- Dill Pickle Dip – tangy, creamy, pickle-loaded dip.
This post may contain affiliate links. Please read my disclosure policy.
Honey Garlic Hasselback Kielbasa Bites
Equipment
- baking sheet (rimmed). Gives the kielbasa room to brown evenly.
- parchment paper Prevents the honey glaze from sticking.
- Cutting board For hasselbacking and slicing the kielbasa.
- Knife To make clean, even cuts.
- skewers or chopsticks. Keeps the knife from cutting all the way through the kielbasa.
- mixing bowls (small). For mixing the glaze and dipping sauce.
- pastry brush Brushes the glaze into the hasselback cuts.
Ingredients
Honey Garlic Hasselback Kielbasa:
- 2 (14 oz / 396 g) smoked kielbasa sausage ropes
Honey Garlic Butter:
- ⅓ cup (113 g) honey
- 3 tbsps (42 g) unsalted butter melted
- 1 tsp (5 ml) apple cider vinegar
- 1 tsp (3 g) garlic powder
Creamy Honey Mustard:
- ⅓ cup (77 g) mayonnaise
- ¼ cup (85 g) honey mustard
- 1 tsp (5 ml) apple cider vinegar more if needed
- ¼ tsp (1.5 g) kosher salt
Garnish:
- chopped fresh parsley
Instructions
- Preheat the oven to 400°F (205°C) and line a rimmed baking sheet with parchment paper.
- Pat the kielbasa dry with paper towels, then place each rope between two chopsticks or wooden skewers. Slice thin cuts across the top of the sausage, letting the chopsticks stop your knife before you cut all the way through.2 (14 oz / 396 g) smoked kielbasa sausage ropes
- Cut the hasselbacked kielbasa into bite-sized pieces, slicing between every few cuts so each piece stays connected at the bottom. Arrange the pieces cut side up on the prepared baking sheet.
- Bake for 12 to 14 minutes, or until the cuts begin to open and the kielbasa starts to brown.
- While the kielbasa bakes, stir together the honey, melted butter, apple cider vinegar, and garlic powder until smooth. Pour 2 tablespoons (40 g) into a separate bowl and reserve it for finishing.⅓ cup (113 g) honey, 3 tbsps (42 g) unsalted butter, 1 tsp (5 ml) apple cider vinegar, 1 tsp (3 g) garlic powder
- Brush the remaining honey garlic butter over the kielbasa, making sure some of it gets down into the opened cuts. Return the pan to the oven and bake for another 6 to 8 minutes, or until the glaze is sticky and the kielbasa is nicely browned.
- If you'd like a little more color, broil for 1 to 2 minutes, watching carefully because the honey can burn quickly.
- While the kielbasa finishes baking, stir together the mayonnaise, honey mustard, apple cider vinegar, and kosher salt until smooth. If you'd like a thinner dipping sauce, stir in a little more apple cider vinegar.⅓ cup (77 g) mayonnaise, ¼ cup (85 g) honey mustard, 1 tsp (5 ml) apple cider vinegar, ¼ tsp (1.5 g) kosher salt
- Remove the pan from the oven and brush or drizzle the reserved honey garlic butter over the warm kielbasa. Let the bites rest for 3 to 5 minutes, sprinkle with chopped parsley, and serve warm with the creamy honey mustard.chopped fresh parsley
Notes
- Keep the kielbasa cold before slicing. A firmer sausage is much easier to hasselback neatly.
- Use chopsticks or wooden skewers as cutting guides so you don't accidentally slice all the way through.
- Bake the kielbasa before glazing. Smoked kielbasa contains enough fat to brown on its own, and waiting to add the honey garlic butter gives the cuts time to open while keeping the glaze from getting too dark.
- Brush the glaze into the hasselback cuts instead of only over the top so every bite catches more of the honey garlic butter.
- Reserve part of the glaze for after baking. The fresh glaze gives the finished kielbasa an extra shiny finish.
Nutrition
Have you made these Honey Garlic Mediterranean Kielbasa Bites? I’d love to hear how they turned out — leave a comment below and let me know.
As an Amazon Associate and member of other affiliate programs, I earn from qualifying purchases.
Donna says
Such a good Friday night appetizer. We polished these off quick at my dinner Party. They came out very nice.
Bev says
Really loved these bites. The flavor was so nice with the kielbasa.
Sammy says
These turned out better than I expected. Such a great tasting appetizer. Made our saturday night.
Artie says
These made me look like I know what I am doing in the kitchen. My friends were kinda impressed when I brought these out and they tasted great!