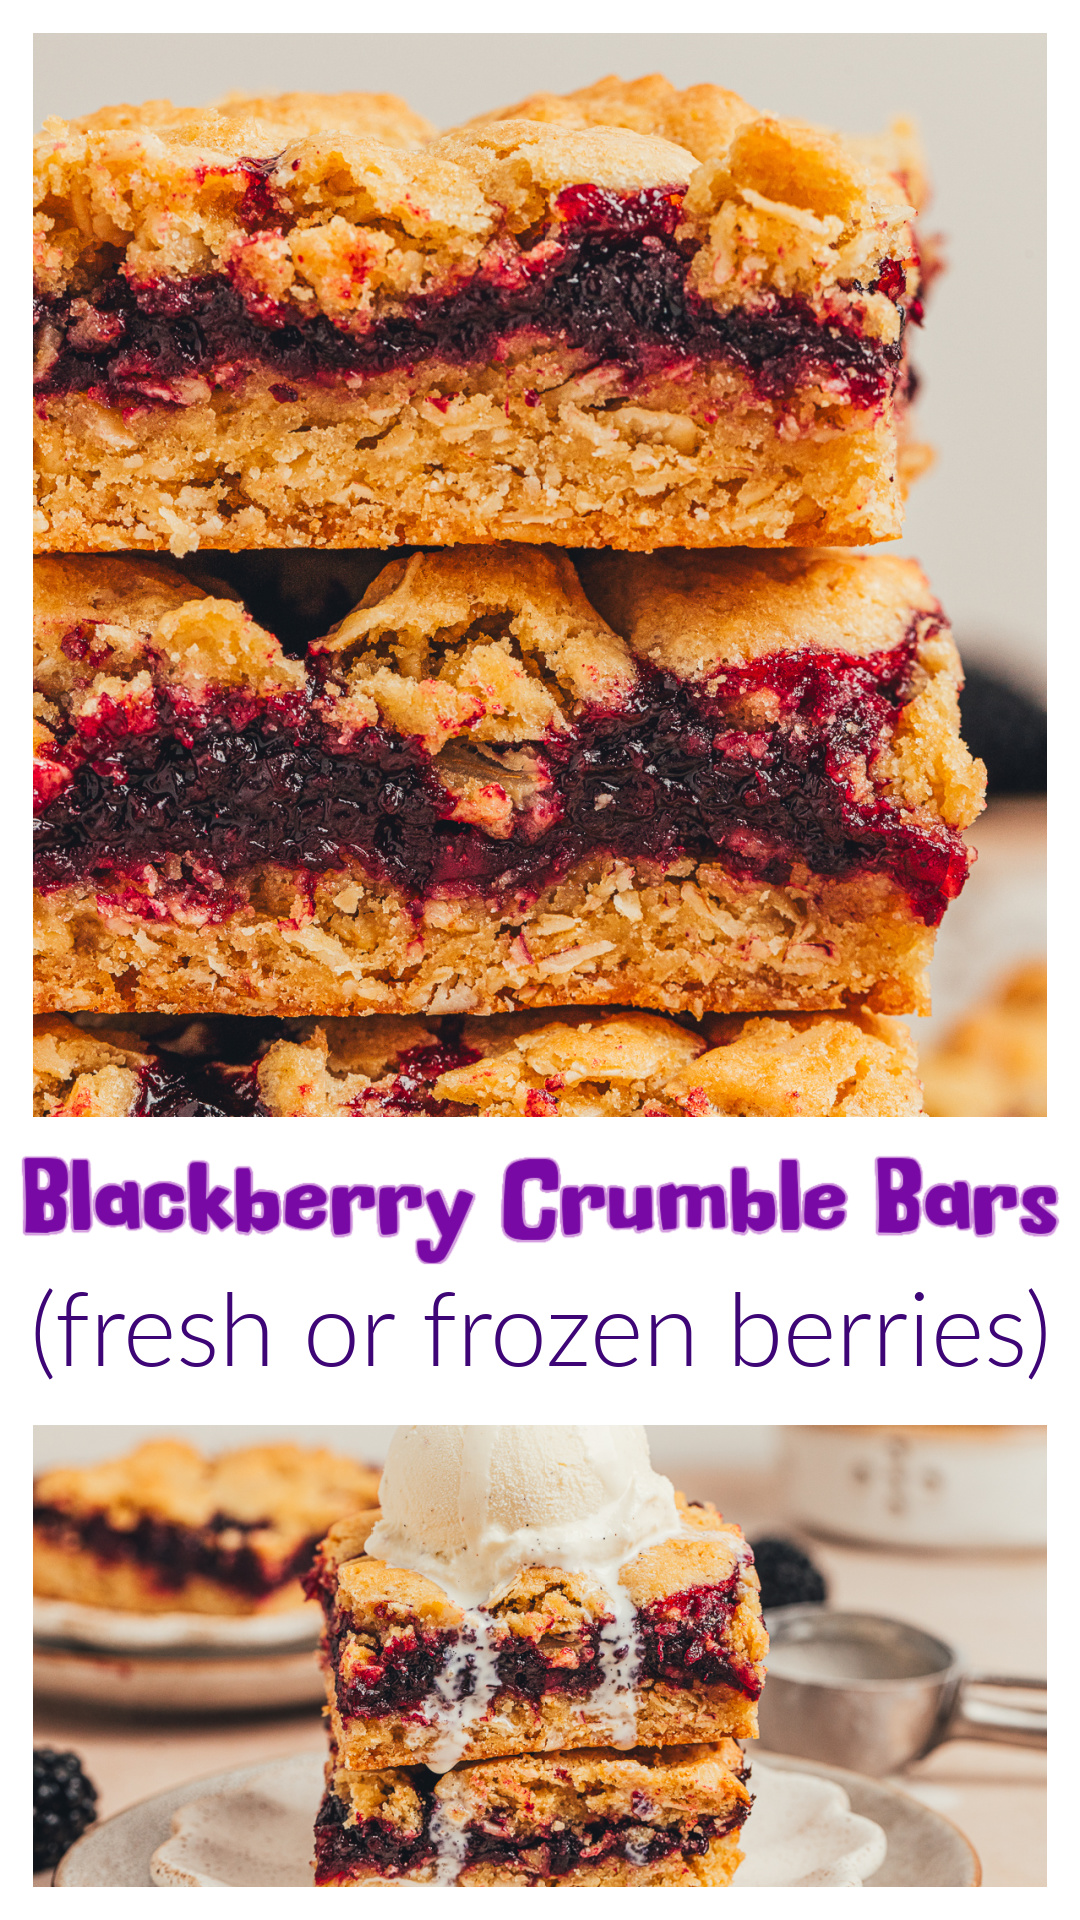
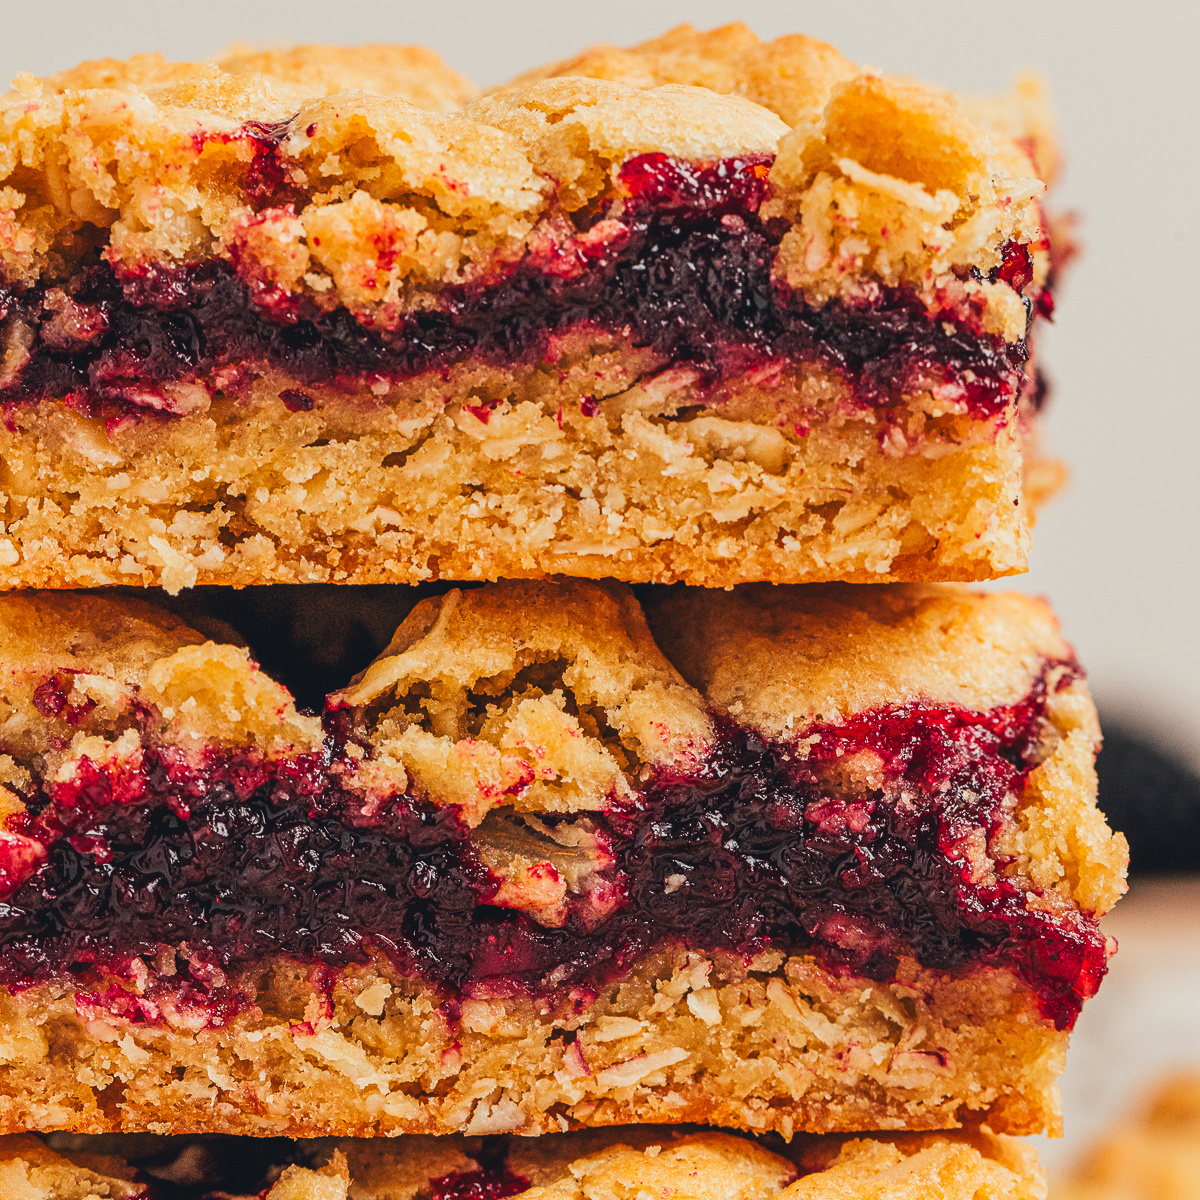
Blackberry crumble bars with a rich fruit layer and a buttery oat topping, made with fresh or frozen blackberries. No spoon needed, just cut and go. You do not have to wait on blackberry season to make these happen.

Closer to Bars Than a Classic Crumble
I took my blackberry crumble bars down a different road than a classic crumble. Instead of runny fruit and a spoon, I wanted a thicker blackberry layer and a soft oat base that baked into something I could cut, pick up, and take with me. I kept them the same flavor profile as my blackberry crumble, but made them in a way that’s easy to portion and serve.
And before you think it, yes, I’ve experimented with the raw blackberry version of these bars. Too many times, honestly. I have wild blackberries growing everywhere here. Like, not “I bought a pint” of them to test this recipe. I mean I walk outside and they’re there, in my way, grabbing at my arms, thorns puncturing through my jeans, and they grow back whether I want them to or not. It’s an Oregon thing. I spend the spring and fall trying to get rid of them and picking and freezing the ones that survive. I always think this is the year I’m going to just enjoy them raw, in a yogurt bowl, and be done with them, but there are too many. And I feel bad letting them go to waste.
So when I started testing these bars, I went with the easiest route first, tossing fresh blackberries straight into the dough with no processing, and they weren’t it. I cut into them and it was a clear no. The whole thing refused to stay together. It was like, oh, you thought this was leaving the pan in perfect squares? You’re funny. And now I’m in the kitchen with a fork again, eating it straight out of the corner like I didn’t have other plans for it. Got it.
I remember standing there thinking, this is an anchor. It tasted good, technically everything was fine, but it kept me right where I was. I can’t take them anywhere or hand them to anyone. I’m just here dealing with a very soft and somewhat runny treat. That’s not what I think of when making bars. I wanted them to be portionable and portable.
And here’s the thing, if we want to get a little philosophical (you know I do), anchors aren’t my preferred mode. In food, in people, in anything. I like things that expand and amplify. The second something starts slowing things down or turning into more work than it needs to be, I’m done. I want the opposite of that. The version that makes everything easier, where I’m like, yeah, this works, this is helping.
So instead of hoping these raw berries were going to suddenly get their act together in the oven, I turned them into a simple, concentrated jam first. That gave me control over what they were going to do while baking and ultimately made the difference in the recipe. I could cut them, pick them up, and take them wherever I wanted without the mess.
These went from anchors to amplifiers with a simple method change.
So now I cook the blackberries down into a thick layer first so they’re already where they need to be before they ever get to the oven. Then I press most of the dough into the pan for the base, spread the blackberry layer over the top, and use the rest for the crumble. This is the same mixture doing both jobs, on top and bottom. I use an extra yolk, brown sugar, and oats for a reason, so I didn’t end up back at the counter with a fork wondering what happened.
I can slice these, stack them, take them with me, even leave them in the car for a minute without them turning into a disaster. They stay together really well, which is what I expect when I decide to make blackberry crumble bars in the first place.

What Makes These Different
- Cooking the berries first is what made the difference. By the time the blackberry layer goes into the pan, it’s already a thick, concentrated blackberry jam, and not trying to catch up to everything else in the oven. You’re not waiting on the middle while the top and bottom are done. This is where it finally works.
- The dough is doing its own work here, too. I used an extra egg yolk to keep it soft instead of dry, and a mix of brown sugar and granulated sugar so it doesn’t lose moisture as it bakes. The old-fashioned oats add texture. Quick oats would change the whole thing, and not in a helpful way. Don’t use them.
- It’s also one dough doing two things, which is the time-saving piece. Most of it gets pressed into the base, and the rest goes on top as the crumble. You’re not having to make a second mixture and it keeps everything consistent because it all started the same way.
- And here’s the important part, these portion out neatly, whether you want nine large bars or sixteen smaller ones. You can lift them out, slice them, and they keep together the way you expected when you decided not to make a crumble. There’s no workaround or managing them after the fact.

Ingredients
- All-purpose flour – this is the base, obviously. It’s not doing anything exciting, but without it, you don’t have bars, you have a circumstance. It’s neutral and necessary. Call it an anchor, but a useful one.
- Old-fashioned oats – definitely an amplifier. This is where the texture comes from. It does not make the bars heavy or dense, but it adds something. Don’t use quick oats unless you want to find out why I’m telling you this.
- Butter – my favorite amplifier. This is clearly what makes the bars feel like something you’d go back for instead of something you tried once. Make sure to soften it, not melt it, because we’re not starting over.
- Brown sugar + granulated sugar – amplifier together. Brown sugar keeps everything from drying out, and granulated sugar keeps it from getting too soft. You need both, or you’ll end up adjusting for it later, and I’m not interested in that.
- Egg + egg yolk – amplifier. The extra yolk is a thing. It keeps the dough from turning into something dry and forgettable. One egg technically works, but I’m not doing “technically.”
- Blackberries (fresh or frozen) – depends how you handle them. Raw, they’re an anchor. They take over, let go of too much liquid, and suddenly you’re back at the counter with a fork. Cooked down first, they flip. Now they’re concentrated, controlled, and working with everything else.
- Lemon zest + lemon juice – amplifier. This keeps the blackberry layer from tasting overly sweet.
- Cinnamon – a very soft amplifier. Not enough to make it “spiced,” but enough to make it feel finished.
- Vanilla extract – amplifier. Not optional, but easy to ignore until it’s missing.
- Salt – amplifier. You don’t notice it until it’s not there, then you’re left wondering why everything feels off.
- Baking powder – anchor, but in a good way. Keeps the base from getting too compact without becoming cakey.

How to Make Blackberry Crumble Bars (step-by-step)
Find the complete printable recipe with measurements in the recipe card at the BOTTOM OF THE POST.
- Step One (cook the blackberry filling)
Throw the blackberries, lemon zest, lemon juice, sugar, and cinnamon into a saucepan over medium heat. They’ll start giving off juice pretty quickly. Mash them a bit so you’re not dealing with giant pieces, then keep it moving until it thickens up. You want to be able to drag a spoon across the bottom and see a line for a second before it fills back in. Take it off the heat, stir in the vanilla, and let it cool a little so it’s not hot enough to mess with the base later. - Step Two (prep the pan and oven)
Set the oven to 350°F and line an 8×8 pan with parchment, leaving some overhang. Don’t skip that part unless you feel like digging these out later. They’re softer when warm and the parchment makes it easier to lift once they’re ready. - Step Three (mix the dry ingredients)
Whisk the flour, salt, and baking powder, then stir in the oats. The oats give the base some texture under the blackberry layer. - Step Four (cream the butter and sugars)
Beat the butter until it’s smooth, then add both sugars and mix until it looks lighter and a little fluffy. Add the egg, the extra yolk, and the vanilla, and mix it all together, scraping the bowl so nothing gets left behind. - Step Five (bring the dough together)
With the mixer on low, add the dry ingredients and stop as soon as it turns into a soft dough. Don’t keep going or it’ll tighten up on you. - Step Six (layer the bars)
Press about two-thirds of the dough into the pan, making sure it reaches the edges. Spread the blackberry layer over it, then crumble the rest of the dough on top. Keep it scattered so the filling can come through. - Step Seven (bake and cool)
Bake for 32 to 38 minutes, until the top is lightly golden and set. Let them sit in the pan for at least 20 minutes before lifting them out. They firm up as they cool, so if you want neat slices, give them time. If you go in early, they’ll be softer and a little messy, but still worth it.

Recipe Tips
- Fresh or frozen blackberries both work here. Everyone treats blackberries like they only exist for about ten minutes in the summer, but you can walk into Costco on a random day and find great ones sitting in the produce section. Use the same amount either way and don’t bother thawing if you’re using frozen.
- Cook the blackberry layer first. You want it thick before it goes in the pan, not catching up while everything else is already done.
- Look for the line in the pan. When you drag a spoon across the bottom and it leaves a track for a second before filling back in, you’re there. If it disappears immediately, keep going.
- Don’t hurry through the cooling step. The bars need a minute to come together before you lift or slice them. If you go in early, you will not have a sliceable bar.
- Press the base all the way to the edges, including the corners. If it’s uneven going in, it’ll be uneven coming out.
- Keep the crumble loose on top. Don’t pack it down. Let the blackberry layer come through in spots.

Storage
- Once they’re cooled, keep them in a covered container in the fridge where they’ll keep for about 5–6 days.
- Straight from the fridge, they’ll be firmer. Let them sit out for a bit and they soften back up. Both ways are good. It depends on what you’re in the mood for.
- If you want to warm one up, a few seconds in the microwave will take the chill off.
- These freeze well. Wrap them or store them in a container, then pull one out and let it thaw when you want it.

FAQs
- Can I use frozen blackberries?
Yes. Use the same amount straight from the freezer, no thawing or draining. They cook down just fine in the saucepan. - Why cook the blackberry layer first?
Because it needs to be thick before it goes into the oven. If you skip that, the liquid shows up later and throws everything off. - Can I use a different pan size?
I don’t recommend it. The bars will be thinner and it’s not the same result. - Do I have to use oats?
For this version, yes. They’re what give the base and crumble the texture you’re expecting. - How do I know when the blackberry filling is ready?
Drag a spoon across the bottom of the pan. If you can see the line for a second before it fills back in, it’s good to go.

From My Kitchen Notes
A few amplifying thoughts, not recipe tips.
- In life, in your relationships, in the way you go through things…are you an anchor or an amplifier? Don’t answer that out loud. You already know.
- There’s a version of these with raw blackberries where you think you’re making bars and you’re really making a commitment to stay home.
- Anchors aren’t inherently bad. They just stay stuck and don’t move anything forward.
- I don’t really have time or interest in anything that needs managing before I can even enjoy it.
- Cooking the blackberries first is less about technique and more about not setting yourself up for something you’re going to resent halfway through.
- Some people hear “this will work better if you do it this way” and take it personally. Blackberries don’t get that option. This is anchoring.
- If you do decide to anchor at home while eating these, ice cream on top is the way to do it. Especially if they’re still a little warm.
- Don’t think for a second I haven’t turned these bars into a faux PB&J, with a swipe of peanut butter across the top.
- If something falls apart the second you touch it, that’s information.
- I find myself sorting everything in my life into two categories, anchor or amplifier, and some of them are really hard to resolve. Like getting another dog. It’s a massive anchor right out of the gate, no question, but also a huge amplifier. There’s nothing better than having a dog you love around. It makes everything feel better. And that’s the problem. It’s both at the same time, and you don’t get to separate the two.
- Amplifiers as people are obvious. You don’t have to convince anyone or adjust the plan. You just go. They are easy to recognize, they move things along, conversations happen, plans happen, are healthy risk takers, no one has to be convinced of anything, life flows. Amplifiers see the best in you, believe in you, and help you go after your dreams. They are fearless.
- I’ve never once wished something required more effort to deal with.
- Anyway. Cook the berries first.

More Handheld Dessert Bars
- Lemon Blueberry Crumble Bars – creamy lemon, berries, oat crumble.
- Cream Cheese Cranberry Bars – sweet cranberries, oat crumble.
- Lemon Cheesecake Bars – white chocolate base, lemon curd.
- Lemon Blondies – buttery, soft center, glazed.
This post may contain affiliate links. Please read my disclosure policy.
Blackberry Crumble Bars
Equipment
- baking dish 8x8 (20x20 cm). Keeps bars thick and even.
- parchment paper Allows easy removal from the pan.
- Saucepan (medium). For cooking the blackberry filling.
- 2 mixing bowls For dry and wet ingredients.
- offset spatula For smoothing the base layer evenly.
- Stand Mixer or hand mixer. To cream butter and sugars.
Ingredients
Blackberry Filling:
- 12 oz (340 g) blackberries fresh or frozen
- 2 tsps (5 g) lemon zest
- 1½ tbsps (22 ml) fresh lemon juice
- ⅓ cup (67 g) granulated sugar
- ½ tsp 2 g) ground cinnamon
- 1½ tsps (7 ml) vanilla extract
Crumble and crust:
- 1½ cups (188 g) all-purpose flour
- ½ tsp (3 g) sea salt
- ½ tsp (2 g) baking powder
- 1 cup (90 g) old-fashioned rolled oats (not quick-cooking oats)
- ½ cup (113 g) unsalted butter softened
- ½ cup (100 g) packed light brown sugar
- ½ cup (100 g) granulated sugar
- 1 large egg room temperature
- 1 large egg yolk room temperature
- 1½ tsps (7 ml) vanilla extract
Instructions
- Add the blackberries, lemon zest, lemon juice, sugar, and cinnamon to a medium saucepan set over medium heat. Stir occasionally as the berries begin to release their juices, then mash them to break down any large pieces. Continue cooking, stirring frequently, until the mixture thickens and leaves a visible trail when a spoon is dragged across the bottom of the pan, about 15 minutes. Remove from heat, stir in the vanilla extract, and set aside to cool slightly.12 oz (340 g) blackberries, 2 tsps (5 g) lemon zest, 1½ tbsps (22 ml) fresh lemon juice, ⅓ cup (67 g) granulated sugar, ½ tsp 2 g) ground cinnamon, 1½ tsps (7 ml) vanilla extract
- Preheat the oven to 350°F (175°C). Lightly grease and line an 8x8-inch (20x20 cm) baking pan with parchment paper, leaving an overhang for easy removal.
- In a medium bowl, whisk together the flour, salt, and baking powder. Stir in the oats until evenly distributed.1½ cups (188 g) all-purpose flour, ½ tsp (3 g) sea salt, ½ tsp (2 g) baking powder, 1 cup (90 g) old-fashioned rolled oats
- In a separate bowl, beat the butter on medium-low speed until smooth and creamy. Add both sugars and continue mixing until light and fluffy. Add the egg, egg yolk, and vanilla extract, mixing until fully incorporated. Scrape down the sides of the bowl as needed.½ cup (113 g) unsalted butter, ½ cup (100 g) packed light brown sugar, ½ cup (100 g) granulated sugar, 1 large egg, 1 large egg yolk, 1½ tsps (7 ml) vanilla extract
- With the mixer on low speed, add the dry ingredients and mix just until a soft dough forms.
- Press about two-thirds of the dough evenly into the prepared baking pan, making sure it reaches all edges. Smooth the surface with an offset spatula if needed. Spread the blackberry filling over the base in an even layer. Crumble the remaining dough over the top.
- Bake on the center rack for 32–38 minutes, until the top is lightly golden and set.
- Allow the bars to cool in the pan on a wire rack for at least 20 minutes before lifting them out using the parchment overhang. Slice and serve warm or allow to cool completely before cutting for cleaner portions.
Notes
- The blackberry filling can be prepared up to 1 week in advance and stored in an airtight container in the refrigerator.
- Frozen blackberries can be used without thawing; they may take slightly longer to cook down.
- Old-fashioned rolled oats provide the best texture; quick oats will result in a denser bar.
- For a more pronounced cinnamon flavor, increase to ½ teaspoon in the filling or add ½ teaspoon to the dry ingredients.
- Bars can be cut into 9 larger portions or 16 smaller squares depending on preference.
Nutrition
Have you made these Blackberry Crumble Bars? I’d love to hear how they turned out – leave a comment below and let me know.
As an Amazon Associate and member of other affiliate programs, I earn from qualifying purchases.
Laura Patrella says
I mad ehtem this mornignwith frozen berries. They came out beautifully, just like the pictures and taste wonderful.
Willa says
These were a nice switch from other fruit in the middle bars I’ve tried. Just a really solid recipe.
Kimmie says
Loved how these turned out and yes very sliceable, not oozy. Loved them.
Felicia from MN says
These have been the best bars for our lunch box. Handheld like you said and we love them.