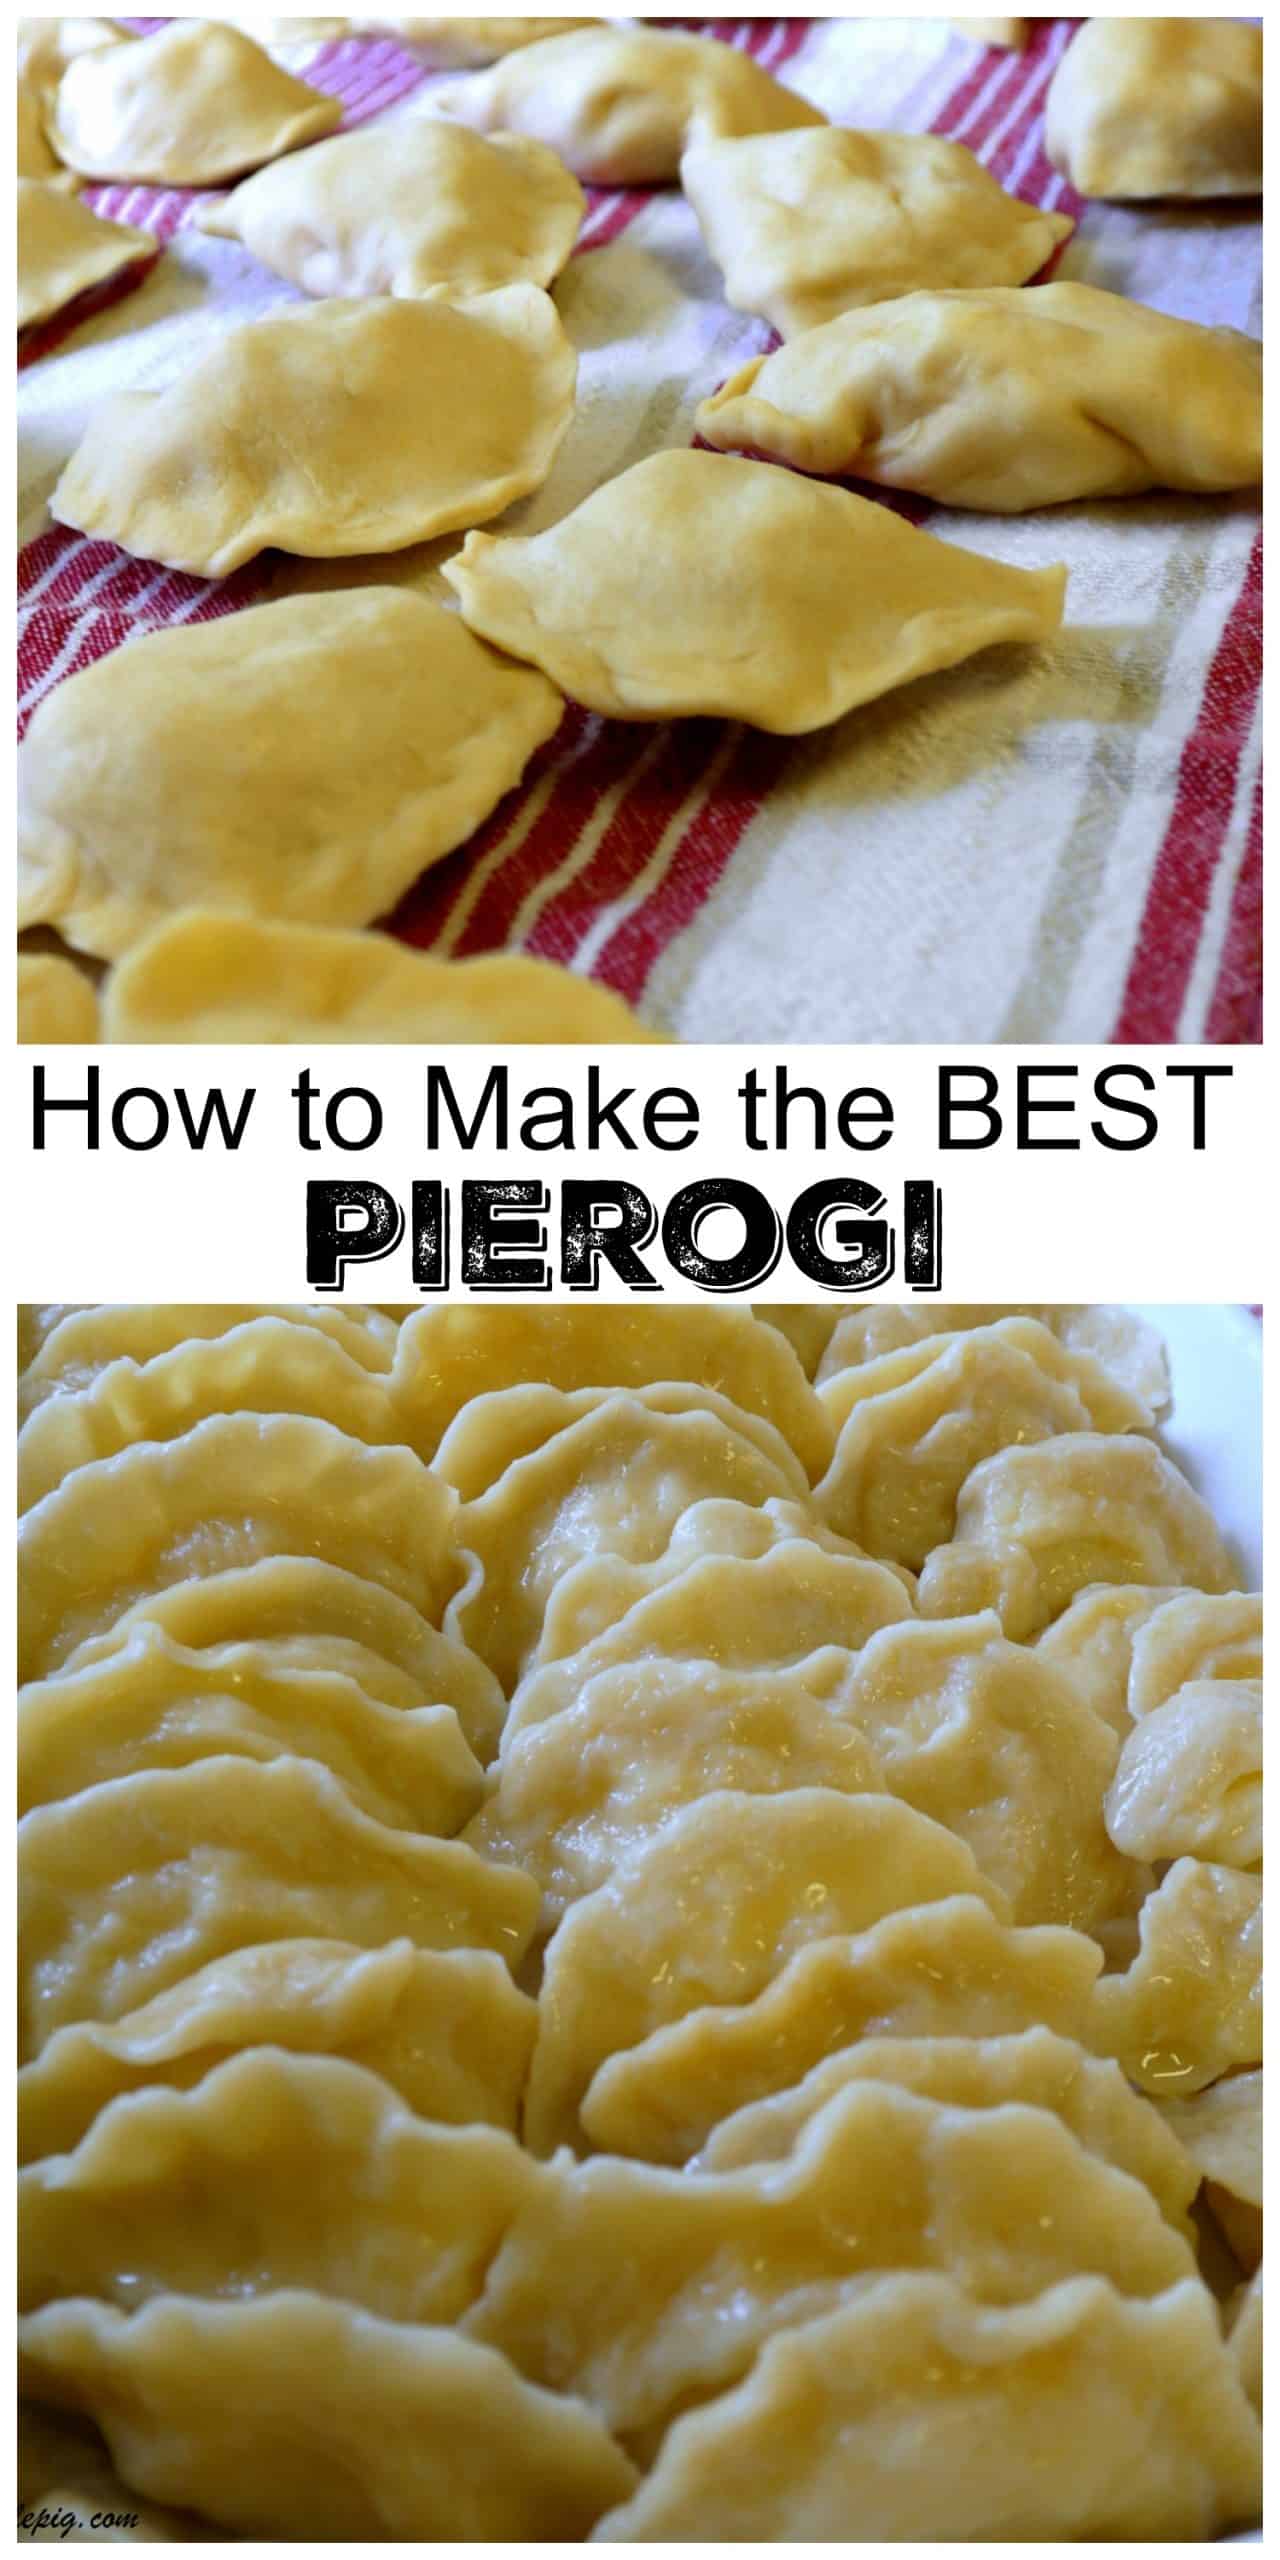
Crafting the ultimate Polish comfort food, homemade pierogi, is definitely a labor of love. From perfecting the dough to nailing the cheesy potato and onion filling, get ready to enjoy the authentic recipe that’s been a staple in my Polish family for years.

Polish Comfort Food
What are pierogi? Essentially, they’re the Polish version of filled dumplings—ours come smothered in butter, crispy-fried bacon, and sautéed onions, a real treat usually reserved for holidays.
In my family, when these hit the buffet line, you grab as many as you want because they vanish in minutes. If you’re lucky, they’ll reappear next year. As a second-generation Polish-American, I decided it was high time to master the art of pierogi making. Until now, I just relished eating them, but as the years pass, family traditions become crucial.
Being my mother’s only daughter, I’ve been named to carry on the pierogi-making legacy. Watching my grandmother and mother argue over flour proportions during the holidays was a sight, but somehow, they always worked it out. Learning this craft keeps alive a tradition that has shaped my family life.
Commercial pierogi are sad imitations of the homemade kind. Making them is no joke—it’s hard work and a day-long project. But make a lot; they freeze well, and you’ll regret not having more. For me, making pierogi was a commitment to the past while embracing the future. Amid life’s changes, pierogi-making has remained a constant, a reassuring thing in a world where time seems to slip away.
Pierogi Joke
Since we are pierogi-ing it up, I am reminded of a joke…
“There was a man lying upstairs in his bed, very close to death. He could smell the aroma coming from the downstairs kitchen where his wife was making pierogi. He couldn’t believe after 50 years of marriage she still loved him so much she would be making pierogi for what was most likely his final meal. He somehow got out of bed and crawled down the stairs to the kitchen. As he reached for the platter on the table filled with the freshly made pierogi, his wife slapped his hands away and said, ‘Hey, get away, those are for your funeral.’ Gasp.
How to Make Pierogi…Mom’s Way…
There is a printable recipe with ingredients and all of the instructions at the end of this post.
I took the best pictures I possibly could. My mother is not used to someone snapping photos at every step of cooking. I didn’t even bother with auxiliary lighting, I think she would have had a few heart palpitations if I did. At one point I told her to stop working while I adjusted the white balance on my camera. Ummm, yeah, that didn’t happen. At all.

Among the myriad pierogi fillings, our top pick is a blend of potato, cheese, and onion. Here’s the catch—it has to be prepared a day in advance and needs to be ice-cold, no compromises. The quantity of pierogi you whip up hinges on the filling you prepare. We crafted around 70 pierogi and still found ourselves with some leftover filling.
Step 1 – Making the Filling
- For this many pierogi, peel and quarter 6 pounds of potatoes and bring to a boil.
- While the potatoes are cooking grate extra-sharp cheddar cheese (do not substitute) and sauté one large, chopped onion.
- When the potatoes can be easily pierced with a fork, drain and quickly return to the pot over the heat to remove any remaining water.
- Begin mashing with a potato masher, adding sautéed onion and cheese.
- Incorporate well and mash the potato mixture down hard until flattened.
- Let cool and place in the refrigerator overnight.

A single batch of dough yields approximately 22-23 pierogi, the exact count will be influenced by your cookie cutter’s size. I opted for a 3-1/4″ round cookie cutter, finding that this larger size simplifies the filling process, especially if you’re a novice.
Note: Attempting to double or triple this dough recipe isn’t advisable—it doesn’t yield the right results. We went with three distinct batches for our pierogi-making adventure. In other words, we made the dough recipe three times.
Step 2 – Making the Dough
- Take a medium-sized bowl, measure unbleached, all-purpose flour using the scoop and sweep method, and sprinkle table salt on top. Create a well, adding the egg and full-fat sour cream.

Step 3 – Blending the Dough
- Use two knives to blend the egg and sour cream into the flour.

Step 4 – Bringing the Dough Together
- Gradually introduce lukewarm water.
- Add only a small amount at a time while consistently cutting the egg into the flour. (My mom is quite particular and meticulous about this step—she proceeds slowly, ensuring every bit of flour is fully incorporated with the wet ingredients. So, take your time at this stage.)

Step 5 – Gathering the Dough
- After all the ingredients are combined, the dough won’t be overly smooth and might be somewhat sticky.
- Use your hands to gather it into a ball.

This is how it should appear once you’ve gathered the dough.

Step 6 – Resting the Dough
- Allow the dough to stand, covered with an inverted bowl, for about half an hour before use. (Don’t second-guess this step-the dough needs to rest.)

Step 7 – Cutting the Dough Circles
- After preparing all your dough batches, take either the entire dough ball or a portion and roll it out to a thickness of 1/16″. (If not using the whole ball, place the unused portion back under the bowl.)
- To prevent sticking, use flour on the rolling pin and work surface.
- The available workspace will determine how much you can roll out at once.
- The dough’s thickness is crucial for excellent pierogi, pay close attention.
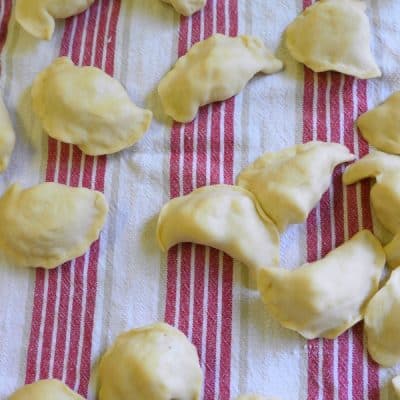
- Cut out circles as close to the dough edge as possible and place them on a clean dish towel, keeping them flat as you cut them out. In other words, avoid flipping them over.
- Any leftover dough scraps after cutting can be formed into a ball and set aside under a bowl for later use.

Tip: Keep the circles covered as they dry out easily.

Step 8 – Forming the Pierogi
- Retrieve only a portion of the filling from the large refrigerated bowl to keep it cold.
- Spoon about 2 tablespoons of filling onto each dough circle. To do this, pick up each circle, flipping it over into your hand—the edge on this side is better for sealing.
- Stretch the dough as you press in the filling with a spoon, adding more if needed.
- Bring the dough together and crimp the edges with your fingers. (Be cautious, as any filling on your fingers or on the edges where you’re sealing can prevent the dough from closing.)
- Also, avoid creating small holes or leaving any edges unsealed, as they will come apart during cooking.

Step 9 – Boiling the Pierogi
- Bring a large pot of water to a boil.
- Once boiling, place twelve pierogi at a time into the water.
- When they float to the top, give them an extra minute, then use a slotted spoon to remove, allowing excess water to drain off.
- Expect to lose a few that haven’t been sealed properly (early snacks). If it’s happening frequently, double-check and reseal your remaining pierogi before cooking.

Step 10 – Sautéing the Pierogi
Take them directly from the water and place them into a frying pan with a gob of melted butter over low heat. Here you are basically just coating them well with butter so they do not stick to each other. At this point you can cool them and freeze them in Ziplock bags if you like.
- Take the boiled pierogi directly from the water and transfer them to a frying pan with a generous amount of melted butter over low heat.
- The goal here is to coat them thoroughly with butter to prevent sticking.
- At this stage, you can let them cool and freeze them in Ziploc bags if you prefer.

Step 11 – Serving the Pierogi
- If you are going to serve them (not freeze them), line them up like soldiers in a 9 x 13 pan and keep them warm in the oven.

Step 12 – Making Pierogi Topping
- In a spacious frying pan, crisp up one pound of bacon until it’s just right.
- Remove the bacon, leaving some of the fat to sauté a large, chopped yellow onion.
- Once the onion is done, reintroduce the crispy bacon to the pan and give it all a good mix.

Step 13 – Serving and Reheating Pierogi
- Sprinkle the bacon-onion mixture generously over your pierogi and serve them warm.
- For reheating, place a dozen at a time in a large frying pan over low heat and cover. It’s essentially steaming, but it’s okay to make them a little crispy too.

Here they are with my Mom’s amazing sauerkraut in the background. Yum.

Making these are truly a labor of love and so worth it.
More Polish Food Recipes To Make
- Sauerkraut – Kapusta
- Polish Pickle Soup
- Babka
- Poppy Seed Roll – Makowiec
- Golabki _ Sweet and Sour Cabbage Rolls
- Sauerkraut and Kielbasa Nachos
- Rugelach
This post contains affiliate links. Please read my disclosure policy.
Pierogi
Ingredients
Pierogi Filling:
This amount of filling, fills approximately 70 pierogis, with some filling leftover.
- 6 lbs. russet potatoes, peeled and quartered
- 1 large yellow onion, chopped
- 3/4 cup extra sharp cheddar cheese (grate yourself, do not substitute)
Pierogi Dough:
Do not double this recipe. Each batch of dough makes approximately 22-23 pierogis. So repeat 3x for the amount of filling.
- 2-1/2 cups unbleached, all-purpose flour
- 1 tsp. table salt
- 1 large egg
- 3 tbsps. full-fat sour cream
- 3/4 cup lukewarm water
- butter
Pierogi Topping:
- 1 lbs. bacon, chopped
- 1 large yellow onion, chopped
- sour cream (optional)
Instructions
Pierogi Filling: (Make the day before, it needs to chill overnight.)
- Peel and quarter potatoes and bring to a boil in a large pot. While potatoes are cooking, grate cheese and sauté onion. When the potatoes can be easily pierced with a fork, drain and quickly return to the pot over the heat to remove any remaining water. Begin mashing with a potato masher, adding sautéed onion and cheese. Incorporate well and mash the potato mixture down into a hard-pack in a large bowl until flattened on the top. Let cool and place in the refrigerator overnight.6 lbs. russet potatoes, peeled and quartered, 1 large yellow onion, chopped, 3/4 cup extra sharp cheddar cheese (grate yourself, do not substitute)
Pierogi Dough:
- In a medium sized bowl, measure unbleached, all-purpose flour using the scoop and sweep method and sprinkle table salt on top. Make a well adding egg sour cream.2-1/2 cups unbleached, all-purpose flour, 1 tsp. table salt, 1 large egg, 3 tbsps. full-fat sour cream
- With two knives, incorporate the egg and sour cream into the flour. Slowly add in approximately lukewarm water. (Add only a small amount at a time as you continue to cut the egg into the flour.) (My Mom is very particular and meticulous about this step. She goes slowly and makes sure every bit of flour is incorporated with the wet ingredients, so take your time here.) Once all the ingredients have been mixed, the dough will not be very smooth and possibly quite sticky. Use your hands to bring it together into a ball. Let the dough stand covered with an inverted bowl for approximately 1/2 hour before using. (Don't skip this, the dough needs to rest.)3/4 cup lukewarm water
- Once you have made all your dough batches take either all of a dough ball, or a portion of the dough, and roll it out until it is 1/16" thick. (Using flour will help you keep the dough from sticking to the rolling pin and rolling surface. Your available work surface will obviously dictate how much you can roll out at any one time. Thickness of the dough is very important for good pierogi.) Cut out circles as close to the dough edge as possible and place them on a clean dish towel, placing them flat, just as you cut them out of the dough. In other words, do not flip them over. Keep the circles covered with a dish towel as they dry out easily. (Leftover dough scraps after cutter can be put together into a ball and placed under a bowl to use at the end.)
- Remove only some of the filling from the large bowl in the refrigerator so that you can keep it cold. Place about 2 Tablespoons of filling into the dough circle. Do this by picking up each circle and flipping it over into your hand. The edge on this side is better to seal. Place filling inside. (The dough stretches well as you press the filling in with a spoon.) Add more filling if necessary. Bring the dough together and crimp the edges with your fingers. (Be aware that if you have any filling on your fingers or on the edges of the dough, where you are trying to seal the edges, the dough will not close.) Also, be mindful not to make any small holes in the dough or leave any edges unsealed as they will come apart during cooking.
- Bring a large pot of water to a boil. Once water is boiling, place twelve pierogi at a time in the water. When they float to the surface, give them about one more minute and remove them from the water using a slotted spoon so the water can drain off. (It is common to lose a few at this point that have not been sealed properly (early snacks)). If it is happening a lot, reseal your other pierogi before dropping them into the water.
- Take them directly from the water and place them into a frying pan with a gob of melted butter over low heat. (Here you are basically just coating them well with butter so they do not stick to each other. (At this point you can cool them and freeze them in Ziploc bags if you like.)butter
- If you are going to serve them, I like to line them up like soldiers in a 9 x 13 pan and keep them warm in a 200 degree F. oven (covered).
Pierogi Topping:
- In a large frying pan, fry bacon until crispy, remove, leaving some of the fat to sauté onion. When the onion is done, add the crispy bacon back to the pan and mix together.1 lbs. bacon, chopped, 1 large yellow onion, chopped
- Sprinkle the bacon-onion mixture over your pierogi and serve warm.
- If you need to rewarm them the next day, place a dozen at a time in a large frying pan over low heat and cover. You are basically steaming them, but it's okay to make them a little crispy too. Serve with sour cream if you like.sour cream (optional)
Notes
Nutrition
As an Amazon Associate and member of other affiliate programs, I earn from qualifying purchases.
