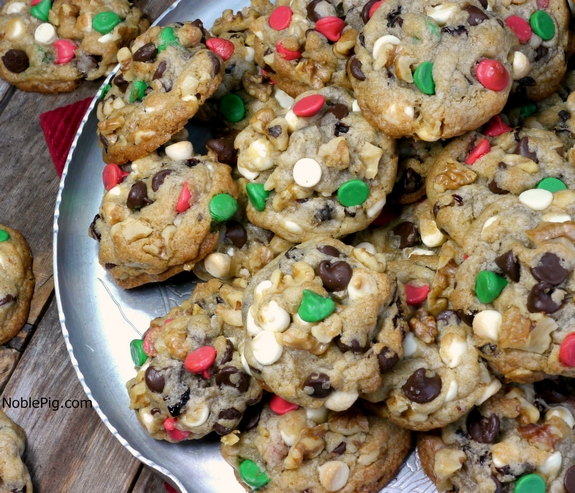
I love making festive holiday cookies, perfect for giving. It’s that time of year when 10-15 pounds of butter seems to disappear in the kitchen. Kind of a scary thought.
However, regardless of the butter, we all want the perfect looking holiday cookie to come out of our kitchens. The ones fit for our cookie exchange parties, that look perfect on our holiday trays and appetizing for our parties. Making beautiful cookies does take patience and requires a little investment in not only your time, but equipment too. Let’s face it, cookie ingredients are expensive, why waste them on cookies you are not going to be proud to give away.
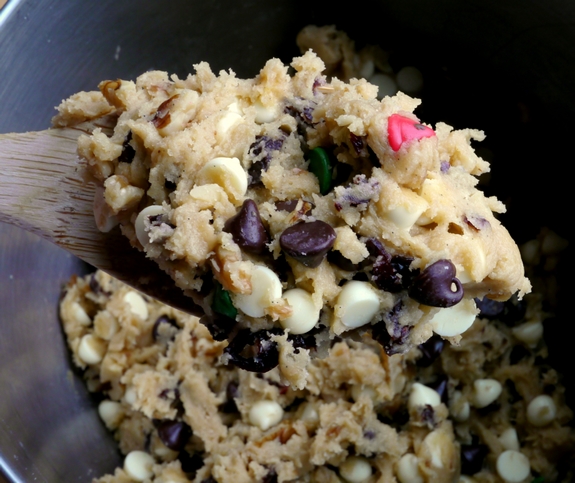
The batter for these particular cookies is really thick. It does roll nicely into cookie balls, making it easy to work with. Try not to eat all the batter before it goes into the oven….I know it’s hard.
Now, here are my TIPS & TRICKS for making the perfect Chocolate Chip Cookie that doesn’t spread flat and looks beautiful on a holiday cookie platter….
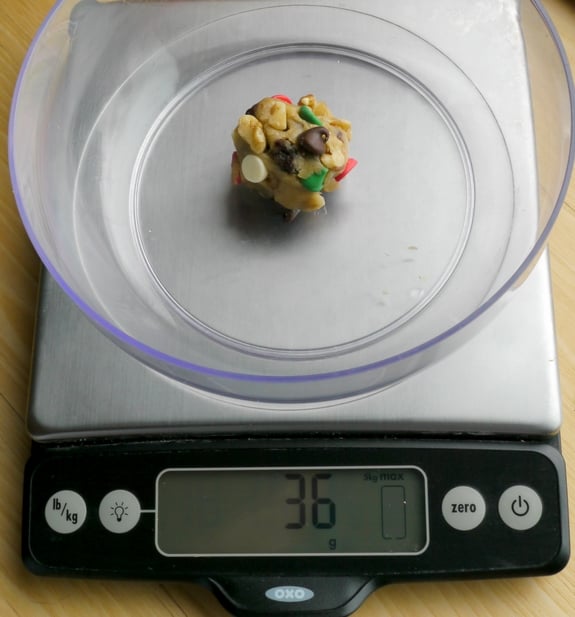
1. If you want your cookies to be all the same size, which is really important with baking time, weigh your cookie balls. Pick a size and stick with it. You will never regret purchasing a kitchen scale. I use it for everything from baking bread to making meatballs. I have had many, but the one I have now has been my absolute favorite. Just do it.
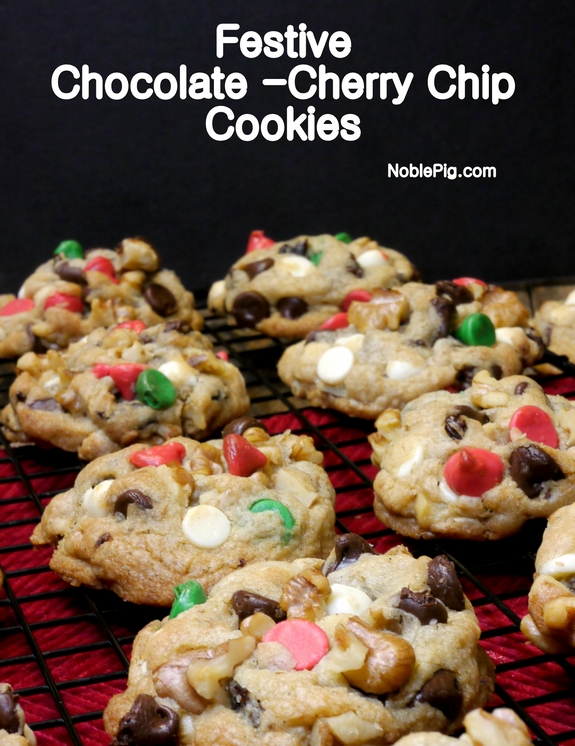
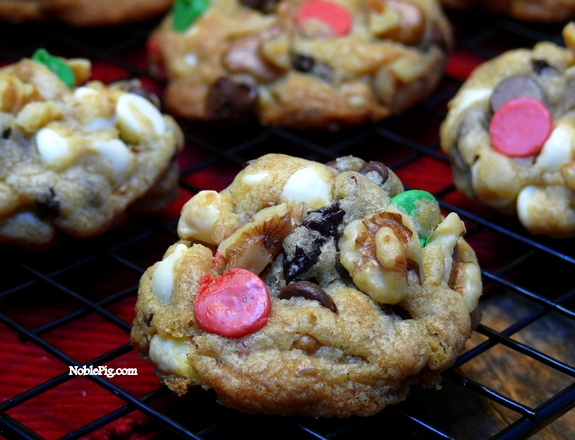
2. After you roll your cookie balls, press in about 4-5 more chocolate chips as well as a few nut pieces. These will not sink into the batter and will be on the outside of your cookie looking beautiful. It’s a must for a lofty looking cookie.
3. Use silicone baking mats. They fit your cookie sheets perfectly and your cookies do not stick to the pan. Such a time saver and you use them over and over again. You should also have 3-4 cookie sheets available (never put cookie dough on a warm cookie sheet and into the oven).
4. Cookie dough should be placed on baking sheets, covered and put in the refrigerator for several hours before baking. (Do not place trays in the crisper drawer that is warmer than the fridge, it needs to be super-cold.) One sheet should be removed at a time and placed in the oven to bake. This will keep your cookies from going flat.
5. Remove cookies from the oven just as the edges are golden brown. Let the cookies finish cooking out of the oven, on the baking sheet, for five more minutes. Then remove to a cooling rack. Cookies will be big and pouty, which is what you want.
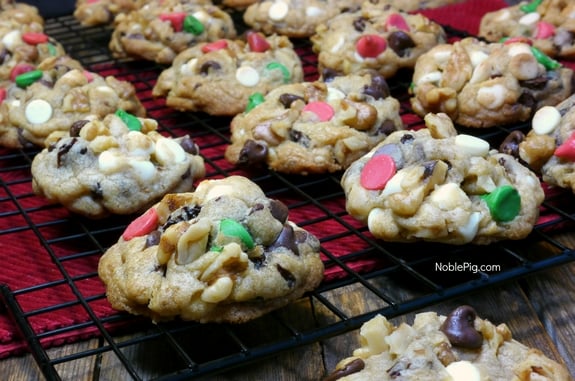
All the same size and none have spread out. Follow my few tips and you will also have beautiful holiday cookies.
I wish you could all be on my cookie list.
Festive Chocolate-Cherry Chip Cookies
Ingredients
- 3/4 cup butter, melted and slightly cooled
- 2 cups all-purpose flour
- 1/2 teaspoon baking soda
- 1/2 teaspoon salt
- 1 cup packed golden brown sugar
- 1/2 cup granulated sugar
- 1 large egg
- 1 large egg yolk
- 1 Tablespoon vanilla bean paste or vanilla extract
- 1-1/2 cups holiday colored chocolate chips (brown, red, green), plus more to press in
- 1/2 cup white chocolate chips, plus more to press in
- 1-1/4 cups chopped walnuts, plus more to press in
- 3/4 cup chopped dried cherries
Directions
- In a small saucepan, melt butter over low heat. Pour into the bowl of your stand mixer (or whatever bowl you will be mixing in) and let it cool down for a good fifteen minutes (you don't want the hot butter to cook your eggs).
- Meanwhile, in a medium bowl, combine flour, baking soda ans salt; set aside.
- Beat together melted butter, sugars, egg, egg yolk and vanilla until creamy. Gradually add the flour mixture to the wet ingredients until just combined. Stir in chocolate chips, walnuts and dried cherries until fully combined.
- Roll cookies in balls about 1-1/2" in size. (I weigh mine and they are 36 grams.) Press in 4-5 more chocolate chips and a couple walnut pieces. This is what is going to make your cookies look pretty, with the chips on the outside. They will not sink into the batter. Line an 11 x 17 rimmed baking tray with a Silpat mat or parchment paper. Place 12 cookie balls on each tray (3 in a row). Place tray with balls (covered) in the coldest part of the refrigerator for several hours. This will keep your cookies from spreading flat.
- Bake cookies for 12 minutes in a 325 degree oven or until edges are golden brown. Remove the cookies and leave them on the baking sheet for at least five more minutes to continue cooking. Move to a wire rack to cool completely.
- Three Years Ago: Crispy Taco Wings
- Three Years Ago: Why Chill Pie Dough
